Table of Contents
ToggleI open with the aroma of melted dark chocolate meeting a whisper of vanilla, promising fudgy centers and chewy edges in every bite. I want you to feel that warm pull of comfort before you preheat the oven.
This easy bakery-style recipe walks you through melting 225 g dark chocolate with 56 g butter, whipping eggs with caster and demerara for a shiny crackly top, and folding in 85 g chocolate chips. You’ll find step‑by‑step photos in the full post.
Expect clear ingredient weights, precise bake times (12–14 minutes at 320°F fan or 338°F conventional), and tips like why room‑temperature eggs matter and how flaky sea salt boosts flavor. I explain cooling on the tray, storage, and small toolkit items I use.
Whether you call them brookies or browkies, these handheld chocolate treats are simple to make. I invite you to bake, taste, and tag savvy bites when you share your results.
Meet my fudgy-chewy brookies: the ultimate chocolate mashup
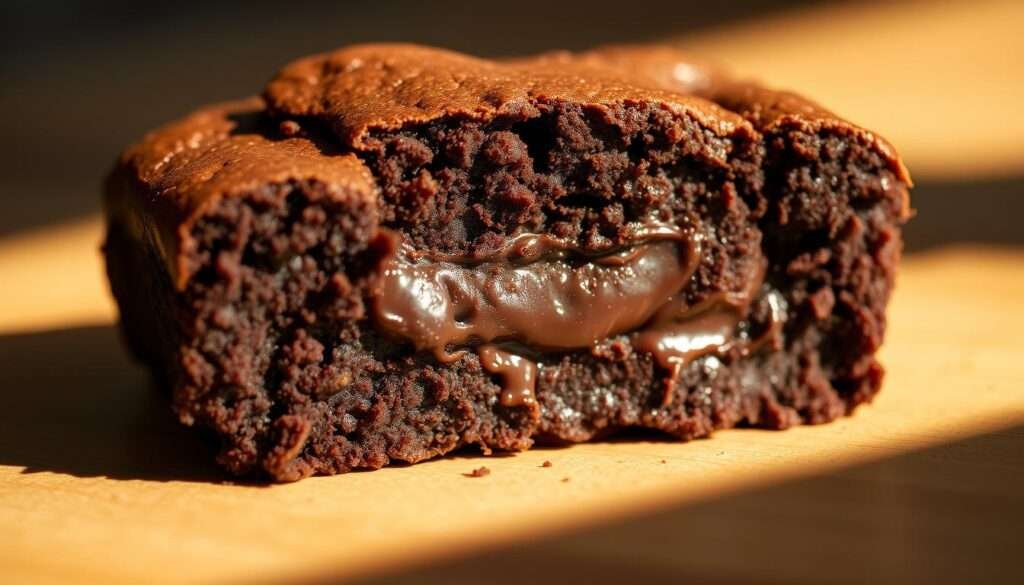
Hold one in your hand and you’ll notice a crisp edge giving way to a dense, molten middle that tastes deeply of chocolate. The scent is pure comfort—warm cocoa and a whisper of vanilla—that signals a satisfying mashup between cookie and brownie.
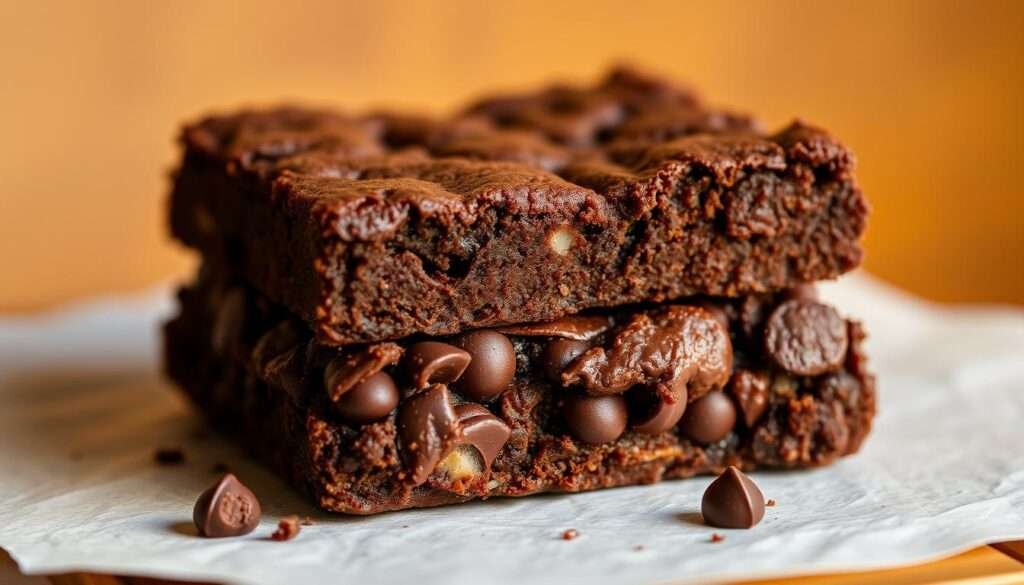
Texture comes from emulsifying melted dark chocolate with butter and aerating eggs with caster and demerara. That combo creates a glossy crackle and keeps centers tender. A short bake of 12–14 minutes locks in a soft core while edges turn lightly crisp.
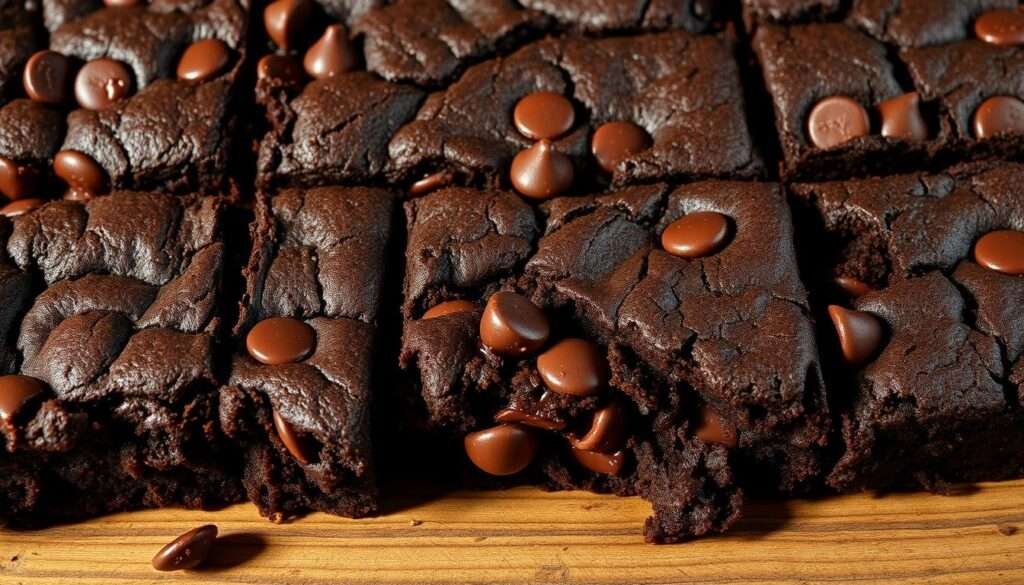
- Glossy crackly tops, fudgy centers, and crisp edges in each bite.
- I whip eggs and sugars to ribbons before folding in the chocolate-butter mix to preserve the chew.
- Using real dark chocolate deepens the chocolate profile and adds a silky sheen.
- Quick bake time means warm, chocolate-forward brookies without a long wait.
- Small cues—gentle folding, timing, and a sprinkle of flaky sea salt—sharpen flavor and texture.
| Feature | Timing | Tip |
|---|---|---|
| Center | 12–14 min | Pull when edges set, center jiggles |
| Top | Immediate after mix | Whip eggs for crackle |
| Finish | Cool on tray | Salt to lift chocolate flavor |
If you want a dairy-free spin, try an easy vegan chocolate cookies recipe for a different take on handheld treats.
Why you’ll love this recipe
I chose a simple path so you can get bakery-style results without fuss. I walk through melt, whip, sift, fold, and a quick bake that locks in a soft center and crisp edge.
The process is focused and fast. From mixing to warm tray, these come together in about 30 minutes, with a bake of 12–14 minutes that keeps the core tender.
- Easy and efficient: a few bowls, a whisk, and clear steps take you from craving to cookies in roughly 30 minutes.
- Bakery texture at home: whipping eggs and sugar creates a crackled top and fudgy chew in every bite without special tools.
- Flexible flavors: fold in espresso, peppermint, nuts, or extra chocolate chips to tune chocolate flavor to your mood.
- Make-ahead friendly: store in an airtight container and reheat for seconds to revive warm, fresh-tasting treats.
| Step | Timing | Tip |
|---|---|---|
| Melt & combine | 5 minutes | Use low heat to keep chocolate smooth |
| Whip & fold | 5–10 minutes | Stop when batter is just combined |
| Bake | 12–14 minutes | Pull when edges set and center still jiggles |
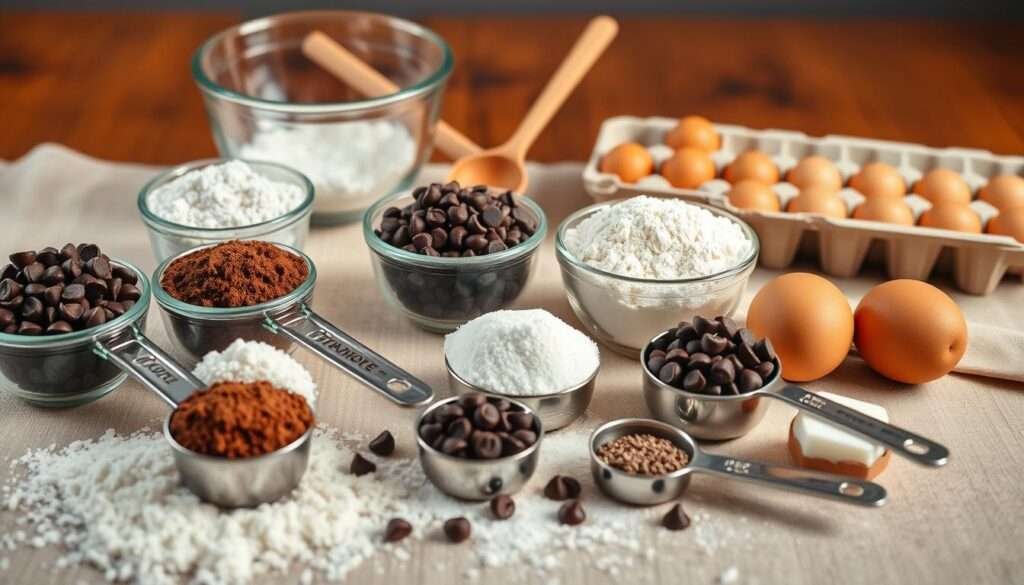
Ingredients with exact measurements
Below are exact measurements for each component, from flour to chips, to keep results consistent.
Dry ingredients
- 95 g all-purpose flour
- 2 tablespoons cocoa powder
- 1 teaspoon baking powder
- 1/4 teaspoon fine salt
Wet ingredients
- 225 g chopped dark chocolate (≈70% cocoa)
- 56 g butter
- 2 eggs at room temperature
- 1 teaspoon vanilla extract
Sugars
- 100 g caster or granulated sugar
- 90 g demerara sugar (adds subtle caramel crunch)
Mix-ins and add-ons
- 85 g chocolate chips (dark or milk)
- Optional: toasted nuts, white chips, or a pinch of espresso powder
- Finish option: flaky sea salt after baking
| Group | Weight | Purpose |
|---|---|---|
| Dry ingredients | 95 g + cocoa & leavener | Structure and cocoa lift |
| Wet ingredients | 225 g chocolate, 56 g butter, 2 eggs | Glossy base, fudgy texture |
| Sugars & chips | 100 g caster, 90 g demerara, 85 g chips | Sweetness, caramel crunch, melty pockets |
Ingredient notes: use high-quality dark chocolate for depth. Sift dry ingredients to prevent lumps and ensure even rise. For room temperature, set eggs out 30–45 minutes before mixing so they whip to maximum volume. Salted butter is okay; reduce added salt slightly.
Step-by-step instructions for bakery-style crackly tops
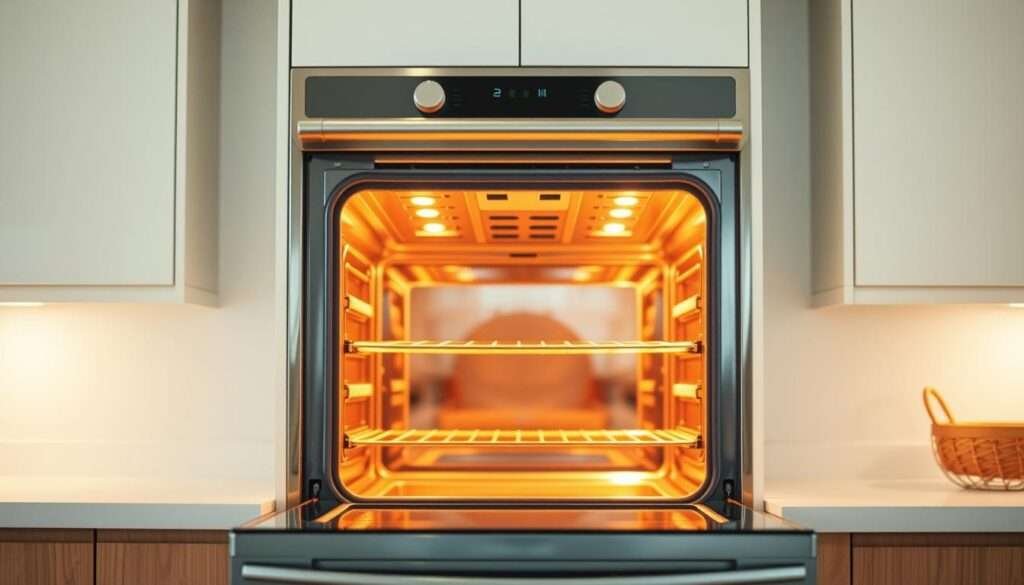
Start by warming the oven and preparing a lined tray so every cookie bakes with even edges and a glossy top.
- Preheat and prep: I preheat oven to 320°F (fan) or 338°F (conventional). Line a baking tray with parchment paper for easy release and consistent edges.
- Melt chocolate: In a heatproof bowl over gently simmering water, melt 225 g dark chocolate with 56 g butter. Off heat, stir vanilla extract into the mix to keep aroma bright.
- Whip sugars: In another bowl, I beat 2 eggs with 100 g caster and 90 g demerara for about 5 minutes until pale and ribboned. This creates a glossy top.
- Sift and fold: Sift together dry ingredients, fold in 85 g chips, then gently fold the warm chocolate into the aerated eggs. Add dries and mix combined just until no streaks remain.
- Scoop and bake: Portion batter on the tray, space them apart, and bake minutes—12–14—until edges are set and tops crackle.
- Cool: Let cool on the tray for about 10 minutes, then transfer to a rack to cool completely for clean edges.
| Step | Minutes | Tip |
|---|---|---|
| Melt & stir | 5 | Off heat, stir vanilla |
| Whip eggs | 5 | Look for ribbon stage |
| Bake | 12–14 | Edges set, center jiggles |
Tips & smart variations for perfect texture every time
I share quick, practical tips to lock in a consistent, fudgy chewy result while keeping flavor bright. Small changes to mixing, chocolate, and rest time matter more than extra ingredients.
Don’t overmix: how to keep every bite fudgy and chewy
I stop mixing as soon as the last streak of flour disappears. Gentle folding preserves air from whipped eggs and prevents a cakier crumb.
Chocolate choices: dark, milk, or a chips blend
I use high-quality dark chocolate (~70%) for depth. Swap some dark for milk if you want sweeter notes, or toss in chocolate chips for pockets of melty contrast.
Flavor twists: espresso, peppermint, nuts, or sea salt
A pinch of espresso powder lifts cocoa without tasting coffee. Peppermint extract adds a holiday touch. Stir in chopped nuts for crunch, and finish warm cookies with flaky sea salt to boost chocolate flavor.
Thickness control: chill the batter and watch the bake time
Chill batter 20–30 minutes for thicker rounds. Reduce oven time by a minute or two if you want very soft centers and pull when tops are set but still slightly soft. Carryover heat finishes them.
- I choose chocolate strategically: dark for intensity, milk or a blend for layered chocolate flavor.
- Measure cocoa and powder carefully to avoid dryness and keep that luscious, fudgy chewy texture.
- Store cooled treats in an airtight container; freeze extra dough balls for quick bakes later.
| Choice | Effect | Use |
|---|---|---|
| 70% dark | Deep chocolate flavor | Core recipe |
| Milk blend | Sweeter, softer top | Mix with chips |
| Extra chips | Melty pockets | Add to batter |
Utensils and tools you’ll need, plus how I use each
My small toolkit keeps every step smooth, from melting chocolate to scooping batter.
I keep a simple set for baking: a baking tray, parchment paper, a heatproof bowl, and two mixing bowls. One bowl holds whipped eggs and sugars; another bowl holds sifted dry ingredients. These items make each ingredient move through the recipe cleanly.
Quick toolkit overview
I add an electric hand whisk to reach ribbon stage fast and a spatula to fold without losing air. A cookie scoop gives uniform rounds, and a wire rack cools quickly to avoid soggy bottoms. I use a kitchen scale for exact weights, and an oven thermometer when I want extra accuracy.
| Tool | Use | Why it matters |
|---|---|---|
| Baking tray | Holds cookies during bake | Even heat gives consistent spread |
| Parchment paper | Lines tray for easy release | Prevents sticking and speeds cleanup |
| Heatproof bowl | Melt chocolate and butter | Safe for a gentle bain-marie |
| Mixing bowls | One for eggs/sugar; another bowl for dries | Keeps wet and dry ingredients separate for proper folding |
| Electric whisk, spatula, scoop, scale, rack | Whip, fold, portion, weigh, cool | Each tool tightens timing and improves final texture |
Nutrition facts per serving
I keep a quick nutrition snapshot here so you can plan a treat into your day without surprises.
- Per serving (about 1 cookie, 50 g): approximately 210–220 calories.
- Macros: around 10–11 g fat, 24–31 g carbohydrates, and 3 g protein.
- Fat breakdown: roughly 5–6 g saturated and ~4 g unsaturated per serving.
- Sugars: near 18–20 g; fiber about 2–3 g from cocoa solids.
- Sodium: ~85 mg; cholesterol: typically 23–50 mg depending on eggs and butter used.
- Values change with extra ingredients like chips or nuts; weigh portions for accuracy.
| Nutrient | Amount per 50 g | Notes |
|---|---|---|
| Calories | 210–220 kcal | Rich, portion-controlled serving |
| Fat | 10–11 g (Sat 5–6 g) | From butter and dark chocolate |
| Carbs / Sugar | 24–31 g / 18–20 g | Sugars reflect classic cookie-brownie mix |
| Fiber / Protein | 2–3 g / 3 g | Cocoa solids add modest fiber |
I also link to a related high-fat snack guide if you track macros: fat bomb ideas. Use that for swaps or low-carb options when you want to adjust fat and sugar levels.
Serving, storage, and reheating
I like to serve these warm with a scoop of vanilla or salted caramel ice cream for contrast. A small dollop of lightly sweetened whipped cream or a handful of fresh berries adds brightness to rich chocolate.
Serve ideas
Drizzle warm chocolate or caramel sauce over a cookie and ice cream for extra decadence. Finish with a pinch of flaky sea salt to sharpen flavor.
Storage basics
After baking, I let cool on the tray about 10 minutes, then cool completely on a rack so centers set. Once cool completely, I layer cookies with parchment in an airtight container at room temperature for up to 4–5 days.
Freezing and reheating
For long storage, I wrap each cookie individually and freeze up to 3 months. Reheat from frozen in a 300–320°F oven for a few minutes to revive edges, or microwave a single cookie 10–15 seconds for a gooey center.
- Quick skillet method: cover a cookie and warm over low heat until soft inside.
- Use parchment between layers in the airtight container to prevent sticking.
| Method | Time / Temp | Result |
|---|---|---|
| Room storage in airtight container | 4–5 days | Keeps texture soft; use parchment between layers |
| Freeze individually | Up to 3 months | Best for single-serve thawing and reheating |
| Oven reheat | 300–320°F, a few minutes | Revives edges and warms center |
| Microwave reheat | 10–15 seconds | Quick gooey center; watch to avoid overcooking |
The Best Fudgy Chewy Browkies (Brookies) - Savvy Bites
I wrap up this recipe by pointing to a few simple moves that make every batch reliably tender and deeply chocolatey.
My signature method is straightforward: melt real dark chocolate with butter, whip eggs with two sugars until glossy, then sift and fold in dry ingredients. Bake 12–14 minutes and finish with a pinch of flaky sea salt if you like contrast.
- Core: melted chocolate + butter, whipped eggs + sugar, gentle folding of flour and cocoa powder.
- Result: my signature fudgy chewy browkies—simple steps, bold chocolate, consistent results.
- Use quality ingredients: good vanilla, measured ingredients, and balanced flour ratios help flavor sing.
- Small-batch friendly: scale dough for gatherings without losing texture.
| Step | Key focus | Why it matters |
|---|---|---|
| Melt chocolate & butter | Low heat | Smooth base for rich chocolate flavor |
| Whip eggs & sugars | Ribbon stage | Creates glossy top and lift |
| Sift & fold dries | Gentle | Preserves air, avoids cakey crumb |
| Bake | 12–14 min | Edges set while centers stay soft |
I hope this recap helps you repeat my approach at home. If you follow these cues, every bite will feel like a small, confident victory from Savvy Bites.
Your turn to bake: share your brookies with me
Ready to bake? Grab a bowl, preheat your oven, and turn this method into warm, shareable brookies. I’d love to see what you make.
Follow each step closely and stop when the batter is just mix combined—ribboned eggs and folded chocolate give that tender texture. Fold in chips or nuts if you like, then bake until edges set.
Please rate the recipe, leave a comment with your favorite mix-ins, and snap a photo to tag me on social. Reheat a cookie for 10–15 seconds to revive melty chocolate moments—then enjoy and share your results.