Table of Contents
ToggleI still remember the day I turned bakery favorites into bite-size joy in my own kitchen. I wanted a treat that tasted like summer and felt a little naughty, so I baked tiny tortilla shells and filled them with fluffy cream. The first bite made me grin — crisp, sweet, and so light.
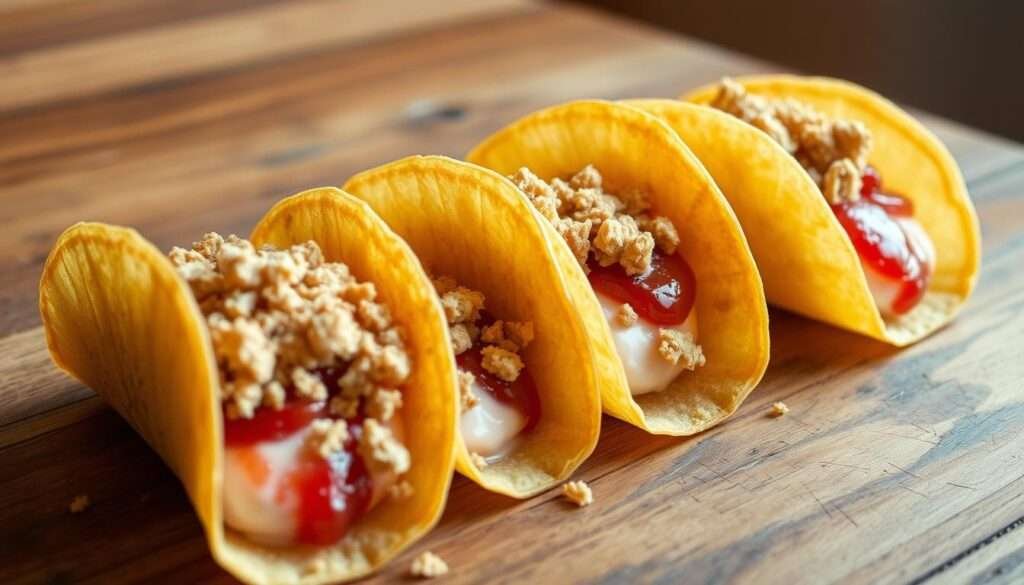
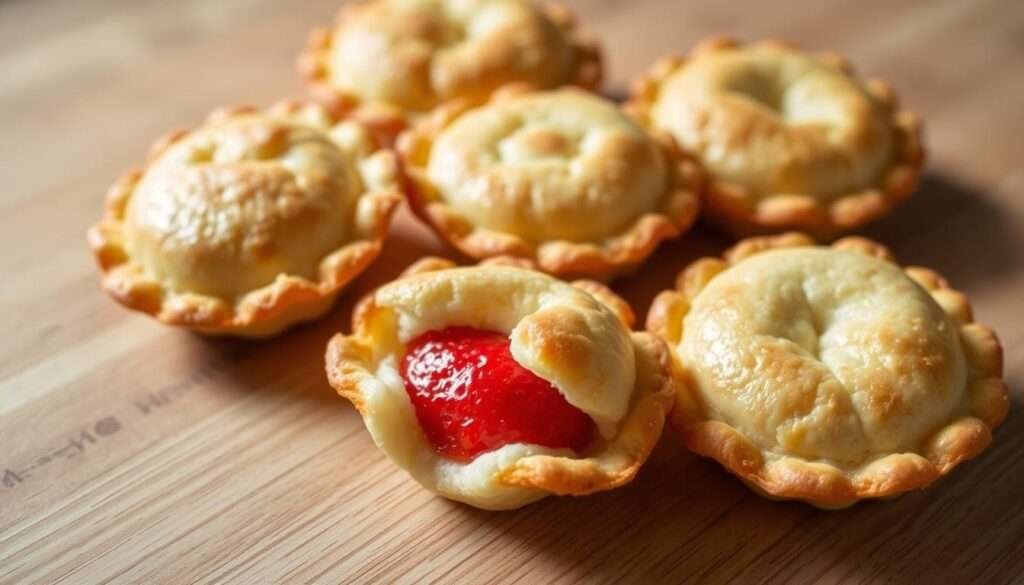
These cheesecake tacos balance a crisp shell with a whipped filling. I brush baked shells with melted white chocolate, roll them in strawberry crunch, then pipe in a cheesecake filling made with 8 oz cream cheese, 1/2 cup powdered sugar, 1 tsp vanilla, and 1 cup heavy whipping cream whipped to stiff peaks.
I’ll walk you through yield (15), baking at 350°F for 5–6 minutes on an upside-down muffin tin, topping with fresh strawberries and syrup, storage tips, nutrition, and pro tricks like poking shells to prevent bubbles. Try them tonight and share what you loved most.
Sweet, crunchy, and creamy—my story behind this dessert taco
A quick experiment with a tortilla and a bowl of whipped cream turned into my go-to party treat. I loved the contrast right away: a crisp shell hugging a cloud of sweet cheese and a bright strawberry on top.
I often make these cheesecake tacos for birthdays and weeknight gatherings because they travel well and stay tasty in the fridge. I mix the filling in a bowl, taste as I go, and keep the cream smooth so every bite is balanced.
Vanilla and a touch of butter bring that bakery vibe I crave. Using a simple tortilla keeps things easy and consistent, turning pantry staples into a show-stopping tray that says “fun.”
- Assembling is oddly relaxing—shaping each shell and adding fresh fruit feels creative.
- The aroma of vanilla and strawberry fills the kitchen as shells cool, and I usually snag a test taco before guests arrive.
- If you’re new to dessert tacos, this gentle recipe is a rewarding place to start.
Why you’ll love this recipe
I love how a simple twist on a familiar dessert gives bakery-quality results at home. These cheesecake tacos are easy to make and taste like a special treat without a lot of fuss.
The texture is my favorite part: a crisp shell made from a cut tortilla and a plush filling that pipes cleanly from a zip bag. A touch of cream, a little sugar, and a scoop from the bowl pull the filling together fast.
- Easy, repeatable method: cut tortillas, bake quick taco shells, and pipe a stable filling.
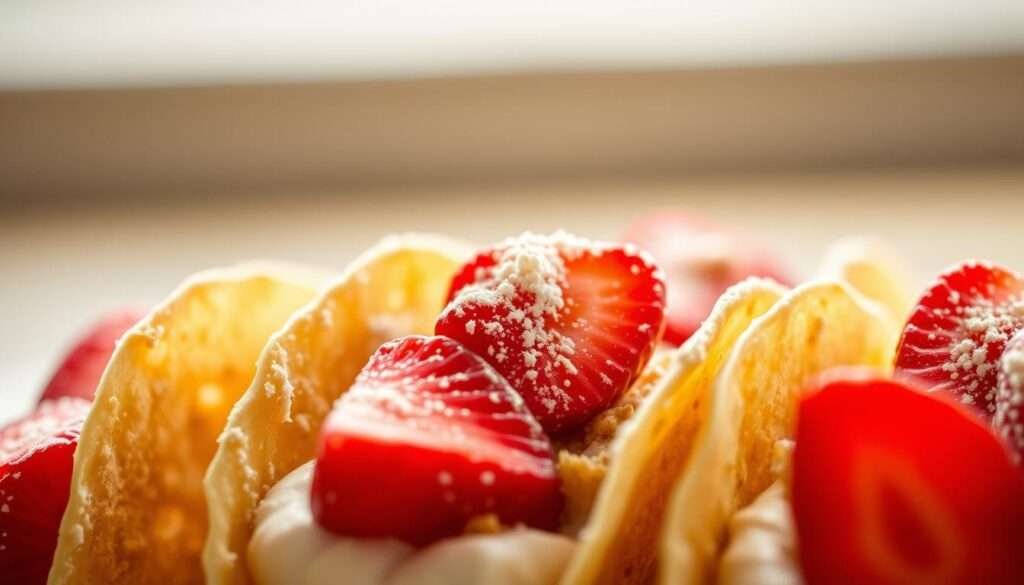
- Texture you can’t stop craving: strawberry crunch outside with soft cheesecake inside and fresh strawberries on top.
- Quick and manageable: short bake time, melted white chocolate, and heavy whipping in one bowl.
- Beginner-friendly piping: powdered sugar firms the filling so you can pipe without special tips.
- Make-ahead friendly: taco shells store separately, then fill just before serving.
| Benefit | Why it works | Quick tip | Equipment |
|---|---|---|---|
| Fast bake | Short oven time keeps shells crisp | Use an upside-down muffin tin | Muffin tin |
| Easy filling | Mixes in one bowl with heavy whipping cream | Chill briefly before piping | Mixing bowl |
| Great texture | Crunch coating contrasts soft cheese center | Add fresh strawberries as garnish | Zip bag or piping bag |
| Make-ahead | Shells and filling store separately | Assemble within 2 hours for best result | Storage container |
Strawberry Crunch Cheesecake Tacos: Ingredients you’ll need
I always prep ingredients in order so the bake and assembly flow smoothly. Below I list exact measures grouped for easy mise en place. This helps me move from one step to the next without stopping.
For the crispy tortilla shells
- 5 large flour tortillas — cut 3 circles per tortilla with a 4-inch cookie cutter to yield 15 shells
- 1 tablespoon unsalted melted butter for brushing each shell before baking
- 13 ounces white chocolate, melted for brushing inside and out
- Strawberry crunch, enough to coat shells fully
For the cheesecake filling
- 8 oz cream cheese, softened to room temperature
- 1/2 cup powdered sugar
- 1 teaspoon vanilla extract
- 1 cup heavy whipping cream, whipped to stiff peaks in a bowl
For the strawberry topping and crunch coating
- 2 cups fresh strawberries, diced or halved
- 2/3 cup strawberry syrup for drizzling
| Ingredient Group | Amount | Purpose | Quick Tip |
|---|---|---|---|
| Shells | 5 tortillas, 1 tbsp melted butter, 13 oz white chocolate | Create crisp taco-shaped shells | Use a 4-inch cookie cutter and an upside-down muffin tin |
| Filling | 8 oz cream cheese, 1/2 cup powdered sugar, 1 cup heavy whipping | Stable, pipeable cheesecake cream | Chill briefly before piping for best shape |
| Topping | 2 cups fresh strawberries, 2/3 cup syrup | Bright, glossy garnish | Spoon syrup on just before serving to avoid soggy shells |
Step-by-step instructions to make cheesecake tacos at home
I like to start with a simple plan: cut, bake, coat, and fill. Follow these clear steps and keep tools close so the process stays smooth.
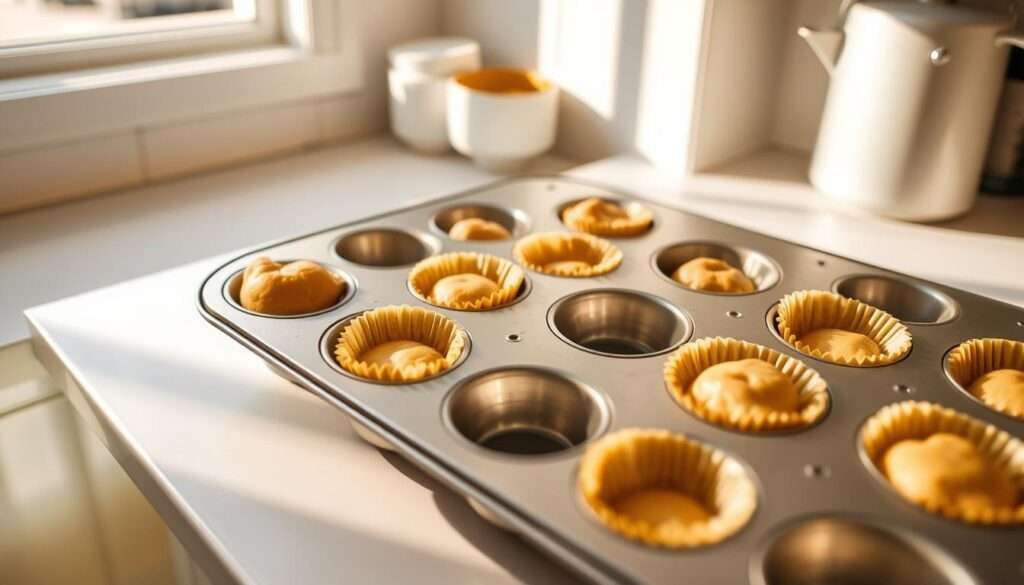
Make the tortilla shells in a muffin tin
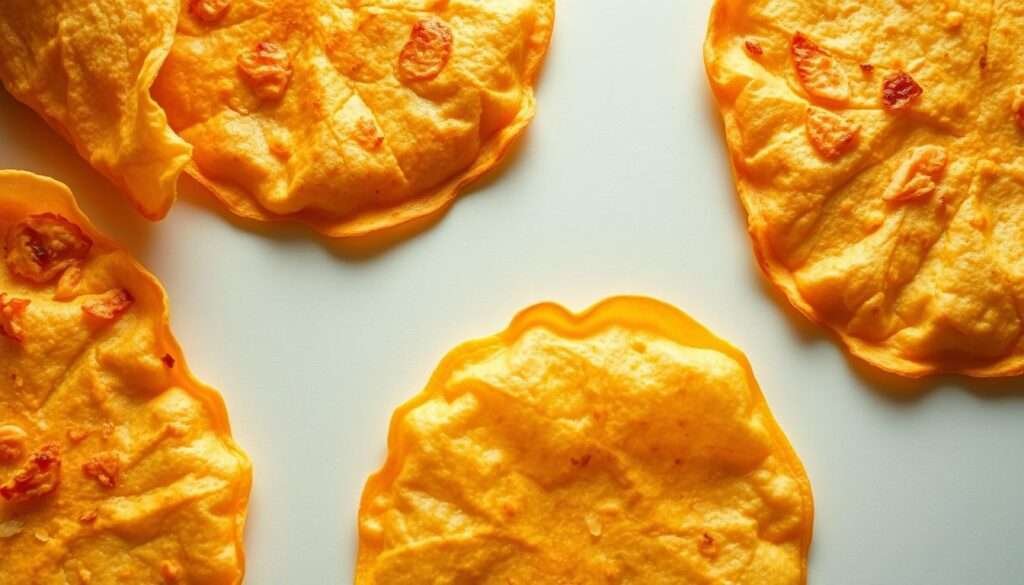
- Cut and shape: Use a 4-inch cookie cutter to stamp 15 circles from 5 tortillas. Gently fold each tortilla shell and nestle them between cups on an upside-down muffin tin.
- Bake: Preheat the oven to 350 F. Bake on the upside-down muffin tin for 5–6 minutes until the minutes edges are lightly golden. Make sure to poke each circle a few times to prevent bubbles.
- Cool: Remove from the oven and leave cool in the pan for about one minute so the shell shape sets. Then transfer shells to a parchment-lined tray to leave cool completely.
Coat shells with melted white chocolate and strawberry crunch
- Melt: In a bowl over a simmering double-boiler or in short 20-second microwave bursts, melt white chocolate until smooth. Stir between intervals.
- Brush and coat: Using a pastry brush, coat shells inside and out with melted chocolate. Immediately coat shells in crumbs so the coating adheres evenly.
Whip the cheesecake filling until pipeable
- Whip filling: In a clean bowl, beat cream cheese with powdered sugar and vanilla until smooth. In a separate bowl, whip heavy cream to stiff peaks and fold into the cream cheese to make the cheesecake filling.
Assemble and finish with fresh strawberries and syrup
- Pipe: Spoon filling into a piping bag or bag with the tip snipped. Piping in a zigzag fills shells evenly without stressing the thin inch edges.
- Assemble: Stand shells upright in the muffin tin or a 9×13 pan. Pipe filling, add fresh berries, and drizzle syrup to make strawberry garnish.
- Serve: Enjoy immediately for best crunch. If you must hold them, refrigerate filled shells briefly.
- Troubleshoot: If bubbles appear, puncture while warm. Don’t overbake or the shell may crack when brushed with chocolate.
| Step | Key action | Timing | Tip |
|---|---|---|---|
| Cut & shape | Stamp circles and mold in a muffin tin | 5–10 minutes prep | Use a 4-inch cookie cutter for consistent shells |
| Bake | Crisp shells on an upside-down muffin tin | 5–6 minutes at 350 F | Poke each circle to avoid bubbles |
| Coat | Brush with melted white chocolate and coat | 2–3 minutes per batch | Work quickly so coat shells hold crumbs |
| Fill & finish | Pipe cheesecake filling and add fruit | 10–15 minutes | Use a piping bag for a clean finish |
Tips, variations, and make-ahead ideas
Simple swaps and storage tricks have kept my shells crisp through many parties. Below I list practical ways to change flavors, protect texture, and speed assembly so you can serve confidently.
Smart substitutions and flavor twists
For a different twist, make strawberry crunch at home or swap the coating for graham cracker crumbs. Mix a spoon of strawberry syrup into the cheesecake filling for a light strawberry cheesecake vibe.
Storage and make-ahead that keep shells crunchy
Bake taco shells, brush with white chocolate, and oven leave cool completely before storing. Store shells airtight at room temperature the same day; refrigerate the filling in a separate container and pipe just before serving.
Pro tips: prevent bubbles, avoid cracks, and get stiff peaks
- Poke each tortilla shell before baking to stop bubbles from forming.
- Avoid overbaking so the shell doesn’t crack when you coat it in chocolate.
- Make sure cup heavy cream is cold and whip to stiff peaks; fold gently to keep fat from weeping.
| Tip | Action | Why it matters |
|---|---|---|
| Prevent bubbles | Poke shells before baking | Stops large bubbles that can crack the shell when coated |
| Keep shells crisp | Leave cool, store airtight | Protects texture until you fill them |
| Stable filling | Use cold heavy whipping cream and powdered sugar | Gives pipeable cheesecake filling that holds shape |
Tools you’ll need and nutrition—then bake, fill, and share
I keep a small kit of tools on the countertop so I can finish shells and fill them fast. Laying out utensils makes the last steps calm and steady. It also helps me serve warm trays right after I oven leave shells to set.
| Tool | Use |
|---|---|
| 4-inch round cookie cutter | Cut uniform tortilla shells for even baking |
| Muffin tin (upside down) | Support each shell so taco shells hold shape |
| Pastry brush | Brush melted butter and coat shells with white chocolate |
| Mixing bowls & spatula | Whip cream and beat cream cheese smooth in one bowl |
| Piping bag (or zip bag) | Fill shells with cheesecake filling cleanly |
| Double-boiler / microwave-safe bowl | Melt white chocolate without scorching |
| Nutrition (per serving) | Amount |
|---|---|
| Calories | 392 |
| Total Fat | 23g (Saturated 13g) |
| Carbs / Sugar | 43g / 32g |
| Protein | 5g |
Set up a small topping station with fresh strawberries, syrup, and extra strawberry crunch so guests can customize. Keep cream cheese soft, heavy whipping cream cold, and measure cup amounts for consistent filling.
If these cheesecake tacos made you smile, snap a photo and tag me. Save the recipe, bake a fresh batch, and share your favorite twist — I can’t wait to see your shells and fillings.