
Table of Contents
ToggleI still remember the pleasant aroma that filled my grandmother’s kitchen on rainy Sunday afternoons. She often prepared various desserts, but one particular batch of sweets truly captured my attention. I spent several years attempting to replicate that delightful experience in my own modern kitchen.
I am thrilled to share my secret recipe for these treats. This version provides a tender center combined with satisfyingly crisp golden edges. My secret involves using high-quality butter and a balanced sugar combination.
By choosing hand-chopped dark bars, you create luxurious pools of sweetness within the dough. This specific method ensures your chocolate chip cookies remain fresh for several days. I will explain the culinary science behind achieving this ideal texture.
Mastering this recipe is quite simple when you follow my detailed professional advice. You will discover why temperature control is essential for developing a complex butterscotch profile. Prepare to enjoy the most impressive baked goods you have ever created.
What Makes These Cookies Irresistibly Delicious
What sets this recipe apart is the way I combine rich butterscotch notes with pools of melted dark chocolate for a truly decadent experience. This deep flavor comes from using a specific ratio of dark brown sugar and butter. During the baking process, the Maillard Browning reaction works its magic to create toasted, toffee-like aromas and a beautiful golden color.
I focus on achieving a specific texture that balances satisfyingly crispy edges with a soft, gooey center. To get this result, the chilling step is vital because it allows the flour to hydrate fully. This process ensures these chip cookies develop a signature chewy chocolate bite that lasts for days without getting hard.
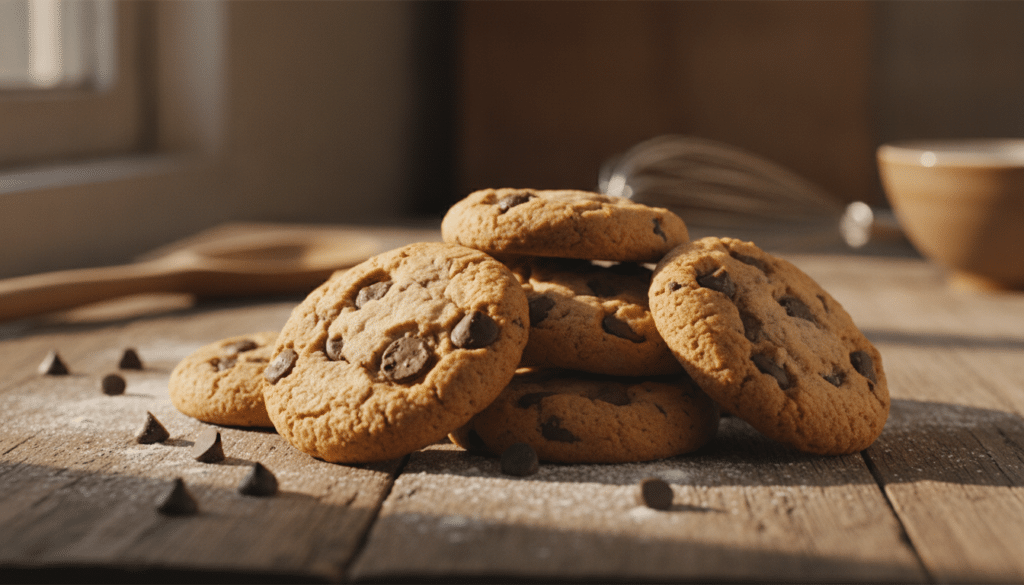
Unlike standard easy vegan chocolate chip cookies, I prefer using chopped dark chocolate bars rather than chips. Bar chocolate contains more cocoa butter, which creates those gorgeous, melty puddles that spread throughout the dough. These cookies remain remarkably tender and fresh for up to a week when you store them properly in an airtight container.
Every bite of these chip cookies delivers the perfect richness thanks to high-quality vanilla extract. This essential ingredient enhances the flavor of the butter and the complexity of the chocolate. You will love how the texture remains moist and never turns dry or cakey, making these cookies absolutely impossible to resist.
| Cookie Feature | Quality Description | The Secret Ingredient/Step |
|---|---|---|
| Edges and Bottoms | Crispy and Golden | Maillard reaction from granulated sugar |
| Cookie Center | Soft, Chewy, and Gooey | Proper dough chilling and dark brown sugar |
| Chocolate Profile | Melty Puddles and Pools | Chopped bars with high cocoa butter content |
| Aroma and Taste | Butterscotch and Toffee | Combination of butter and vanilla extract |
Why You Will Love This Recipe
There are many ways to bake a treat, yet I believe this specific chocolate chip recipe offers the best balance of ease and flavor. I love sharing this method because it works so well for any level of baker.
Perfect Texture Every Time
I love how this recipe consistently delivers a perfect texture every single time without any guesswork. My cookies always come out with soft, chewy centers and those beautiful golden edges.
Precise measurements eliminate the frustration of treats that spread too thin. You will get a reliable result with every batch you pull from the oven.
Simple Ingredients, Amazing Results
I appreciate that this method uses simple, everyday ingredients you likely already have in your pantry. Despite using basic items, the results are truly amazing with complex butterscotch flavors.
I find it best to mix everything by hand with a wide spatula to avoid overworking the dough. If you enjoy this, you might also like these mouthwatering brownies for your next session.
Make-Ahead Friendly
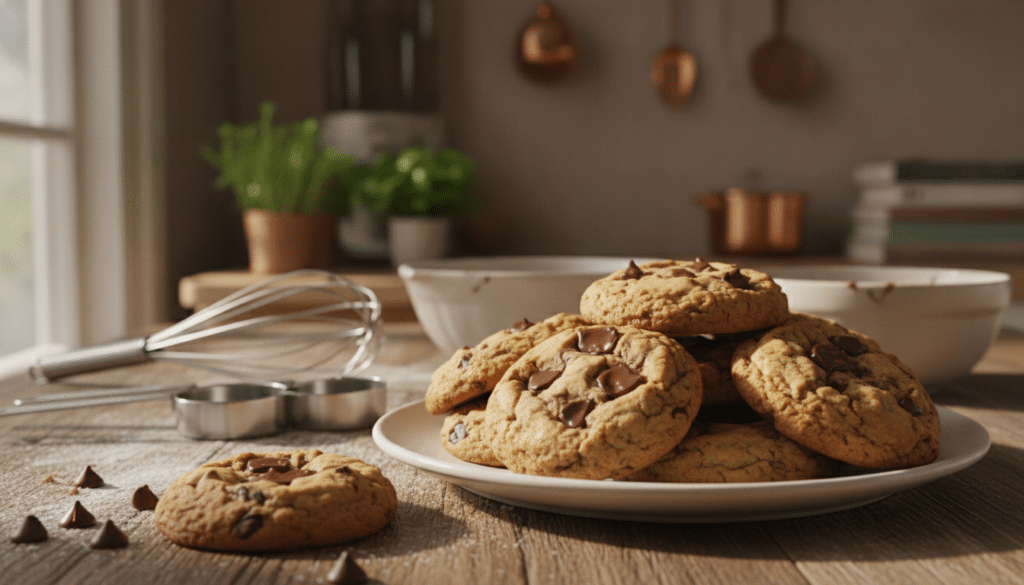
This is incredibly make-ahead friendly, which saves me so much time during busy weeks. I can prepare the dough and keep it chilled for 7 days, as the flavor improves over time.
I also freeze portioned dough balls for up to 3 months to bake fresh cookies whenever I want. You can even bake them straight from the freezer without thawing first.
Having a stash of these chocolate chip cookies ready to go makes hosting guests much easier. It is the ultimate convenience for anyone with a busy schedule.
Essential Tools and Preparation

Before you start mixing ingredients, let’s look at the specific gear I use to achieve those perfect golden edges. I have learned that having the right tools makes a significant difference in achieving consistent, professional results. Having everything ready ensures a smooth process from the first stir to the final bite.
This preparation helps you focus on the dough rather than hunting for a spatula mid-mix. Using the correct equipment is just as important as using the right ingredients. It transforms a simple kitchen task into a successful hobby.
Tools You Need
For high-quality baking, I recommend using aluminum nonstick pans. These provide excellent heat conductivity and ensure even browning. I always use at least two mixing bowl options: a large bowl for the butter mixture and a medium one for dry ingredients.
Parchment paper is essential for lining your baking sheet. This parchment prevents sticking and makes cleanup incredibly easy. A cookie scoop is also invaluable for portioning uniform dough balls. Using a quality sheet ensures that every cookie is the same size and bakes at the same rate.
A wire cooling rack is necessary to allow air to circulate so cookies do not become soggy. Finally, I suggest an oven thermometer to verify the temperature. Not all ovens are calibrated accurately, so this tool is a lifesaver for baking.
Always use fresh parchment paper for every new batch. This keeps the bottoms from getting too dark. Proper baking requires attention to these small details.
Importance of Each Tool and Usage
| Tool | Purpose | Why It Matters |
|---|---|---|
| Aluminum Baking Sheet | Holds dough during heat exposure | Provides high conductivity for golden edges. |
| Parchment Paper | Lines the metal sheet | Ensures easy removal and prevents burning. |
| Cookie Scoop | Portions dough evenly | Guarantees uniform cookies that bake at the same speed. |
| Mixing Bowls | Combines wet and dry parts | Keeps ingredients organized and well-blended. |
| Wire Rack | Cooling after the oven | Circulates air to prevent a soggy bottom texture. |
| Oven Thermometer | Verifies actual temperature | Confirms your oven is at the correct heat setting. |
Soft and Chewy Chocolate Chip Cookies With Golden Edges: Exact Ingredients
I’ve spent years refining these measurements to ensure your cookies have the perfect balance of flavors and textures. Achieving that gooey center and those crispy edges requires high-quality ingredients and exact ratios. I have precisely measured every item in this recipe to create a masterpiece you will love.
The secret lies in how these specific items interact during the baking process. Each component plays a vital role in the structural integrity and taste of the final product. Using a scale or standard measuring cups ensures consistency every time you bake a batch.
Complete Ingredients List
Having everything ready on your counter makes the process much smoother. Below is the full list of everything you need to start baking these delicious treats.
| Ingredient | Measurement | Note |
|---|---|---|
| Unsalted Butter | 1/2 Cup | Melted and cooled slightly |
| Dark Brown Sugar | 3/4 Cup | Firmly packed for moisture |
| Granulated Sugar | 1/2 Cup | Standard white sugar |
| All-Purpose Flour | 1 1/3 Cup | Spoon and leveled |
| Dark Chocolate | 1 Cup | Chopped (63-72% cocoa) |
Why Each Ingredient Matters
I use 1/2 cup unsalted butter because it contains about 80% milk fat. This high fat content creates a tender, rich, and butter-forward flavor. Melting the butter helps produce that signature chewy texture we all crave.
The brown sugar adds essential moisture for a soft center. I prefer 3/4 cup of the dark variety because it offers a deep butterscotch taste. Meanwhile, the granulated sugar helps the edges caramelize and become perfectly crisp.
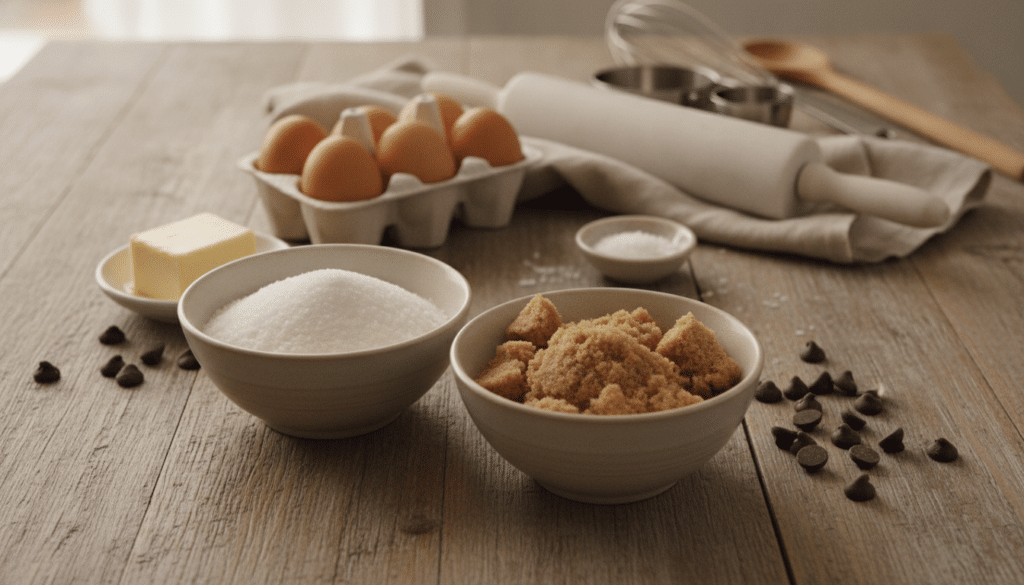
A single large egg binds all the ingredients together without making the dough too cakey. I also add a teaspoon of pure vanilla extract to enhance the complex caramel notes. This combination makes the chocolate chip profile stand out brilliantly.
For structure, 1 1/3 cup of all-purpose flour is the ideal amount for this dough. It keeps the cookie from spreading too much while remaining soft. If you enjoy this texture, you might also like these fudgy chew browkies for your next project.
The 1/2 teaspoon of baking soda is critical for the Maillard reaction. It works with a pinch of salt to balance the sweetness of the sugar. While many use standard chocolate chips, I prefer chopped dark chocolate bars.
Chopped chips or bars with high cocoa butter melt into beautiful, decadent pools. These specific ingredients ensure your cookies look as good as they taste. Ensure your chocolate chips or chunks are high quality for the best results.
Step-By-Step Instructions for Perfect Results
I have refined this process over years of baking to ensure you get consistent results with every batch. Making the perfect chocolate chip cookie requires patience and attention to detail during each phase. I will guide you through the transition from raw ingredients to warm, gooey cookies.
Step 1: Prepare Your Ingredients and Mix Wet Components
I start by combining the melted butter with both the brown sugar and granulated sugar in a large bowl. I beat this mixture for about 1-2 minutes using a whisk until it looks like a damp, sandy paste. This step ensures the sugar is well-coated before I move forward.
Next, I add the egg and vanilla extract to the bowl. I continue mixing for about 20 seconds until the texture is smooth and fully incorporated. It is important not to over-beat here, as I want the cookies to stay chewy rather than cakey.
Step 2: Combine Dry Ingredients Properly
In a separate medium bowl, I whisk together the flour, baking soda, and salt. I use exactly 1/2 teaspoon of soda to provide the right amount of lift. This separate mixing ensures that the leavening agents are evenly distributed before they hit the wet ingredients.
Step 3: Create the Cookie Dough
I add the dry mixture into the wet ingredients and stir gently with a spatula. I stop mixing when I see only a few streaks of flour remaining. This technique prevents the dough from becoming tough and keeps the texture tender.
Before the flour disappears completely, I fold in the chopped chocolate pieces. This rich chocolate chip addition makes the dough look irresistible and slightly sticky. I make sure the pieces are spread evenly so every cookie gets a fair share.
Step 4: Chill the Dough (Critical Step)
I cover the bowl and place the dough in the refrigerator for at least 20 minutes. If I have time, I prefer to chill it for a full 24 hours to develop a deeper flavor. Chilling prevents the fat from melting too quickly in the heat, which stops the cookies from spreading too thin.
Step 5: Shape and Position Cookie Dough Balls
I preheat my oven to 350°F and line a baking sheet with parchment paper. Using a scoop, I form the chilled mixture into uniform balls of about 1.5 tablespoons each. I place these balls on the sheet with at least two inches of space between them.

Step 6: Bake to Golden Perfection
I slide the tray into the oven to bake cookies for 10 to 15 minutes depending on the desired crispness. I look for the edges to turn a light golden brown while the centers still appear slightly soft. These cookies will finish setting on the hot tray after I remove them.
Immediately after taking them out, I often bang the pan on the counter once or twice. This creates beautiful crinkles across the surface. I find this extra touch gives the bake cookies a professional, gourmet appearance.
Step 7: Cool and Finish
I let the treats rest on the baking sheet for exactly 5 minutes to firm up. Then, I transfer each chocolate chip cookie to a wire rack to finish cooling. If I want a salty-sweet contrast, I sprinkle a tiny pinch of sea salt on top while the chocolate is still melty.
| Action | Temperature | Duration |
|---|---|---|
| Chilling Dough | 38°F (Fridge) | 20 Minutes – 24 Hours |
| Preheating Oven | 350°F – 375°F | 15 Minutes |
| Baking Time | 350°F | 10 – 15 Minutes |
| Initial Cooling | Room Temp | 5 Minutes |
Expert Tips for Achieving Soft Centers and Golden Edges
Achieving that perfect balance between a gooey center and a crisp exterior is a skill I have refined over years of trial and error in my kitchen. I have spent countless hours testing different methods to ensure these chocolate chip cookies come out perfect every single time. To help you master this craft, I am sharing the specific techniques that make a world of difference.
The Science Behind the Perfect Texture
I want to share the science behind why these treats achieve such a wonderful texture. It all starts with the Maillard Browning reaction. This chemical process occurs when amino acids in the egg and flour react with sugars during the baking process.
This reaction creates beautiful golden edges and develops deep toasted notes. I always use baking soda to enhance this effect. The alkaline environment it creates speeds up browning and adds a rich flavor to the final cookie.
Temperature and Timing Secrets
The key to success is all about temperature and time. I always recommend chilling your dough for at least two hours before baking. Chilling allows the fats to solidify, which prevents the treats from spreading too much in the oven.
I bake very cold dough in a hot oven for a short time. This allows the outside to set and caramelize while the chocolate in the middle stays soft. Never flatten the dough balls with your hand, as they will naturally spread into a perfect shape.
Common Mistakes to Avoid
One common mistake I see is over-mixing the dough after adding the flour. This adds too much air and develops gluten. It results in chocolate chip cookies that are flat and tough instead of thick and chewy.
Another critical error is using baking powder instead of baking soda. This swap changes the chemistry and results in a pale, cakey cookie. Always measure your flour by spooning it into a cup to avoid using too much, which ruins the chocolate experience.
Make sure your oven temperature is accurate by using a thermometer. If the oven is too cold, the chocolate will melt before the structure sets. Following these steps ensures your chocolate chip cookies have the professional texture you crave.
| Baking Mistake | Resulting Problem | Best Solution |
|---|---|---|
| Over-mixing the flour | Flat and tough texture | Mix until just combined |
| Using baking powder | Cakey and pale edges | Always use baking soda |
| Scooping flour directly | Dry and crumbly dough | Spoon and level the flour |
| Baking warm dough | Excessive spreading | Chill for at least 2 hours |
| Flattening dough balls | Too thin and crispy | Leave in tall, round balls |
Storage and Reheating Instructions
Once your kitchen smells like heaven, you’ll want to preserve that fresh-baked magic for days. I have found several proven storage methods that keep these treats soft and delicious for quite a while.
I focus on maintaining the texture so every bite feels like it is brand new. Proper care ensures you never have to deal with a stale treat.
How to Store Baked Cookies
For my freshly baked cookies, I always use an airtight container. I store them at room temperature for up to five days to keep them chewy.
To prevent them from sticking, I place sheets of parchment paper between each layer in the container. This simple trick helps the cookie edges stay perfect and prevents any mess.
Freezing Cookie Dough for Future Batches
One of my favorite parts of this recipe is how well the dough freezes. I use a scoop to form the dough into balls and place them on a tray.
I chill these balls in the refrigerator for one hour until they are firm. Then, I transfer the dough to a freezer-safe bag where it stays fresh for three months.
Freezing Baked Cookies
I also freeze already baked cookies by placing them in a single layer on a tray first. Once they are frozen solid, I move them to a container for two or three months.
If you love having variety in your freezer, you should also try these irresistible cinnamon roll cookies. They handle the freezing process just as beautifully as this recipe does.
Best Reheating Methods
To restore that melty chocolate chip quality, I reheat them in an oven at 300°F. Just three to five minutes of time will make the chocolate soft again.
When I am baking straight from frozen dough, I do not need to thaw it first. I simply add one extra minute to the total baking time for the perfect cookie.
This method ensures the chocolate stays gooey and the chip pieces remain warm. It is the best way to enjoy a cookie anytime you have a craving.
Troubleshooting Common Cookie Problems
I want to address the most common problems people encounter when making chocolate chip cookies so you can troubleshoot issues. This guide helps you achieve perfect results every time by identifying small mistakes. Even a minor change in temperature or measurement can alter your final bake.
Why Are My Cookies Spreading Too Much?
If your cookies turn out flat and thin, you likely did not chill the dough long enough. You might have also measured too little flour or used an oven that was not fully preheated. Always double-check your measurements to ensure the structure remains solid.
Another reason for excessive spreading is over-mixing the ingredients after adding the flour. This action can cause the butter to separate and create greasy chip cookies that spread uncontrollably. Avoid flattening the dough balls before they go into the oven to maintain their shape.
Why Are My Cookies Too Thick or Puffy?
On the opposite end, thick or puffy chip cookies usually mean your dough was too dry. This often happens if you use too much flour or overwork the mixture. Overhandling develops too much gluten, which prevents the treats from flattening naturally.
An oven that runs too hot can also cause the outside to set before the cookies have a chance to spread. This problem also occurs when baking from frozen without letting the portions sit at room temperature first. Check your oven calibration to ensure accurate heat levels.
Why Are My Cookies Too Oily?
When cookies come out too oily, it is typically because the dough was not cold enough when it went into the oven. My golden rule for the best texture is always to use cold dough and a hot oven. This contrast helps the edges crisp up while the center stays soft.
Over-mixing is another common culprit because vigorous stirring can cause the butter to separate from the other ingredients. If you enjoy mastering these flavors, you might also like my super moist chocolate chip banana bread. Following these specific steps will help you master the perfect chocolate chip treats.
- Not enough flour or warm dough causes excessive spreading.
- Too much flour or over-mixing leads to a puffy, cake-like texture.
- High oven temperatures may set the edges before the middle can spread during baking.
- Greasy textures often result from the butter separating during the mixing process.
Delicious Variations to Try
Transforming this chocolate chip recipe into something unique is half the fun of baking. I enjoy making this chocolate chip base my own by trying different tweaks. There are many ways to switch up the flavors to match your mood.
Different Chocolate Combinations
Try using milk chocolate for a sweeter bite. You can also use white chocolate chips for a creamy twist. I often mix dark chocolate chunks with semi-sweet chocolate chips to create a rich chocolate profile. Combining various chips makes every bite exciting.
Creative Add-Ins and Mix-Ins
Add toasted pecans or walnuts to these chip cookies for a satisfying crunch. Toffee bits or salty chips also go great in these cookies. If you want a s’mores vibe, you might enjoy these irresistible s’more bars too. These cookies are better when you throw in your favorite chips.
Dietary Modifications
Swap regular flour for a gluten-free blend to make safe chip cookies. Use vegan butter for a dairy-free chocolate chip treat. Browning the butter is another way I upgrade the chocolate flavor in this recipe.
These cookies taste amazing even with a simple chocolate swap or new chocolate chips. This chocolate chip modification makes these chip cookies stand out from the crowd.
Final Thoughts and More Cookie Recipes from Cuisines-Corse.com
I hope this guide gives you the confidence to bake cookies with perfect golden edges. This chocolate chip cookies recipe is my favorite for any event. Mastering this chip cookie recipe allows you to experiment with many flavors.
You should try the original recipe before trying other cookies. If you love these chocolate chip cookies, check out my other chocolate treats. For a rich snack, try my bakery-style chocolate chip cookies or a double chocolate chip version.
I also have a chip cookie recipe for brown butter lovers. Each cookie recipe on Cuisine-Corse is tested for quality. Try my salted pistachio chip cookie or the chewy pumpkin chocolate chip version.
These cookies use the same chip logic to ensure a chewy texture. This recipe even works for vegan chocolate chip cookies. Finding your favorite chip cookie is a fun way to enjoy chocolate.
These chocolate chip cookies will surely become a staple in your home. I hope you enjoy these cookies and find your favorite cookie recipe or another delicious chip cookie filled with chocolate. Happy baking!