Table of Contents
ToggleI make this recipe when I want diner-style burger flavor with a quick, crunchy finish. I remember the first time I charred ground beef on a screaming-hot skillet and the whole kitchen smelled like comfort. That moment hooked me—now I cook it on repeat for weeknight dinners and casual friends’ nights.
In about 25 minutes—10 prep and 15 cook—you can serve four to eight people. I use two large tortillas per quesadilla, at least 20% fat chuck for juicy beef, and cheese on both sides so everything glues together and crisps perfectly.
I’ll walk you through the hot skillet, a stiff spatula, and the exact special sauce I love. You’ll get precise timings, ingredient amounts, storage and reheating tips, and a final thoughts section with links. If you’ve seen this trend on social media, this is the version I actually make—and it’s annoyingly easy to love.
Smashburger Quesadillas - Mini Kitchen Magic: What Makes This Recipe a Keeper
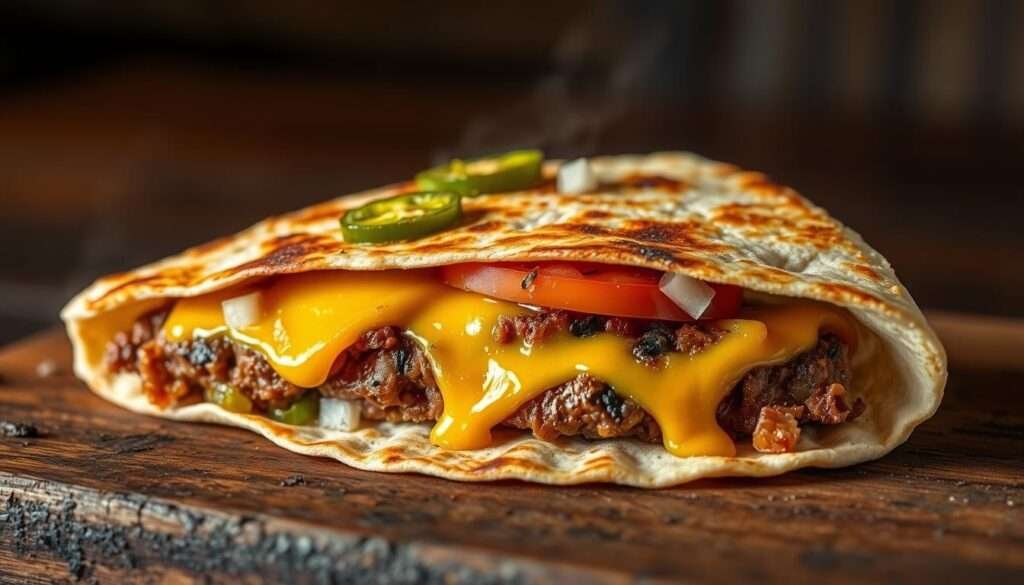
I wanted the full, savory crust of a smashed burger but in a handheld, crunchy format that’s reliable at home. This version borrows the smash technique to build flavor by searing beef on both sides, not just one side like many viral taco spins.
Using two large tortillas keeps me from having to fold a hot tortilla over a heavy filling, so it won’t crack or ooze. I add cheese to both the top and bottom layers so everything “glues” together and pulls neatly when cut.
The result is a meatier bite with a crispier texture and steady structure. It nods to the burger taco trends you’ve seen on social media, but it’s tuned for quick weeknights and consistent results.
- I lean into smash science: char each side for Maillard browning and deeper burger flavor.
- The two-tortilla build avoids a cracked fold tortilla and crisps evenly across the surface.
- This method turns a smashed taco idea into a sturdier, more satisfying handheld.
Why You’ll Love This Recipe
You get deep, meaty sear and instant crunch with just a hot pan and a few pantry staples. I built the method to hit craveable char, quick timing, and easy cleanup.
Double-sided char for a meatier flavor and crispier texture
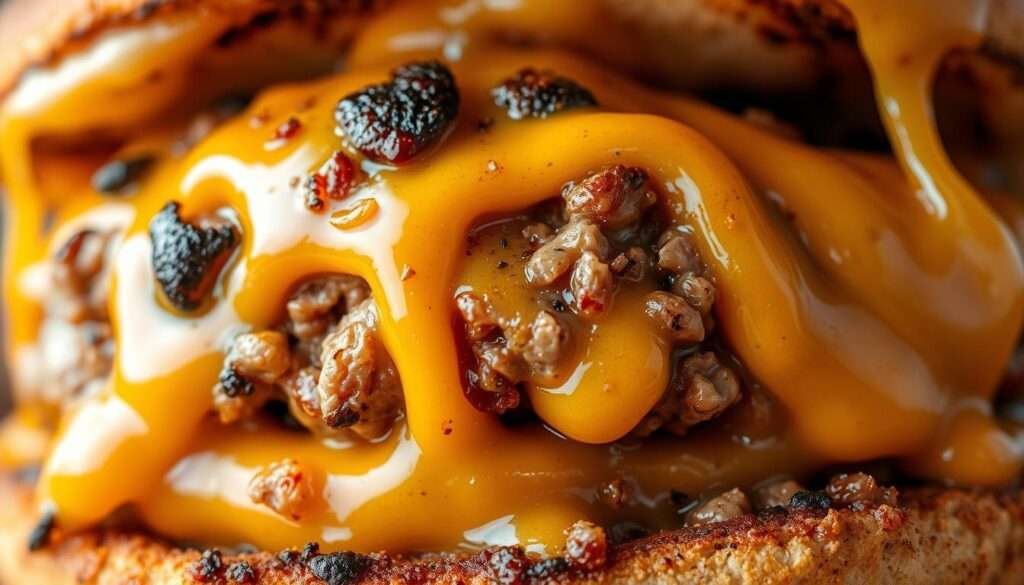
I smash and sear the ground beef on both sides so the crust stays bold under the cheese. With at least 20% fat, the beef stays juicy even after a hard sear, giving a crispier texture and richer taste.
Fast, weeknight-friendly timing with pantry staples
The whole cook clocks near 25 minutes. I use common ingredients: tortillas, american cheese, and a quick special sauce. No fancy gear needed—just a hot skillet and a firm spatula.
Nostalgic smash burger vibes with a quesadilla’s crunch
Layering cheese on both tortillas melts quickly and holds the filling. The two-tortilla build prevents sogginess and slices into neat wedges that still feel like a burger taco or smash taco mash-up.
Social media-worthy results without complicated gear
- Fast sear + cheese on both sides = tidy, crunchy wedges.
- Minimal tools and pantry ingredients deliver big flavor.
- My special sauce adds balance so you don’t need extra condiments.
| Benefit | Why it matters | Quick tip |
|---|---|---|
| Deep sear | More flavor and crisp surface | Use high heat and press firmly for 10–15 seconds per side |
| Two-tortilla build | Prevents cracking and sogginess | Cheese both sides for a glue-like bond |
| Pantry simplicity | Fast prep and easy shopping | Keep american cheese slices on hand |
Tools and Preparation Essentials
A hard sear starts with the gear — not luck — so I always pick heavy-duty cookware first.
I reach for a cast iron skillet, stainless steel pan, or a carbon steel griddle because they hold heat and give a fast, dark crust. Preheat the skillet until it barely smokes, then turn on ventilation and crack a window.
The core gear: cast iron, stainless steel, or carbon steel
Use a cast iron skillet for steady heat, a stainless steel pan for quick response, or carbon steel for a lighter, fast-heating griddle. Any of these will help you get good sear without overcooking the interior.
Why a wide, stiff metal spatula matters
I use a wide metal spatula so I can press evenly and scrape up browned bits. For an ultra-flat smash, I press with the spatula and add leverage using tongs or a second spatula.
Preheating, beef, and safety basics
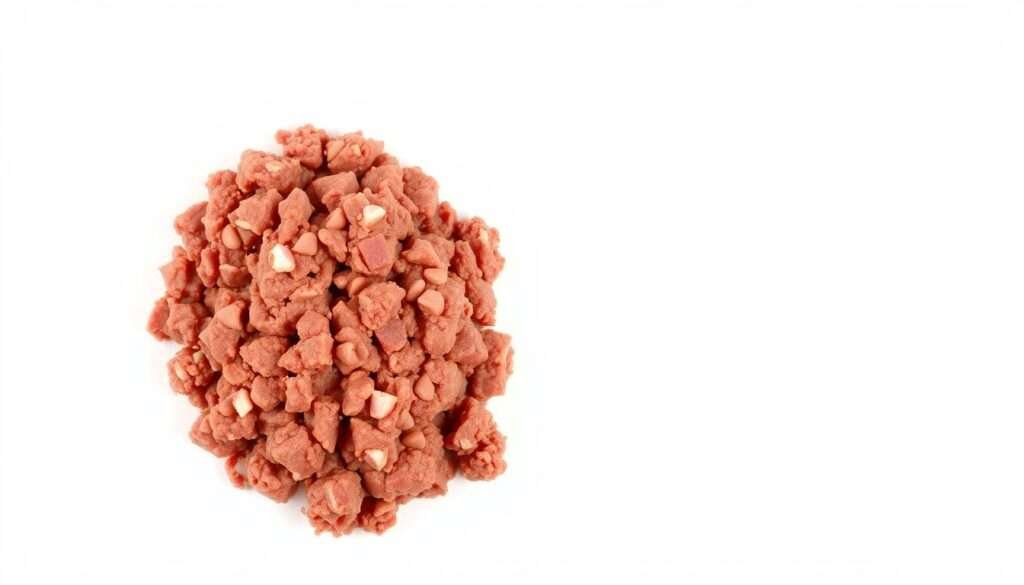
Make sure the pan is smoking hot before you add the meat. I aim for ground chuck at about 20% fat so the patty stays juicy after a hard sear.
Ventilation is key. Use the hood fan and be mindful of hot oil and flames so the high-heat cook stays safe.

| Tool | Why it matters | Heat tolerance | How I use it |
|---|---|---|---|
| Cast iron skillet | Holds steady high heat for deep crust | Very high | Preheat until smoking; sear and press thin patties |
| Stainless steel pan | Quick heat response; easy flip | High | Heat hot, scrape fond with spatula for flavor |
| Carbon steel griddle | Lightweight, fast sear across wide surface | Very high | Use for multiple patties; press with double spatula |
| Wide metal spatula | Even pressure and clean release | Metal — high heat safe | Press, flip, and scrape browned bits; pair with tongs |
Exact Ingredients and Step‑By‑Step Instructions
Let’s pin down exact ingredients and a tight step-by-step so you can cook this without guesswork.
Exact ingredients
| Ingredient | Amount | Notes |
|---|---|---|
| Mayonnaise | 6 tablespoons | For special sauce |
| Ketchup | 2 tablespoons | |
| Minced sweet pickles or relish | 2 tablespoons | |
| Granulated sugar | 1 teaspoon | |
| White vinegar | 1/2 teaspoon | |
| Ground beef | 20 ounces | Divide into four 5‑oz balls |
| Vegetable oil | 2 tablespoons | For skillet |
| American cheese slices | 16 slices | 2 per side per quesadilla |
| Flour tortillas (8–9″) | 8 | |
| Yellow onion, finely chopped | ~1 cup | Use 1–2 tbsp per build |
| Dill pickle chips | 20–24 chips | 5–6 per quesadilla |
| Shredded iceberg lettuce | 1 cup | For topping |
| Kosher salt & black pepper | To taste |
Make the special sauce
I whisk 6 tablespoons mayonnaise, 2 tablespoons ketchup, 2 tablespoons minced pickles, 1 teaspoon sugar, and 1/2 teaspoon vinegar until smooth and tangy. Chill while you cook.
Form, smash, flip, and build
- Portion 20 oz ground into four loose 5‑oz balls so they spread easily.
- Heat a 12‑inch cast iron skillet with 2 tablespoons oil until it smokes; that’s your cue to press.
- Add a beef ball, use a wide, stiff spatula to smash to tortilla diameter; season, then sear 2–3 minutes until deep brown.
- Flip the patty, top with 2 american cheese slices; cook 30 seconds, add 5–6 pickles and 1–2 tbsp onion, then press a tortilla on top.
- Flip again, add 2 more cheese slices, place second tortilla, press, then flip once more ~30 seconds to finish the cheese melt. Remove and repeat.
- Slice each into 6 wedges, top with shredded lettuce, and serve the special sauce on the side.
Pro tips for melt, crisp, and pressure
Use firm, even pressure with the spatula and brace with tongs if needed so each patty is uniformly thin.
Keep cheese slices close to the tortilla top edge to act as glue and get a full cheese melt.
Preheat the skillet hot for a crispier texture; double-sided sear gives better crust than cooking on one side alone.
Storage, Reheating, and a Tasty Send‑Off
Store leftover wedges after they cool. I stack them between parchment in an airtight container; they keep 3–4 days in the fridge.
To re-crisp, I heat a dry skillet over medium and cook 2–3 minutes per side until the tortilla top is hot and the cheese melt returns. A lid for the last 30 seconds helps warm the patty through.
For hands-off reheating, bake on a wire rack over a sheet pan at 375°F for 8–10 minutes. To freeze, wrap individual wedges tightly and freeze up to 1 month; reheat from frozen at 375°F for 15–18 minutes.
Serve sliced into six wedges with shredded iceberg, extra special sauce for dipping, and a few pickle chips. Make sure to keep sauces separate when storing so the tortilla stays crisp.
Final thoughts: edge-to-edge cheese slices, a firm press using a spatula, and a hot cast iron pan make these an easy weeknight hit. Try similar recipes like these easy cheesy loaded nachos on cuisinez-corse.