Table of Contents
ToggleEver struggled to find a quick, healthy & delicious dinner that actually fills you up? I know the feeling. A few years ago, my dad—a fitness enthusiast—wanted a snack that packed a punch without the guilt. That’s when I created a simple recipe that became a game-changer: chewy, flavorful bites with just 106 calories and 7g of protein each.
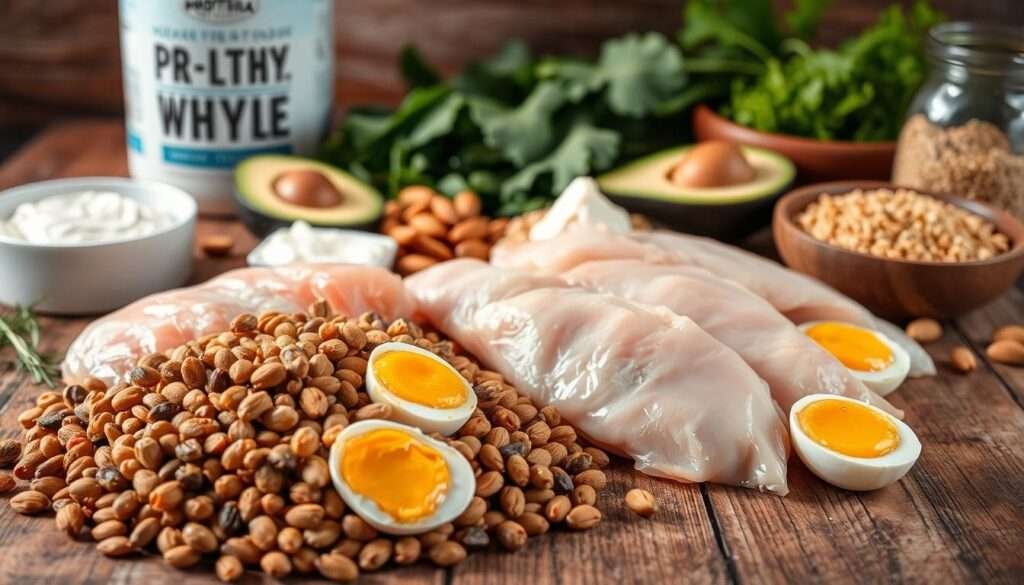
These little wonders aren’t just tasty—they’re part of a bigger plan. Pair them with a protein shake or Greek yogurt, and you’ve got a complete 30g protein meal ready in minutes. No fancy ingredients, no hours in the kitchen.
Best part? They bake in just 8 minutes and stay fresh all week. Forget those heavy, 300-calorie treats. This is nutrition made easy—perfect for busy weeknights or post-workout fuel.
Why You’ll Love These Oatmeal Raisin Protein Cookies
Dad-approved and nutritionist-backed—these are a must-try. The secret? A whey/casein protein blend that bakes perfectly, avoiding the dryness of whey isolate. Crispy edges meet a chewy texture inside, just like your favorite bakery treat.

With 50% less sugar than traditional recipes, these bites skip the guilt but keep the flavor. Plump raisins, cinnamon, and vanilla create a balanced taste—no artificial aftertaste. Plus, they’re tested with three protein powder options, so you can customize.
Dietary needs? Covered. Use gluten-free oats or vegan protein powder. Each batch makes six portions, so you won’t overindulge. My dad kept sneaking extras—proof they’re addictive!
One bowl, 8 minutes to bake, and zero eggs mean safe dough sampling. For more healthy cookies tips, check out our guide.
Exact Ingredients You’ll Need
Precision matters—here’s exactly what you’ll need for perfect results. I tested these combos to avoid dry or crumbly textures. Measure carefully, especially the rolled oats and protein powder—they make or break the batch.
Dry Ingredients
These form the base. For gluten-free needs, use certified rolled oats. Quest Multipurpose Mix works best, but whey blends (not isolates) also bake well.
| Ingredient | Amount | Notes |
|---|---|---|
| Rolled oats | ½ cup (45g) | Pack lightly to avoid density |
| Protein powder | ¼ cup (30g) | Quest or whey/casein blend |
| Brown sugar | 2 tbsp (24g) | Sub Sukrin Gold 1:1 |
Wet Ingredients
These add moisture and binding. Almond butter can swap for sunflower seed butter. Flaxseed gel replaces egg white for vegan versions.
| Ingredient | Amount | Notes |
|---|---|---|
| Almond butter | 2 tbsp (32g) | Stir well if oil separates |
| Egg white | 1 large (30g) | Or 1 tbsp flaxseed gel |
| Applesauce | 2 tbsp (30g) | Unsweetened, for moisture |
Pro tip: Weigh ingredients for accuracy. Too many rolled oats = dry texture. Lakanto Golden works like brown sugar but with zero calories.
Step-by-Step Instructions
Ready to bake? Follow these foolproof steps for perfect results every time. Whether you’re a beginner or a pro, these tips ensure your treats turn out just right.

Preparing the Dough
Start by mixing dry ingredients in a bowl. Add wet ingredients slowly to avoid clumps. If the cookie dough feels crumbly, sprinkle water (1 tsp at a time) until it holds together.
Fold in raisins evenly—no clumps! Wet your hands to shape dough into balls. This prevents sticking and keeps portions consistent. Chill for 1 hour; this firms up the dough for baking.
Baking the Cookies
Preheat oven to 350°F. Line a baking sheet with parchment paper or a silicone mat. Parchment crisps edges; mats keep bottoms soft. Space dough balls 2″ apart for even heat flow.
Bake for 8–10 minutes. Look for golden edges but soft centers—they firm up while cooling. For extra chewiness, pull them out at 8 minutes. Let them rest on the sheet for 5 minutes before transferring.
| Doneness Level | Bake Time | Texture |
|---|---|---|
| Soft & Chewy | 8 minutes | Slightly underbaked center |
| Classic | 9 minutes | Balanced chew/crisp |
| Crispy Edges | 10 minutes | Firmer throughout |
Pro tip: Double the batch? Use two baking sheets and rotate them halfway for even browning. Store cooled treats in an airtight container for up to 5 days.
Tools and Utensils Needed
Gathering the right tools makes baking effortless and mess-free. With a few essentials, you’ll achieve perfect texture and consistency every time. Here’s what I use for foolproof results.

- Mixing bowls (1 medium, 1 large): Keep dry and wet ingredients separate.
- Parchment paper: Prevents sticking and ensures easy cleanup.
- Measuring cups and spoons: Use durable stainless steel for sticky ingredients.
- Silicone spatula: Scrapes dough efficiently without waste.
Baking Sheet Comparison: Dark pans bake faster, while light ones distribute heat evenly. Here’s a quick guide:
| Type | Best For | Watch Out For |
|---|---|---|
| Dark Nonstick | Crispy edges | Reduce oven temp by 25°F |
| Light Aluminum | Even browning | May require extra baking time |
Pro Tips:
- Use a digital scale for precise measurements—especially for protein powder.
- Cooling racks prevent soggy bottoms. No rack? Prop a baking sheet on cups.
- Store in airtight glass containers to maintain freshness for 5 days.
Clean protein powder residue immediately with warm water. Over-mixing toughens dough—fold gently for a chewy bite.
Customize Your Protein Cookies
Swap, tweak, or upgrade—your recipe, your rules. Replace raisins with chocolate chips or walnuts for a crunch. Love coconut? Fold in shredded flakes for a tropical twist.
Going vegan? Use plant-based protein and flax eggs. For a kid-friendly version, shape dough into fun animals or stars. Holiday vibes? Add cinnamon or festive sprinkles.
Turn these into bars by pressing dough into a lined dish. Prefer peanut butter? Swap it for almond butter—just adjust liquids to avoid dryness. For more flavor combos, check our guide.
Pro tip: Stick to tested ratios. Too many swaps can change texture. Happy experimenting!