Table of Contents
ToggleI still remember the first time the smell of toasted marshmallow and melted chocolate filled my kitchen instead of a campfire. I wanted that sticky, warm nostalgia without the smoke or the mess, so I turned the classic s’mores into a simple, oven-baked dessert I can make any night.
I’m bringing campfire flavors inside with a thick, buttery graham cracker base, rivers of chocolate, and a soft marshmallow crown that bakes up gooey and golden. This recipe uses marshmallow creme for reliable oven results and bakes at 350°F in an 8- or 9-inch pan for chewy, bakery-style slices.
These are perfect for summer cookouts, weeknight treats, or a potluck. I’ll walk you through simple prep, smart swaps, and storage tips so you can make ahead, freeze extras, or serve warm right from the pan.
Meet My Gooey, Golden S’more Bars Recipe
I set out to trap that gooey, toasted taste in a simple pan so anyone could enjoy it any night. The aroma of warm chocolate and a lightly toasty top fills the kitchen in under an hour.
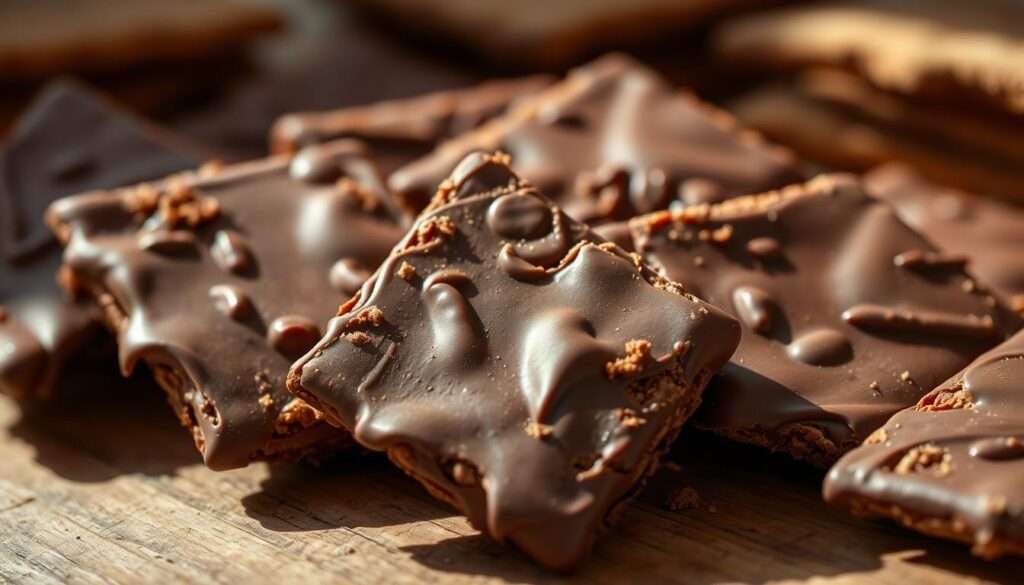
The texture is the best part: a soft, slightly crumbly graham cookie base, a molten chocolate middle, and a marshmallow cream top that browns without disappearing. It’s quick to pull together and forgiving if you’re short on time.
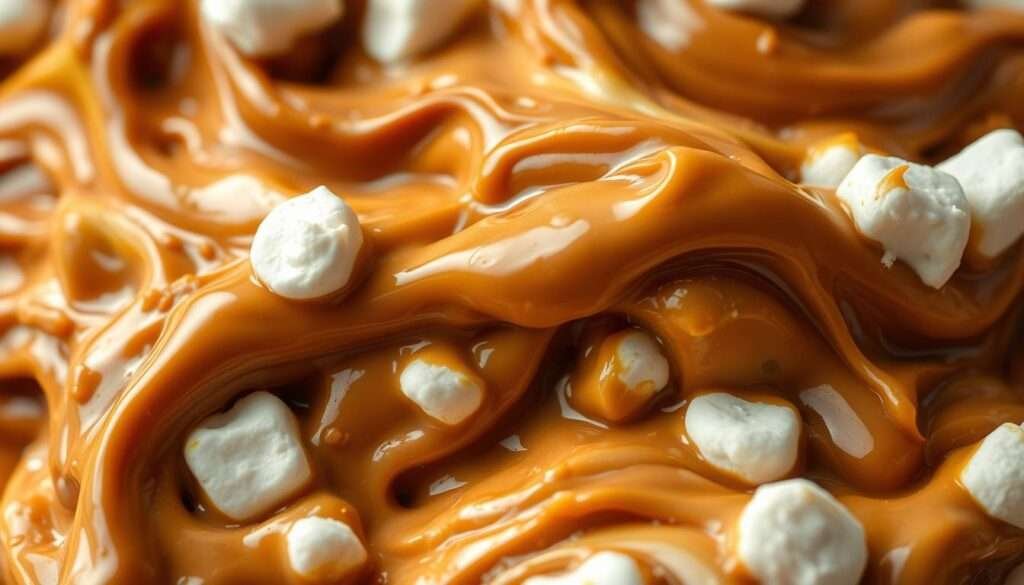
- I use marshmallow creme—store-bought or homemade—because it holds up in the oven and gives a plush finish.
- Mix, press, layer, and bake at 350°F in an 8- or 9-inch pan for 25–30 minutes; no torch or campfire needed.
- The top layer doesn’t need to fully cover; little pockets of chocolate and marshmallow look bakery-styled right out of the oven.
| Quick Fact | Detail | Why it matters |
|---|---|---|
| Pan size | 8- or 9-inch | Keeps bake time short and texture balanced |
| Oven temp | 350°F | Golden top without overbaking the middle |
| Bake time | 25–30 minutes | Gives gooey center and set edges for neat slicing |
| Main ingredients | graham crumbs, chocolate, marshmallow cream | Pantry staples for fast prep |
Why You’ll Love It
I want desserts that respect my time and taste. These pan treats come together fast, travel well, and still deliver that warm, nostalgic campfire flavor.
Highlights at a Glance: Easy, Quick, Crowd-Pleasing
- Easy: The batter mixes fast, layers neatly, and bakes in about 25–30 minutes, so it fits right into a busy weeknight.
- Quick cleanup: One bowl for wet, one for dry, and one pan to bake—simple gear, simple washup, maximum payoff.
- Consistent results: Using marshmallow creme and a graham crackers–enriched base keeps the structure stable while the chocolate stays molten.
- Crowd-pleasing: This s’mores-style treat is nostalgic and portable, always devoured at cookouts and parties.
| Benefit | Why it matters | Typical minutes |
|---|---|---|
| Fast prep | Ready for guests without last-minute stress | 10–15 |
| Simple cleanup | More time to socialize, less to wash | 5–10 |
| Reliable texture | Gooey center, toasted top every bake | 25–30 |
If you want variations, check a related vegan take on a magic cookie recipe for more ideas and tips.
S'more Bars Ingredients You’ll Need
A few measured cups and a little butter turn common crumbs into a sturdy, tender base. Below I list everything you need for an 8- or 9-inch pan, plus swaps if your pantry looks different.
Graham Cracker Base: Crumbs, Butter, Sugar, a Pinch of Lift
- 1/2 cup (113g) unsalted butter, softened
- 3/4 cup (150g) packed brown sugar
- 1 large egg
- 1 teaspoon vanilla
- 1 cup (125g) all-purpose flour
- 1 cup (120g) graham cracker crumbs (about 8 full crackers)
- 1/2 teaspoon baking powder
- 1/4 teaspoon salt
Chocolate Layer: Chocolate Chips or Classic Hershey Bars
- 1 cup (180g) semi-sweet chocolate chips — or chop 2–3 Hershey bars to mix for texture
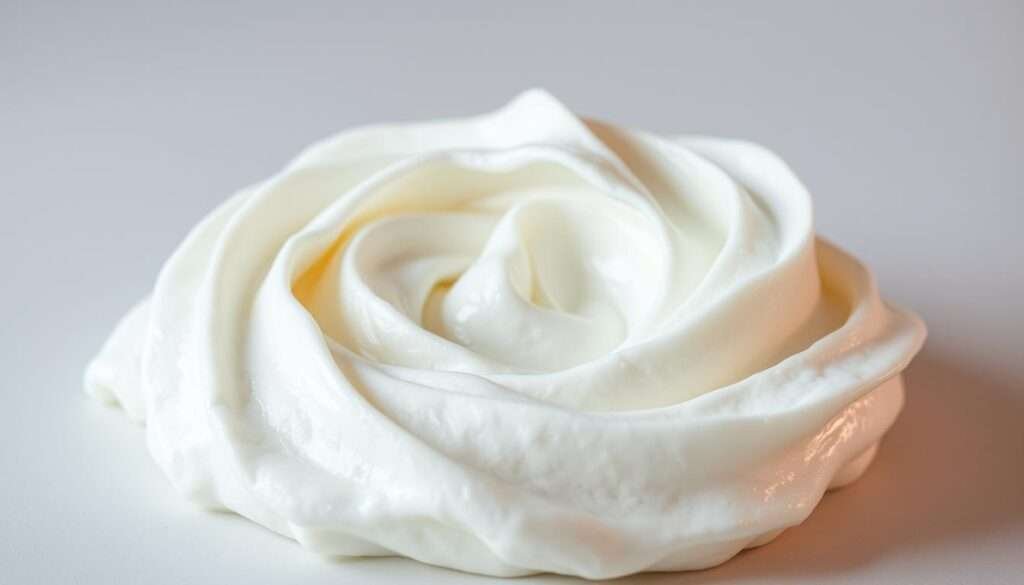
Marshmallow Layer: Marshmallow Creme for Oven Staying Power
- About 1 heaping cup marshmallow creme (use 1 1/4 cups if homemade)
Pantry Notes & Smart Substitutions
- Scale up: double all ingredients for a 9×13 pan; bake ~35–38 minutes.
- If graham crackers aren’t available, use finely crushed digestive crackers or graham-style gluten-free crumbs.
- Swap milk or dark chocolate, or mix chocolate chips with chopped bars for varied melt and bite.
- Allergy tweak: choose certified gluten-free graham-style crumbs and a GF flour blend.
| Ingredient | Amount | Substitution |
|---|---|---|
| Graham cracker crumbs | 1 cup (120g) | Digestive biscuits or GF crumbs |
| Butter | 1/2 cup (113g) | Use stick butter for reliable water content |
| Chocolate | 1 cup (180g) | Milk, dark, or chopped Hershey bars |
Step-by-Step Instructions for Perfect Bars
I’ll walk you through each step so your oven delivers a golden top and a melty center. These directions are numbered for easy follow-along and timed to fit the bake schedule below.
Prep & Pan
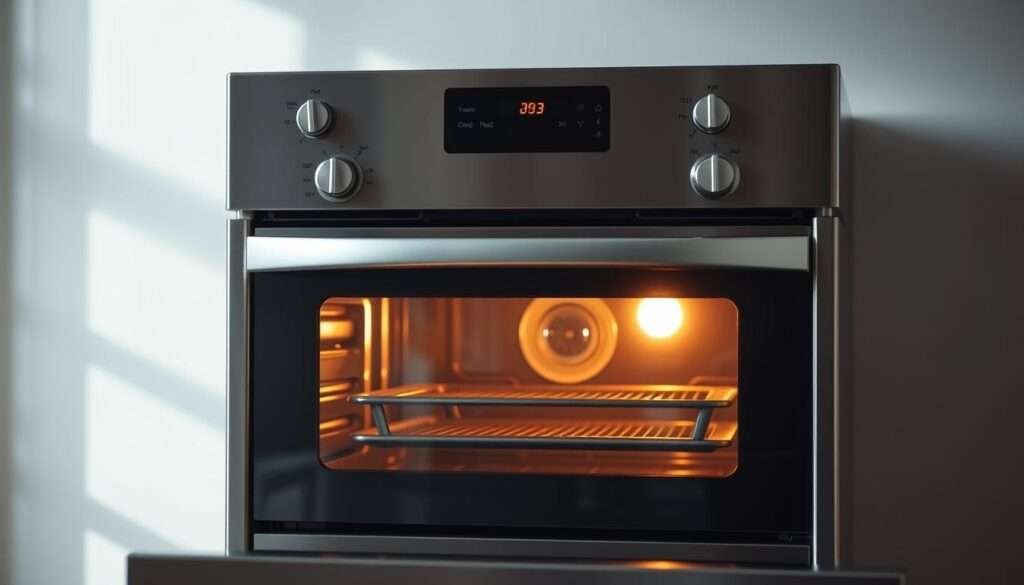
- Preheat the oven to 350°F (177°C). Line an 8- or 9-inch square pan with parchment, leaving an overhang, and lightly grease the baking pan edges.
- Beat 1/2 cup softened butter and 3/4 cup brown sugar until fluffy. Add the egg and vanilla, scraping the bowl as needed.
- Whisk flour, graham crumbs, baking powder, and salt. Stir into the wet mix until just combined.
Layer & Bake
- Press about 2/3 of the dough into the pan to form a thin base. It will puff slightly as it bakes.
- Scatter 1 cup chocolate chips evenly over the base so each bite melts nicely.
- Gently spread marshmallow creme over the chips with an offset spatula or a lightly greased spoon.
- Flatten and arrange pieces of the remaining dough over the filling, leaving gaps so chocolate and marshmallow peek through.
- Bake 25–30 minutes at the set temperature, until edges are set and the surface is lightly golden brown.
Cool & Slice
- Let the pan cool to room temperature. Use the parchment overhang to lift the whole slab onto a cutting board.
- For clean slices, chill briefly if needed. Run a knife under hot water, dry it, and slice; rewarm between cuts for neat edges.
If you double the recipe for a 9×13 baking pan, bake about 35–38 minutes. You can freeze finished pieces up to 3 months.
| Pan Size | Bake Time | Yield | Notes |
|---|---|---|---|
| 8- or 9-inch square pan | 25–30 minutes | 9–12 pieces | Use parchment with overhang for easy lift |
| 9×13 baking pan | 35–38 minutes | 24–30 pieces | Double recipe, check center for set edges |
| Freezing | Up to 3 months | Varies | Thaw to room temperature before serving |
Tips & Variations to Make Them Yours
A few small adjustments let you tailor flavor, texture, and ease without slowing prep.
Marshmallow creme vs. marshmallows
I use marshmallow cream because it holds shape and gives a plush, gooey layer. Whole marshmallows often melt into the dough and leave craters, so they can vanish during baking.
Chocolate swaps
Mix semi-sweet chocolate chips with chopped chocolate bars for pockets of melt and chew. Use milk for sweet, dark for depth, or add chopped peanut butter cups for a fun twist.
Graham cracker crust troubleshooting
If butter pools when you mix graham cracker crumbs, add more crumbs or a spoonful of powdered sugar until the mix presses together. Aim for moist, not wet, so the crust bakes even.
Cutting clean bars
Let the pan cool, chill briefly, then slice with a warm, sharp knife. Reheat the blade and wipe between cuts for neat, bakery-style pieces.
| Issue | Fix | When to use |
|---|---|---|
| Marshmallows melting | Use marshmallow cream instead | Oven baking, want a stable top layer |
| Butter pooling in crust | Add more cracker crumbs or powdered sugar | Mixture too wet to press |
| Messy slices | Chill then cut with warm knife | Want clean presentation |
Utensils and Tools I Use (with a Handy Table of Uses)
A small set of reliable utensils makes this recipe repeatable and stress-free. These tools cut prep time and help the filling bake evenly so each pan comes out with a golden top and gooey center.
What I Reach For: Mixer, Offset Spatula, Parchment, Cooling Rack
- Stand or hand mixer — I use this to cream butter and sugar fast. It gives a light base that presses well into the pan.
- Mixing bowls (large and medium) — Keeping wet and dry separate speeds up prep and keeps bowls tidy for fast cleanup.
- Whisk and flexible spatula — The whisk aerates dry ingredients. The spatula folds batter and scrapes every last bit out of the bowl.
- Offset spatula — This is my go-to for spreading sticky marshmallow layers smoothly without tearing parchment.
- Parchment with overhang — Lining the baking pan lets me lift the whole slab out for easy slicing and serving at room temperature.
| Tool | Use | Why I Keep It |
|---|---|---|
| 8- or 9-inch square pan | Even baking for the original recipe | Reliable heat distribution and neat portioning |
| Electric mixer | Creaming butter and sugar | Saves time and gives airy texture to the graham cracker base |
| Cooling rack | Letting the slab cool without soggy edges | Helps the center set while the edges finish baking |
| Sharp chef’s knife | Clean slicing through chocolate chip pockets and marshmallow | Warm the blade for tidy cuts and better presentation |
Nutrition Facts Per Serving
I find it helpful to convert the full pan into per-piece nutrition so I can enjoy one mindfully. For this 8–9 inch recipe cut into 16 squares, expect a single serving to fall in the 220–260 kcal range.
Estimated nutrition for 1 of 16 servings (typical):
- Calories: 240 kcal
- Total Fat: 11 g (Saturated Fat: 6 g)
- Cholesterol: 30 mg • Sodium: 120 mg
- Total Carbohydrate: 34 g (Fiber: 1 g, Sugar: 22 g)
- Protein: 3 g
These numbers vary by ingredient brands and exact cup measures of crumbs, chocolate chip amount, and marshmallow creme. Choosing darker chocolate lowers sugar slightly. Adding extra chips or bigger chunks raises calories.
| Factor | Effect on per-piece | Tip |
|---|---|---|
| Chocolate type | Darker = less sugar; milk = sweeter | Use semi-sweet or dark for lower sugar |
| Portion size | Smaller cuts lower calories; thicker raise them | Cut 16 for ~240 kcal; 24 pieces for smaller portions |
| Ingredient brands | Marshmallow creme and chips change totals | Weigh your pan before/after baking for exact tracking |
Storage and Make-Ahead
Storing these treats the right way saves time and keeps the chocolate melty and the cracker bottom crisp. Below I share how I keep a pan ready for guests, travel, or a late-night craving.
Room Temperature in an Airtight Container
I store cooled slices in a single layer inside an airtight container at room temperature for 3–5 days. I’ve kept them fresh up to a week when the container seals tightly and the room is cool.
To prevent sticking, I separate layers with parchment. Keep the container out of direct sun and away from heat sources to protect the marshmallow cream and chocolate chips.
Refrigerate or Freeze for Later (Thaw to Room Temperature)
- Make-ahead: Bake a day early, cool completely in the pan, then cover tightly so the top and bottom don’t dry out.
- Refrigerate: Store in a lidded container up to 5 days; bring slices to room temperature before serving for best texture.
- Freeze: Wrap individual bars, place them in an airtight container or freezer bag, and freeze up to 3 months. Thaw overnight in the fridge, then bring to room temperature.
- Clean slicing: Chill the pan briefly before cutting, then use a warm knife for tidy edges.
- Texture refresh: Zap a slice 5–10 seconds in the microwave to revive the gooey center and soften chips.
| Storage | Where | Time |
|---|---|---|
| Room temp, sealed | Airtight container | 3–5 days (up to 7 if cool) |
| Refrigerated | Lidded container | Up to 5 days; bring to room temperature before serving |
| Frozen | Wrapped, in airtight container | Up to 3 months; thaw in fridge then to room temp |
Bring Summer Inside: Bake, Share, and Tag Me with Your Bars
Grab your favorite baking pan and let the kitchen smell like summer in minutes. Mix the crumbs, cream the butter and sugar, layer chocolate and marshmallow, and watch the top turn golden brown.
Slice thin for a crowd or keep each bar thick for a special dessert. If you’re short on time, do the prep the night before; chill, then cut with a warm knife for clean edges.
Try mixing chocolate chips with chopped chocolate bars, or sprinkle a bit of flaky salt over the layer to balance sweetness. Keep an eye on the oven when broiling marshmallows — it takes seconds to go from toasty to too dark.
I can’t wait to see your pans straight from the oven. Tag me with your photos and tell me how you tweaked the graham cracker crumbs, cups of chocolate, or marshmallows. Happy baking!