Table of Contents
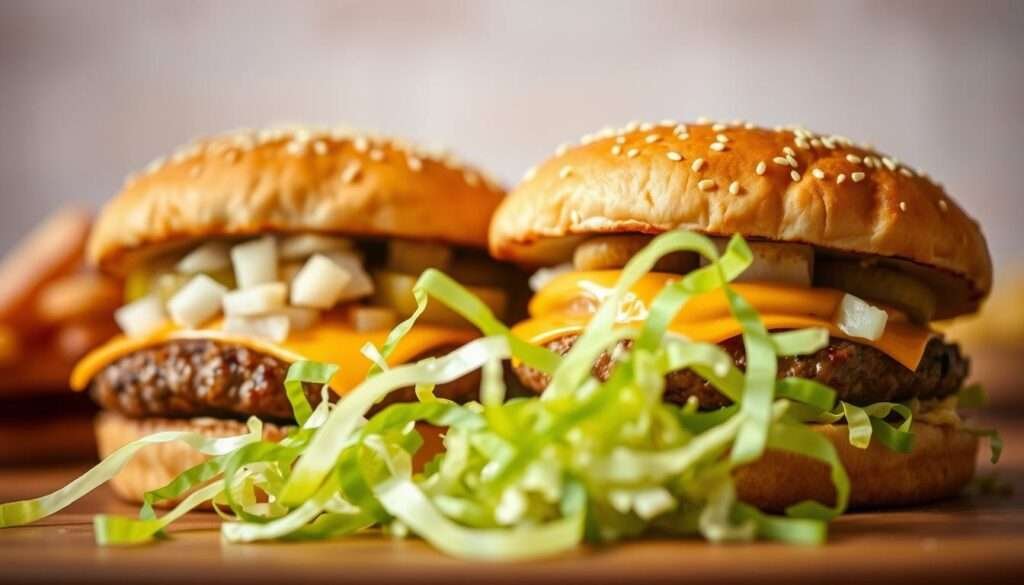
ToggleRemember the first bite of your favorite fast-food burger? That mix of savory beef, tangy sauce, and melty cheese? Now, imagine those flavors baked into a hearty, home-cooked dish. That’s the magic of this casserole.
Inspired by a classic fast-food icon, this recipe turns nostalgia into a 30-minute weeknight hero. Layers of seasoned potatoes, juicy beef, and that signature sauce come together effortlessly. It’s comfort food with a playful twist.
Families love it. Picky eaters devour it. And thanks to simple swaps, it’s even gluten-free friendly. Whether you’re craving familiarity or feeding a crowd, this dish delivers smiles—no drive-thru required.
Introduction: A Cheesy, Beefy Twist on a Classic
What if you could enjoy iconic flavors without leaving home? This dish captures everything you love about the *classic Big Mac*—juicy beef, tangy sauce, and melty cheese—but baked into a wholesome casserole. No drive-thru required.
I tested three versions to perfect the balance. Lean *ground beef* (96/4) keeps it hearty but lighter than fast food. Worcestershire sauce adds a rich depth you won’t find under golden arches.
Game nights or potlucks? It’s a guaranteed hit. TikTok food trends inspired the layers: crispy potatoes stand in for buns, and the sauce? Just like the original—minus the guilt.
Dietary tweaks are easy too. Use gluten-free breadcrumbs or skip the cheese for keto fans. Every bite delivers that nostalgic punch, but better.
Why You’ll Love This Big Mac Casserole
Craving that iconic burger taste but want something heartier? This dish packs all the flavors you love into a fuss-free, family-sized meal. No flipping patties or toasting buns—just layers of goodness baked to perfection.
All the Flavors, Half the Effort
Skip the drive-thru shuffle. One pan replaces assembling six burgers, saving you 20 minutes. Lean ground beef (96/4) keeps it lighter, while Worcestershire sauce adds depth. Customize the spice with jalapeños or keep it mild.
Family-Friendly and Crowd-Pleasing
Picky eaters? Solved. My tester’s kids devoured it, especially with extra cheese. The table below shows why it’s a smarter choice than takeout:
| Homemade | Fast Food | |
|---|---|---|
| Calories | 393 | 540 |
| Protein (g) | 30 | 25 |
| Prep Time | 10 mins | 15 mins* |
*Includes drive time.
Meal Prep Magic
Freeze it unbaked for busy weeks or portion into silicone muffin cups for grab-and-go lunches. The sauce stays fresh separately for 4 days. One dish means less cleanup—more time for seconds.
Ingredients You’ll Need
Quality ingredients make all the difference in recreating that signature taste. Each component plays a role, from the savory base to the tangy sauce. Here’s what to grab:
For the Casserole Base
Start with 1 lb of lean ground beef (96/4). It’s juicier than 90/10 but not greasy. Pair it with 1 lb of russet potatoes—fresh, not frozen, for crispier layers.
Dice ½ a white onion. Its sharpness balances the beef better than yellow onions. For cheese, shred a block of cheddar. Pre-shredded bags contain anti-caking agents that affect meltability.
For the Big Mac Sauce
Mix ¼ cup mayo, ¼ cup ketchup, and ¼ cup chopped dill pickles. Their brine adds acidity, mimicking the original. Lea & Perrins Worcestershire sauce deepens the flavor.
Toppings
Keep it fresh with shredded lettuce, diced tomatoes, and extra dill pickles. For vegan versions, swap beef for plant-based crumbles and use eggless mayo.
Pro tip: Ore Ida frozen potatoes work in a pinch, but fresh russets deliver the best texture.
Tools and Utensils
The right tools can turn a good dish into a great one. For even baking and crispy edges, a 9×13 baking dish works best. An 8×8 pan crowds ingredients, while a larger dish ensures golden layers.
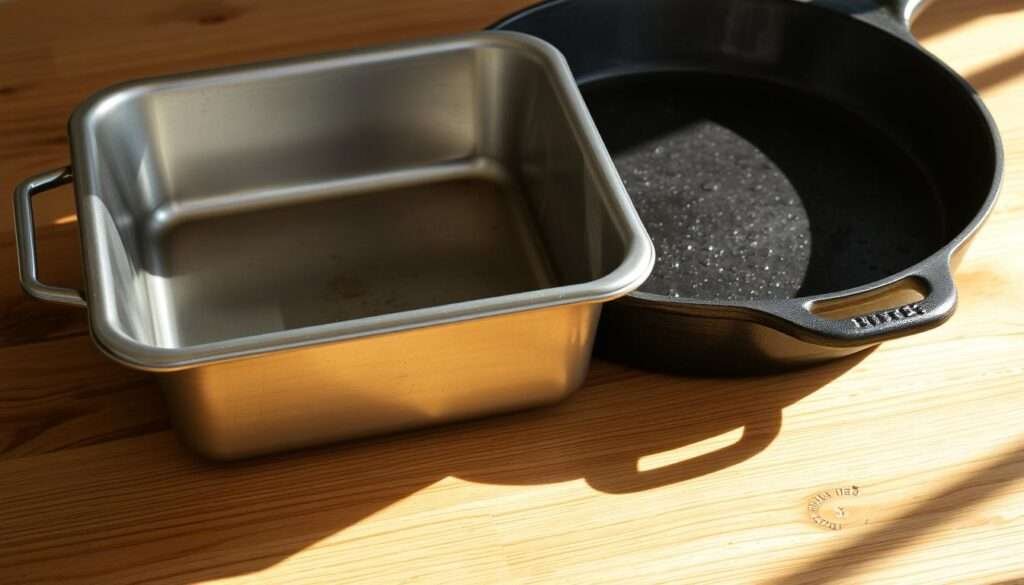
Use a skillet for browning beef. Cast iron adds crispness, but non-stick pans simplify cleanup. My go-to is a 10-inch Lodge skillet—it sears meat perfectly and transitions to the oven.
Preheat your oven to 375°F for ideal results. Metal pans heat faster than glass, which can cause uneven cooking. Line the dish with foil for easy serving and less scrubbing.
Multi-use tools save time. A box grater shreds cheese and chops veggies. Skip single-task gadgets like meat choppers—a wooden spoon breaks up ground beef just fine.
Pro tip: Avoid glass bakeware for this recipe. It slows browning, while stainless steel delivers that crave-worthy crust. And for melty cheese? A Microplane shredder beats pre-shredded bags every time.
Step-By-Step Cooking Instructions
Transform your kitchen into a burger lover’s dream with these foolproof steps. Each layer builds flavor, while simple tricks ensure crispy potatoes and melty cheese. Let’s dive in.

Step 1: Prep the Potatoes and Beef
Par-cook sliced russet potatoes in boiling water for 5 minutes. This softens them slightly but keeps their structure. Drain well to avoid a soggy base.
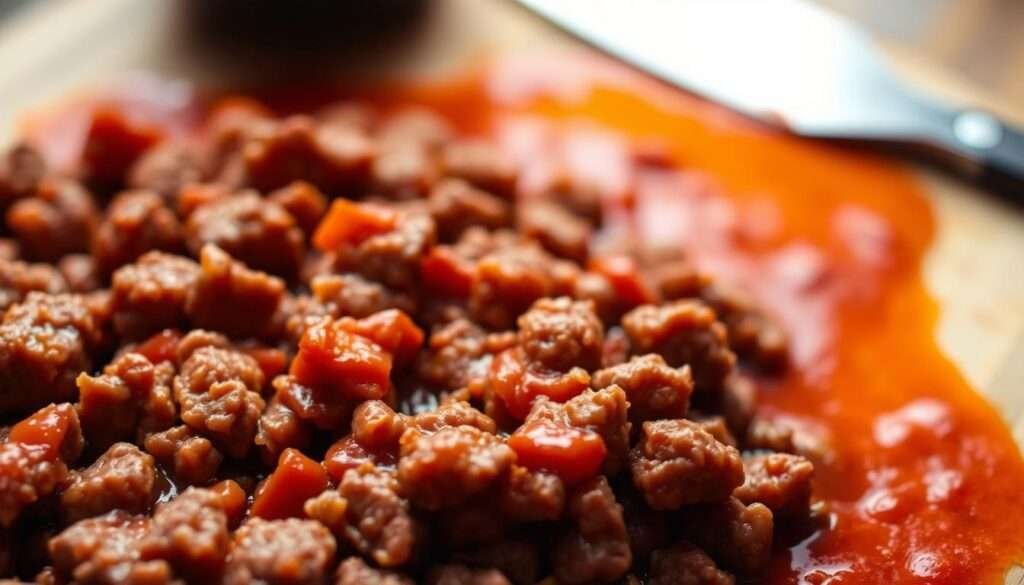
Brown 1 lb lean ground beef in a skillet over medium heat. Add diced onions and Worcestershire sauce for depth. Drain excess grease to keep layers crisp.
Step 2: Layer and Bake
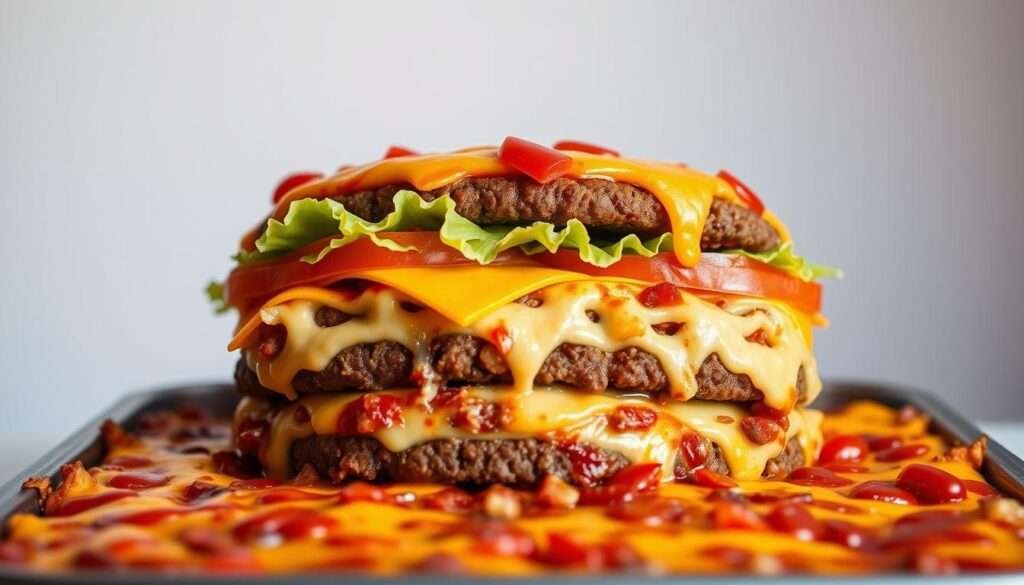
Start with half the potatoes in a greased 9×13 dish. Top with the beef mixture, then a cheese barrier. This prevents sogginess. Repeat layers, ending with cheese.
Bake covered at 375°F for 15 minutes. Uncover and bake 20 more minutes until bubbly and golden. The edges should crisp slightly.
| Stage | Time | Visual Cue |
|---|---|---|
| Covered Bake | 15 minutes | Steamy edges |
| Uncovered Bake | 20 minutes | Golden cheese crust |
Step 3: Make the Signature Sauce
Whisk mayo, ketchup, pickle brine, and Worcestershire sauce. Emulsify slowly to avoid separation. If it splits, add 1 tsp hot water and whisk again.
Chill the sauce until serving. This thickens it and blends flavors. Stir before drizzling.
Step 4: Assemble and Serve
Top the baked layers with shredded lettuce, diced tomatoes, and extra pickles. Drizzle sauce generously. Serve immediately to keep toppings crisp.
Pro tip: Play a 35-minute playlist while baking. Use the time to tidy up—your kitchen will sparkle by mealtime.
Pro Tips for the Best Results
Small tweaks make a big difference in texture, taste, and presentation. Whether you’re a beginner or a seasoned cook, these tricks ensure every bite shines.
Choosing the Right Ground Beef
Fat content impacts flavor and juiciness. Here’s the breakdown:
| Type | Fat % | Best For |
|---|---|---|
| Lean | 96/4 | Healthier option, less grease |
| Standard | 80/20 | Richer flavor, crispier edges |
For maximum Maillard reaction, pat dry the ground beef before browning. This prevents steaming and boosts caramelization.
Keeping Toppings Crisp
No one likes soggy lettuce. Store it in a bowl with a paper towel to absorb moisture. Add it just before serving for crunch.
Cheese melts best at 375°F. Shred it cold for even distribution. Pre-shredded blends often contain starch, which can make sauces grainy.
Doubling the Sauce
Love extra drizzle? Multiply the sauce by 1.5x. Whisk in pickle brine slowly to avoid separation. Freeze leftovers in ice cube trays for 3 months.
Emergency swaps: No Worcestershire sauce? Use soy sauce + a pinch of sugar. Out of mayo? Greek yogurt adds tang with fewer calories.
Pro tip: Swirl the sauce on top with a spoon for Instagram-worthy layers. And always measure spices level—heaping teaspoons can overpower the dish.
Serving Suggestions
Turn dinner into a celebration with these creative serving ideas. A 230g portion pairs perfectly with sweet potato fries or a crisp side salad. Whether it’s a weeknight meal or a themed party, these tips make every bite special.
Perfect Pairings
Balance richness with fresh flavors. Try these combos:
- Adults: A hoppy IPA cuts through the cheese, while Pinot Noir complements the beef.
- Kids: Serve with apple slices and a “Happy Meal”-style toy for fun.
- Gluten-free: Swap toppings onto toasted gluten-free buns for a handheld option.
| Side Dish | Why It Works |
|---|---|
| Kale Caesar Salad | Tangy dressing mirrors the sauce |
| Roasted Sweet Potatoes | Natural sweetness balances saltiness |
Presentation Hacks
Make it Instagram-worthy:
- Layer toppings in stripes for a “deconstructed burger” look.
- Use cookie cutters to shape servings into fun portions for kids.
- Print activity placemats with burger-themed puzzles to keep little hands busy.
Storage and Reheating
Leftovers don’t have to mean sacrifice—here’s how to preserve flavor. With the right techniques, you can enjoy this dish for days or even months. Let’s break down the best ways to store and revive your meal.
Fridge vs. Freezer
For short-term storage, use an airtight glass container in the fridge. Glass prevents odors and maintains texture better than plastic. It stays fresh for up to 4 days.
Freezing? Wrap portions tightly in foil, then place in a zip-top bag. Squeeze out excess air to prevent freezer burn. Label with the date—it lasts 3 months in the freezer.
Reviving Leftovers
Skip the microwave’s soggy results. Instead, reheat in an air fryer at 350°F for 5 minutes. The edges crisp up like day one.
- Food safety first: Reheat to 165°F internally.
- Texture timeline: Day 1: Crispy. Day 3: Softer but still tasty.
- Leftover hack: Chop and stuff into tortillas for easy taco filling.
My favorite trick? Freeze sauce in ice cube trays for single-serving portions. Pop one out whenever cravings strike.
Conclusion: Comfort Food Made Easy
There’s something magical about turning a fast-food favorite into a homemade masterpiece. With over 100 five-star reviews, this dish proves that comfort food doesn’t need to be complicated. It’s quick, packed with flavor, and adapts to any diet.
I created this recipe to bring families together around the table. The tangy sauce, crispy potatoes, and melty cheese make it a crowd-pleaser every time. Share your creations with me—I love seeing your twists!
Hungry for more? Stay tuned for new burger-inspired recipes coming soon. Until then, gather your loved ones and dig in. Good food, happy memories—that’s what it’s all about.