Table of Contents
ToggleI still remember the first time I slid this bubbling bake into the oven. It felt like wrapping my family in a warm, simple hug after a long day. The layers of thin potatoes, savory seasoned meat, creamy soup sauce, and a molten cheese top made weeknight dinner feel special without fuss.
In this post I’ll walk you through every step I use to get consistent results. I use a 9×13-inch pan and let the oven do most of the work: covered for 60 minutes, uncovered for 30, then rest 10 minutes before slicing.
Below you’ll find exact can sizes, cups, and pounds, a tools-and-prep table, clear timing and slicing tips, and storage and reheating advice so leftovers stay moist. I also share simple swaps—extra veggies, spice tweaks, or crunchy fried onion topping—so you can make it yours.
This tested family favorite delivers big flavor in under two hours of mostly hands-off oven time. Read on and you’ll be ready to shop, bake, and enjoy.
What I Love About This Rustic Ground Beef and Potato Bake
When I want a filling, no-fuss dinner, this layered pan meal delivers every time. It uses simple pantry staples, bakes in one dish, and serves a crowd without much hands-on time.
Comforting, budget-friendly, and big on flavor
I love that the layered potatoes, well-seasoned beef, and creamy sauce combine into a cohesive, comforting casserole with minimal prep. The flavors are familiar—melty cheese, tender potatoes, browned meat—and they please picky eaters.
Perfect for busy weeknights and family gatherings
The one-pan approach saves the most time. I brown meat with onions and garlic, assemble the layers, and let the oven do the work while I tidy up.
- Affordable ingredients—potatoes, beef, canned soup—keep costs low.
- Scales easily for potlucks and travels well for family visits.
- Leftovers reheat nicely, so lunch the next day stays satisfying.
Why You Will Love This Recipe
I love how this dish uses pantry staples to create a cozy, nostalgic meal without fuss. With canned soups, milk, shredded cheese, and a few potatoes and aromatics, you can pull dinner together any night.

Simple pantry ingredients that deliver cozy, nostalgic vibes
This version leans on basics—condensed soup, milk, and shredded cheese—so you rarely need a special grocery run. The onion and garlic add a warm, familiar base that echoes classic family dinners.
Customizable layers: beef, potatoes, cheese, and creamy sauce
The layered format makes swaps easy. Use Yukon Gold or Russet potatoes, change the cheese blend, or stir in sour cream for a richer sauce. You can add carrots or peas and still follow the same steps.
One-pan convenience with minimal cleanup
Everything goes into a single 9×13 pan. Browning the ground beef and aromatics first keeps the filling flavorful, while the sauce binds the layers so the potatoes soak up taste and stay moist.
| Pantry Item | Easy Swap | Why It Helps |
|---|---|---|
| Condensed soup + milk | Sour cream or cream-of-mushroom | Creates a simple, binding sauce that keeps layers tender |
| Shredded cheese | Cheddar blend or Monterey Jack | Melts to a savory brown top and balances creaminess |
| Potatoes | Yukon Gold / Russet | Choice affects texture—waxier or fluffier slices |
| Ground beef | Ground turkey or vegetarian crumble | Keeps filling hearty while accommodating preferences |
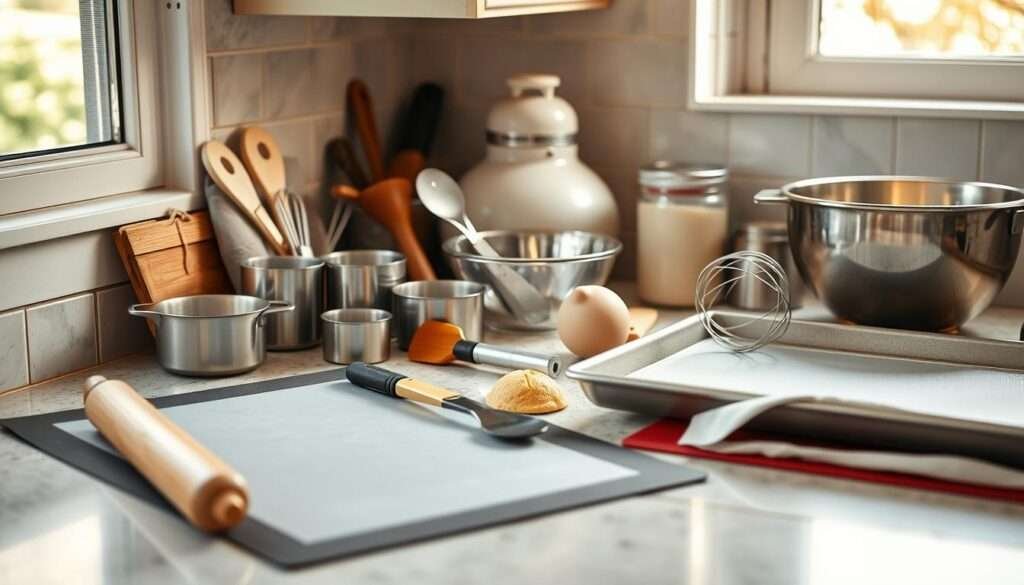
Tools and Preparation
Before I heat the oven, I set out the pans and tools that make this bake smooth and stress-free. A little setup saves time and keeps the pan tidy while it bakes at 375°F.
Core tools I use
- Large skillet to brown beef with onions and garlic.
- 9×13-inch casserole dish for layering and even baking.
- Sturdy aluminum foil to cover the pan and tent over cheese.
- Cutting board and sharp knife for thin potato slices and diced onion.
- Measuring cups and spoons so the cup quantities are exact.
Prep steps to speed assembly
I thin-slice potatoes so they finish tender during the covered bake. I dice onions evenly so slices cook at the same rate.
I mince garlic and keep a colander handy to drain excess fat after browning. I whisk soups and milk in a mixing bowl for a smooth sauce.
Time-savers that help on weeknights
- Pre-chopped onions or jarred minced garlic to shave prep time.
- Pre-shredded cheese so you can layer and pop it into the oven quickly.
- Line up ingredients (mise en place) so you cut overall time and stay organized.
| Tool | Purpose | Tip |
|---|---|---|
| Skillet | Brown beef and aromatics | Drain in colander before layering |
| 9×13 pan | Layer and bake evenly | Tent foil, then uncover for browning |
| Measuring cups | Accurate soup and milk amounts | Use a full cup measure for consistency |
Importance of Each Tool & Usages [Table]
Good tools make the difference between a sloppy bake and a golden, even finish. I set items out in order so each step flows without scrambling.

| Tool | Why it matters | How I use it |
|---|---|---|
| 9×13-inch casserole dish | Even surface area helps layers cook through and the top brown | Layer ingredients so slices fit flat; center rack for steady baking |
| Large skillet | Consistent pan heat lets onions and meat brown and flavor bloom | Brown aromatics, then drain before layering to avoid sogginess |
| Colander | Removes excess fat so the final dish feels light and balanced | Drain skillet contents over the sink before mixing with sauce |
| Mixing bowl & whisk | Creates a lump-free sauce that distributes evenly across layers | Whisk condensed soup and milk (use a measured cup) until smooth |
| Aluminum foil | Traps steam for tender potatoes while protecting the cheese on top | Tent foil for most of the bake, then uncover to brown the top |
- Oven notes: keep consistent heat at 375°F and watch the rack position for even browning.
- Safety tip: lift foil away from you to avoid hot steam; use oven mitts for hot pans.
Exact Ingredients [Table] with Precise Quantities for Best Results
Precision matters for a consistent, tender bake. Below I list every ingredient with the exact amounts and can sizes I use so shopping is simple and the final dish turns out as intended.

| Ingredient | Amount | Can / Size | Used In |
|---|---|---|---|
| Ground beef | 1 pound | n/a | Browned with onion and garlic |
| Potatoes (thinly sliced) | 5 medium | n/a | Layered evenly across pan |
| Cream of mushroom soup | 1 can | 10.7 oz | Combined into sauce |
| Cream of chicken soup | 1 can | 10.7 oz | Combined into sauce |
| Evaporated milk | 1 can + 1/2 cup milk | 12 oz can | Sauce base (add extra 1/4 cup milk if needed) |
| Onion, diced | 1 cup | n/a | Browned with meat |
| Garlic, minced | 1 tablespoon | n/a | Aromatic with the meat |
| Shredded cheese | 2 cups | n/a | Top layer and melt |
| Salt & black pepper | 1 tsp each | n/a | Season meat and sauce |
| Cooking spray | As needed | n/a | Grease 9×13 pan |
Notes on substitutions
I often use lean ground beef or lean ground turkey to cut fat and keep the texture light. Russet and Yukon Gold both work; slice thin for even cooking.
For cheese, a cheddar or Colby/Monterey blend melts well. If you don’t have evaporated milk, swap half-and-half or whole milk, knowing the creaminess will vary.
For a low-carb twist, see this alternate taco-style version: keto taco casserole.
Step-by-Step Instructions
A clear, timed method eliminates guesswork and gives reliably even potatoes and a melty top. Below I outline each step with minutes and key tips so you can follow along easily.
Brown, season, and drain
Preheat oven to 375°F and spray a 9×13-inch dish. In a large skillet, I brown the ground beef with diced onion and minced garlic over medium heat until no pink remains.
I drain the pan, then season the meat with salt and pepper so the flavor carries through the whole dish.
Whisk the sauce
In a bowl I whisk the condensed soups with evaporated milk and regular milk until the mixture is smooth and pourable. This makes a velvety sauce that soaks into the potato layers.
Layering and baking
- Layer a single shingled row of thin potato slices across the pan.
- Add half the seasoned meat, half the sauce, and half the cheese; repeat those layers and finish with cheese on top.
- Tent aluminum foil high over the pan and bake covered for 60 minutes so potatoes steam tender.
- Remove foil and bake about 30 more minutes until the top is golden and bubbly.
Final steps and pro tips
Let the dish rest 10 minutes on a wire rack before slicing so portions hold. Slice potatoes evenly (a mandoline helps), tent foil high so it doesn’t touch the top, and resist cutting too soon.

For an alternate take and more timing tips, see this trusted variation.
Variations, Add-Ins, and Flavor Boosters
A few simple twists bring more color, spice, and crunch without changing the basic method. I like to keep changes small so the bake stays reliable but interesting.
I fold in diced carrots, green beans, peas, corn, or bell peppers to add texture and nutrition. For spice, I rotate taco seasoning, Italian herbs, and a pinch of cayenne or chipotle for heat.
Sauce, cheese, and topping swaps
A splash of Worcestershire or soy deepens the umami in the sauce. Stirring in sour cream or a cream-based soup gives a tangy cream finish.
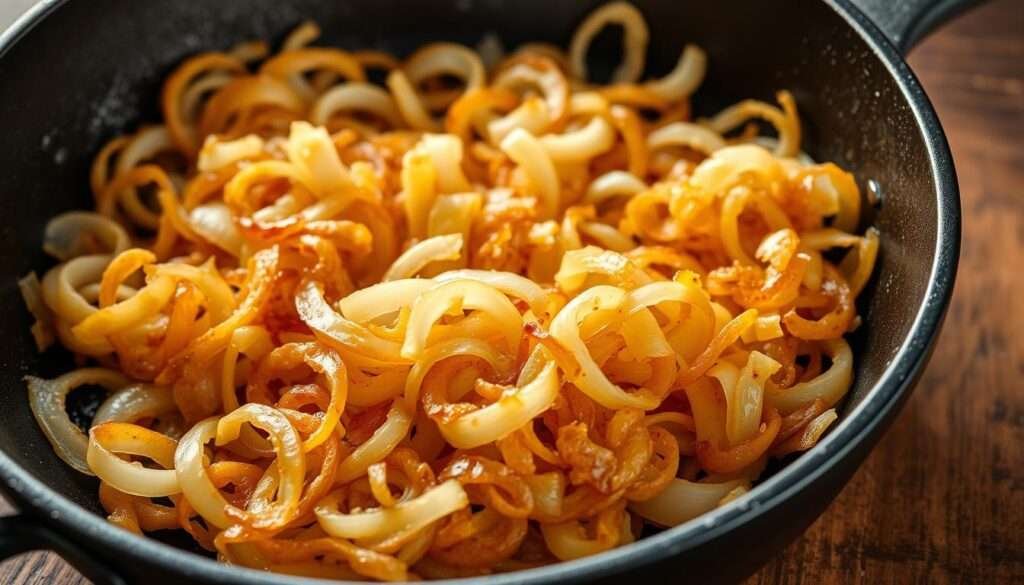
Swap cheeses freely: cheddar is classic, Colby Jack or Pepper Jack add character, and American slices give a super-gooey top. For crunch, I finish with french fried onions or other fried onions under a quick broil.
Alternate formats
Try a tater tot layer instead of sliced potatoes for a crispy twist. For hands-off cooking, brown meat, assemble, and cook in a slow cooker 6–8 hours low or 3–4 hours high.
| Type | Example | Effect |
|---|---|---|
| Veggie | Carrots, peas, bell pepper | More color, mild sweetness, added nutrients |
| Spice | Taco seasoning, Italian herbs, cayenne | Southwestern or savory Italian notes; adjustable heat |
| Sauce | Worcestershire, soy, sour cream | Deeper umami, tangy creaminess in the sauce |
| Topping | Cheddar / Pepper Jack / french fried onions | Melty cheese and a crisp, savory finish |
These small riffs keep the dish familiar but flexible. No matter the swap, the result stays a comforting hobo casserole that feeds a crowd.
Storage, Make-Ahead, and Reheating Instructions
Smart storage makes weeknight life easier and feeds my family without stress. Below I give clear time windows and step-by-step instructions for storing, freezing, and reheating the casserole so leftovers stay moist and safe.
Refrigerate safely
I cool the dish slightly, then transfer portions to airtight containers or keep the pan covered. Store in the fridge for up to 3 days and label with the date.
Freezer strategy
For longer life, I wrap the pan tightly in plastic wrap, then aluminum foil, and label it. Frozen quality lasts up to 2 months. Thaw overnight in the refrigerator before baking or reheating.
Reheat like a pro
I preheat the oven to 350°F, cover the dish, and warm for about 20–30 minutes until the center reaches 165°F. Check the top near the end to get a golden finish without drying.
Make-ahead assembly
I assemble up to 24 hours ahead, cover tightly, and refrigerate. On bake day I let the dish sit briefly at room temp while the oven heats, remove plastic, cover with foil, and bake as directed.

| Action | Storage | Timing | Notes |
|---|---|---|---|
| Refrigerate | Airtight container or covered pan | Up to 3 days | Label with date; chill within 2 hours of serving |
| Freeze | Plastic wrap + aluminum foil, labeled | Up to 2 months | Thaw overnight in fridge before reheating |
| Reheat | Oven covered | 350°F for 20–30 minutes | Heat until internal temp 165°F; watch the top for browning |
| Make-ahead | Assembled, covered in fridge | Assemble up to 24 hours ahead | Remove plastic before baking; tent foil during baking |
For an alternate make-ahead main that bakes well on the day you plan to serve, see my take on Chicken Divan for timing and assembly ideas.
Serving Ideas and Pairings
A rich main calls for fresh, crisp sides to keep the meal balanced. I like to offer a few simple options so guests can build the plate they prefer.
Fresh salads
I brighten the dish with a crisp salad of mixed greens, baby spinach, or a cool cucumber salad. A light vinaigrette cuts through the creamy layers and adds a fresh flavor to each bite.
Vegetable sides
Roasted carrots and onions pair beautifully; the balsamic glaze adds sweetness that complements the savory top. A quick sauté of zucchini and onion with a squeeze of lemon is another easy choice.
Breads and starches
Warm bread soaks up any extra sauce. I reach for garlic bread, a crusty loaf, or onion soup mix bread when I want something comforting.
- A sprinkle of fresh parsley and a crack of black pepper livens individual servings.
- Pickles or a tangy slaw add crunchy, acidic contrast to the cheesy, beef-and-potatoes center.
- For timing, a make-ahead salad and bakery bread free you to finish the main in the oven.
- If you like, add a little extra cheese on top right before serving for a melty finish.
| Side | Why it works | Quick tip |
|---|---|---|
| Mixed greens | Brightens and lightens the plate | Toss with lemon vinaigrette |
| Roasted carrots & onions | Adds sweetness and depth | Finish with balsamic |
| Garlic or crusty bread | Sops up creamy sauce | Warm before serving |
Final Thoughts and More Comfort-Food Recipes to Explore
Think of this as a reliable, cozy main you can trust on busy evenings. The tested timing—375°F, 60 minutes covered plus 30 minutes uncovered—gives tender potatoes, a melty top, and steady results.
I recommend thin potato slices, tenting foil high, and resting a few minutes before slicing. Swap lean ground beef or turkey, change cheeses, or stir in a little cream mushroom soup or sour cream for variation.
Store leftovers up to 3 days in the fridge or freeze for 2 months. Reheat covered at 350°F until the center reaches 165°F for safe, moist servings.
For more cozy ideas and similar dishes, check this lasagna-soup inspiration on my site: lasagna soup variation. Thanks for cooking with me—try a swap, add veggies, and tell me how it turned out.