Table of Contents
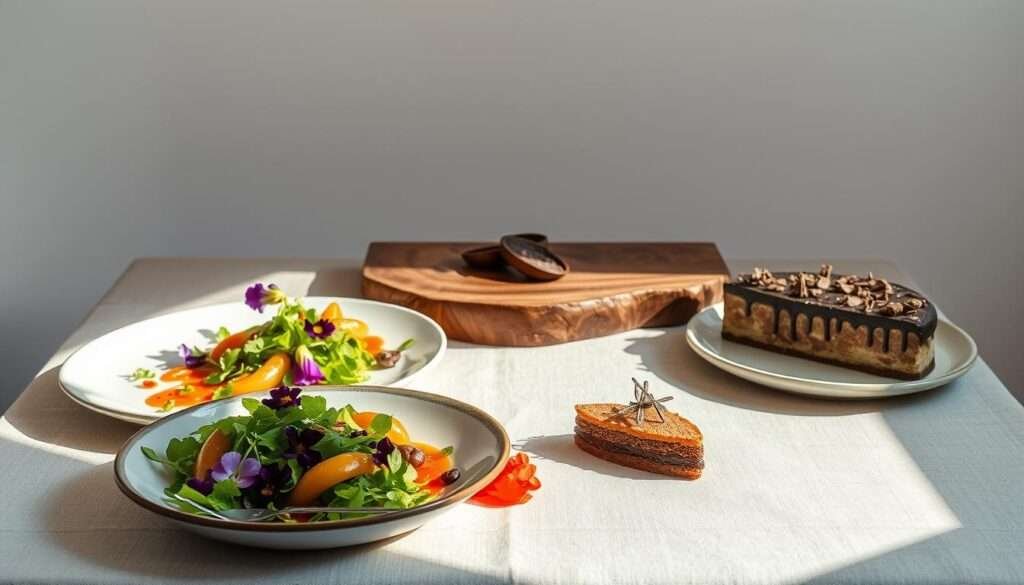
ToggleI still remember the first time a dinner I plated felt like a small, proud performance. I watched my partner’s eyes linger, then reach, and that quiet moment became my cue to study why some dishes sing on the table and others fall flat.
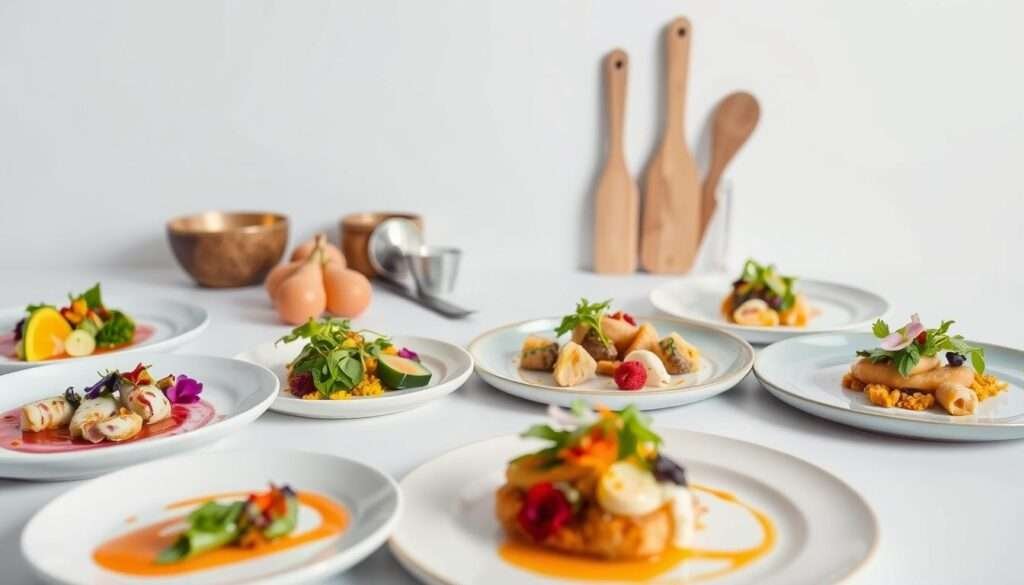
In this guide I share my complete home workflow for food that looks as good as it tastes. I’ll explain why we eat with our eyes, how small portions on wide plates read as more appetizing, and which simple tools—squeeze bottles, wax paper, toothpicks—make a big difference.
I outline the process from theory to pantry tools, then step-by-step techniques and example recipes. You’ll learn how contrast, height, and the rule of thirds help ingredients stand out, and why a footed dessert bowl or a Spode or Portmeirion plate can lift even weeknight meals.
Key Takeaways
- Visual appeal matters: we notice plates before flavors.
- Use small portions, wide plates, and color pops for instant improvement.
- Simple gear—squeeze bottles, toothpicks, footed bowls—upgrades presentation fast.
- Follow restaurant rules like contrast, height, and rule of thirds at your pace.
- I provide step-by-step examples and ingredient lists so you can practice easily.
What “Instagrammable” Really Means for Food at Home
When a plate looks intentional, guests expect a better meal before the first bite. That expectation matters. Visual cues—shine, clean edges, and contrast—prime the palate and change how we judge taste and texture.
We eat with our eyes first
I define this look as composition that feels deliberate: a clear hero ingredient, supporting elements, and deliberate spacing. More than a trend, it borrows from restaurant practice and design-driven chefs.
Balancing art and flavor
Balance means every garnish earns its place by adding aroma, acidity, or crunch. I follow simple rules—rule of thirds, gentle asymmetry, and one bold color accent—to keep plates lively without hiding quality.
- Choose one hero ingredient and let it lead the photo and the palate.
- Use contrast and clean lines to prime the eyes and improve taste.
- Take cues from Heston Blumenthal’s playfulness, Daniel Humm’s minimalism, and John Tesar’s design focus.
| Goal | Visual cue | Practical tip |
|---|---|---|
| Highlight flavor | Single hero element | Plate small portions with breathing room |
| Create contrast | Color or texture | Add one bright garnish or crunchy element |
| Keep it real | Purposeful garnishes | Use herbs, acid, or crunch that complement ingredients |
I encourage you to get creative within your pantry. With intent, the same components that taste great will also look like they belong in a photo—and that improves the entire dining experience.
“Plating is an artistic endeavour inspired by design.”
Pantry and Tools I Keep for Picture-Perfect Plating
My pantry and tool drawer are curated so small touches lift every dish. I list the pieces I reach for and explain why each one matters for clear, repeatable presentation.
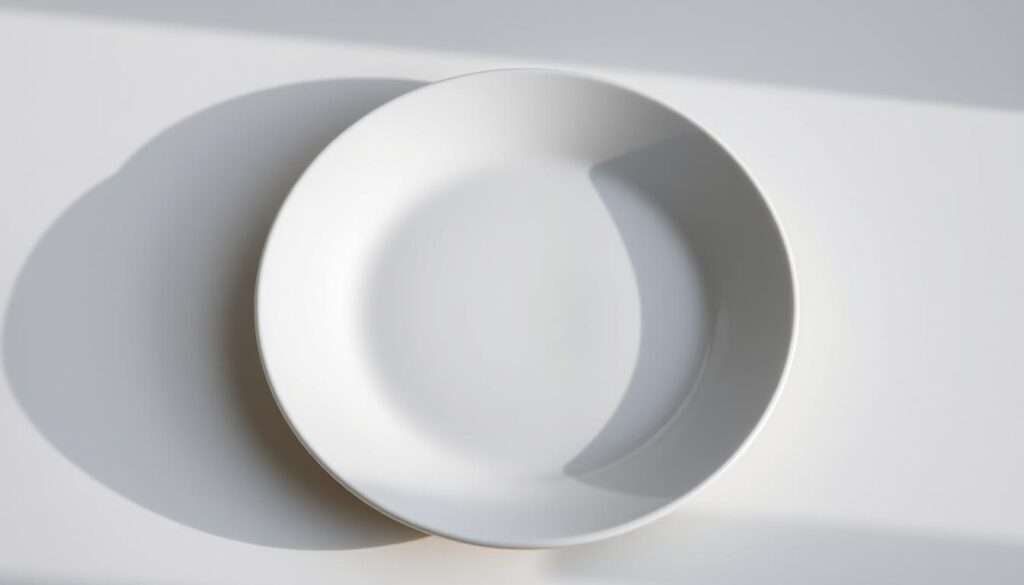
Plates and bowls: I use white plates as a safe base and keep patterned sets like Spode Blue Italian and Portmeirion Botanic Garden for bolder color stories. Footed dessert bowls give loose desserts instant structure and elegance.
Sauce toolkit: I keep a small squeeze bottle for thick coulis and a thinner bottle for oils. A spoon or piping bag helps me make clean swipes and dots so sauces read the same every time.
Shape and height: Cake rings, ramekins, and molds create clean cylinders for rice or tartares. They add immediate height and order to a plate.
- Wax paper, toothpicks, and deli baskets keep a sandwich neat and photo-ready.
- Microgreens, tender herbs, and edible flowers act as a true garnish, not clutter.
- A small “color pantry” (pickled onions, citrus, pistachios) saves time and adds bright colors.
| Tool | Use | Why I keep it |
|---|---|---|
| White / patterned plate | Base for plating | White is neutral; patterned adds instant interest |
| Squeeze bottle / thin bottle | Lines, dots, oils | Precision and repeatability for sauces |
| Cake ring / ramekin | Shape and height | Clean cylinders for rice and tartares |
| Wax paper / toothpicks | Sandwich assembly | Keeps layers aligned and tidy |
| Microgreens / herbs / flowers | Final garnish | Adds aroma, flavor, and color |
“A few well-chosen tools save time and make simple ingredients sing.”
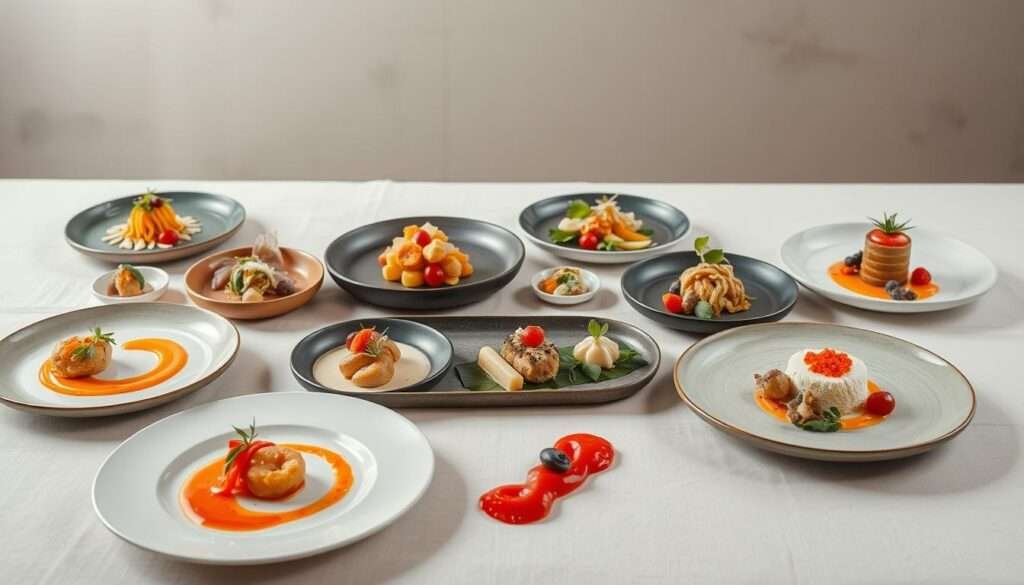
Core Plating Techniques That Make Food Pop on Camera
I start with small, repeatable moves that lift a plate from ordinary to camera-ready. Below are clear steps you can practice that improve both look and taste.
Color strategy
Use complementary pops (red sauce with green herbs) or an analogous trio for a calm palette. Pick one hero color and two supporting colors.
Contrast and balance
Place a golden sear next to a pale puree. Add a crisp element against something smooth. This contrast guides the eye and sharpens taste.
Texture play
Aim for three to five textures: creamy base, juicy centerpiece, crunchy sprinkle, fresh herb, crisp garnish. Each element adds interest and mouthfeel.
Create height and spacing
Stack uniform pieces, lean one item, or nestle grains around the hero. Keep portions small on a wide plate so the dish breathes.
Sauce artistry
Use a squeeze bottle or spoon for dots, swipes, and fine drizzles. Sauce ties flavors and frames the hero without hiding it.
| Technique | Quick step | Effect on taste/look |
|---|---|---|
| Color pairing | Choose complementary or analogous colors | Enhances visual harmony and perceived flavor |
| Texture mix | Combine creamy, juicy, crunchy | Makes bites more engaging |
| Height | Stack, lean, or nestle components | Adds dimension and restaurant polish |
| Saucing | Dot grid, single swipe, drizzle | Ties elements and clarifies balance |
“Practice the sequence: base, hero, supports, finish.”
Simple Example Dishes You Can Make and Plate Beautifully
I picked four approachable recipes that teach plating moves you can repeat any night. Each example includes ingredients, steps, plating notes, and quick swaps so you can finish and shoot in under ten minutes.
Grilled cheese upgrade with tomatoes and red onions
Ingredients: sourdough, sharp cheddar, Roma tomatoes, grilled red onions, butter, salt, pepper.
- Toast bread in butter, layer cheese, onions, and tomato, then grill until melted.
- Wrap in wax paper, secure with toothpicks, and slice on the bias for a tidy cross-section.
Plating: nestle halves in a basket lined with colorful paper and add a microgreen garnish.
“Wrapping keeps layers aligned and gives a festive look on the plate.”
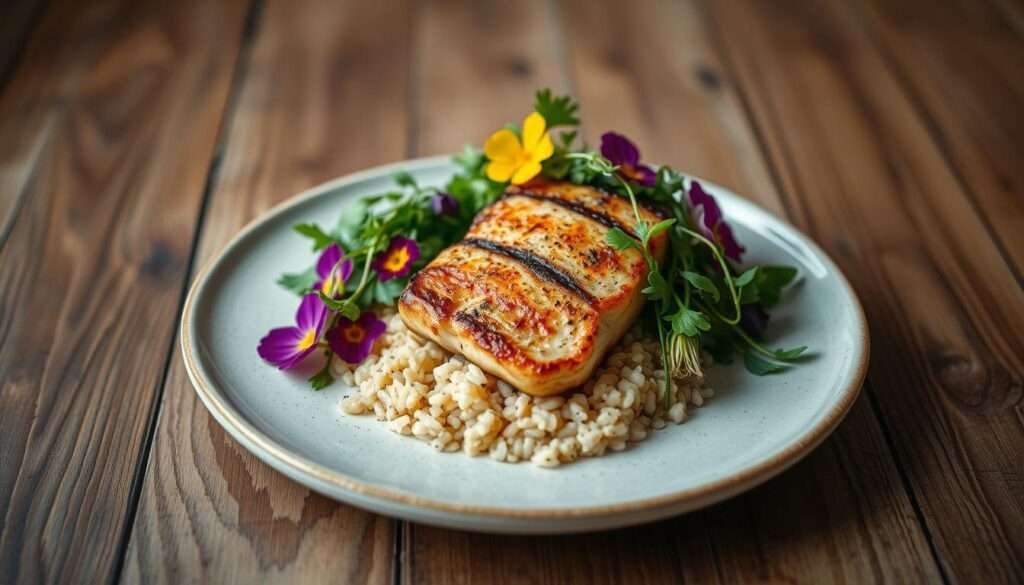
Tropical chicken with coconut rice and mango-papaya salsa
Ingredients: chicken thighs, coconut milk, jasmine rice, garlic, oil, mango, papaya, tomato, cilantro, lime, chili, salt.
- Cook rice in coconut milk; unmold from a ramekin for clean height.
- Pan-sear the chicken; spoon vibrant salsa over the protein before serving.
Plating: lean chicken against the rice and finish with lime zest. The colorful salsa lifts the neutral protein.
Beet and goat cheese salad with microgreens and pistachio crunch
Ingredients: roasted beets, goat cheese, arugula, microgreens, pistachios, olive oil, balsamic, salt.
- Slice beets, whisk vinaigrette, and dress greens lightly.
- Shingle beets, dot goat cheese, sprinkle pistachios, and top with microgreens.
Plating: use a white plate so ruby beets and green herbs pop. Optional: thin balsamic reduction dots for a neat sauce pattern.
Chocolate pudding parfait in sherry glasses
Ingredients: dark chocolate pudding, whipped cream, fresh raspberry or strawberry, shaved chocolate.
- Spoon pudding into sherry or footed dessert glasses; chill if prepped ahead.
- Top with whipped cream, add a berry, and finish with shaved chocolate.
Plating: set the glass on a patterned dessert plate for a chic frame. A chocolate drizzle inside the glass adds drama.
| Dish | Key plating tip | Quick swap |
|---|---|---|
| Grilled cheese sandwich | Wrap and slice on the bias for tidy cross-sections | Plant-based cheese for vegan option |
| Tropical chicken dish | Unmold rice from ramekin for height | Tofu roasted with same spices |
| Beet and goat cheese salad | Shingle beets and dot cheese for contrast | Candied walnuts instead of pistachios |
| Chocolate parfait | Use clear glass for visible layers | Coconut yogurt whip for lighter finish |
Make-ahead notes: roast beets and chop salsa earlier; pipe pudding and chill. Timing: plate hot items last so melts and sauces stay glossy.
How to Create Instagrammable Food Presentations at Home
I use a clear, repeatable sequence so plating feels calm, not chaotic.
- Mise en place. I prep ingredients, sauces, garnishes, and warm plates so decisions happen quickly during service.
- Build the base. Start with the starch or puree, keep a clean edge, and leave negative space on the plate.
- Place the hero. I set the main item slightly off-center, check its best angle, and adjust for height by stacking or leaning.
- Add supports. Nestle vegetables or grains and add two more textures—crunch, cream, or freshness—for interest.
- Finish with sauce. I use a squeeze bottle for dots or a spoon for a swipe, picking one sauce technique per plate.
- Garnish with intention. Microgreens or edible flowers go where they add aroma and taste, not clutter.
- Quick photo pass. Wipe rims, face the plate to the light, and shoot a test frame for balance and color.
Quick pro tips and common mistakes to avoid
Pro tips: plate smaller portions for impact, toast nuts for aroma, warm sauces slightly for shine, and pre-fill bottles for speed.
Common mistakes: overcrowding, too many sauces, overgarnishing, clashing colors, and forgetting how elements will eat together.
“A steady mise en place and one decisive sauce move make a plate sing.”
| Step | Key action | Timing | Why it matters |
|---|---|---|---|
| Mise en place | Prep and stage plates | 10–20 minutes | Speeds service and reduces errors |
| Build base | Lay starch or puree | 30–60 seconds | Defines negative space and balance |
| Finish & garnish | Sauce, herbs, test shot | 1–2 minutes | Ensures shine and final composition |
| Speed strategy | Batch, stage, pre-fill | Prep day before | Keeps service calm and the meal enjoyable |
For repeatable meal ideas and plating practice see my lazy high-protein chicken meals for simple dishes you can plate with these techniques.
Conclusion
I want this closing note to leave you with simple, usable moves you can try tonight.
Thoughtful presentation supports taste and lifts any meal. Favor small portions, generous spacing, and purposeful garnishes. Let quality ingredients lead, and use sauces and a single bright color for contrast.
Repeatable plating techniques—color strategy, textural mix, height, and clean saucing—reliably improve visual appeal. Patterned or white plates work when you’re short on time. A vivid salsa or an edible flower adds punch without hiding quality.
Quick 5-minute plan: choose one plate, add a pop of color, place one garnish, and finish with a single sauce move (squeeze bottle or spoon). Photograph from a couple of angles, then plate the rest the same way for consistency.
Practice one new step each week. Borrow the chef mindset of balancing art and taste, avoid muddy colors and messy rims, and have fun—an aligned sandwich, a confident garnish, and a clean plate make meals feel restaurant-ready.