Table of Contents
ToggleI still remember the first night I tried this oven method: I set four glass bowls in the oven, walked away to tidy the counter, and smelled dinner finishing itself. That ease stuck with me and turned into a weekday favorite.
This recipe is built for busy families—simple ingredients, tidy prep, and the oven does most of the work. I use raw rice and pieces of chicken, a splash of enchilada sauce and chicken broth, then bake at 350°F for about 40–45 minutes. The result is tender, saucy rice and meat that finishes with a quick melt of cheddar.
I portion everything into 4-cup oven-safe bowls for neat servings and easy storage. If you like more texture, I often add the optional black bean-corn salsa and bright toppings before serving. Below I’ll walk you through tools, exact amounts, oven times, and pro tips so your dinner comes out reliably cozy and satisfying.
Meet My High-Protein Chicken Enchilada Bowls
On a frantic weekday evening, I needed dinner that felt homemade but arrived with zero drama. I built this recipe so I could assemble four portioned bowls in minutes, slide them into the oven, and finish the rest of dinner without hovering.
What inspired this bowl in my kitchen today:
- I wanted the cozy flavor of Mexican food without rolling tortillas after school runs and calls.
- Each bowl uses four core items: uncooked rice, raw chicken breast pieces, enchilada sauce, and chicken broth, then a quick cheese melt.
- The optional black bean-corn salsa adds fiber and extra protein while staying fuss-free.
I reach for lean chicken breast for the protein I want without heaviness. Using uncooked rice felt risky at first, but now it gives hands-off, fluffy results as the sauce soaks every grain.
These bowls are repeatable and flexible—easy swaps for more veggies or a spicier kick make them a go-to for weeknight meals. For another flavor-packed option, try this related recipe: flavor-packed enchilada idea.

| Core Item | Purpose | Quick Swap |
|---|---|---|
| Uncooked rice | Hands-off starch, soaks sauce | Quinoa for nuttier texture |
| Raw chicken breast | Lean protein | Firm tofu or beans (for meatless meals) |
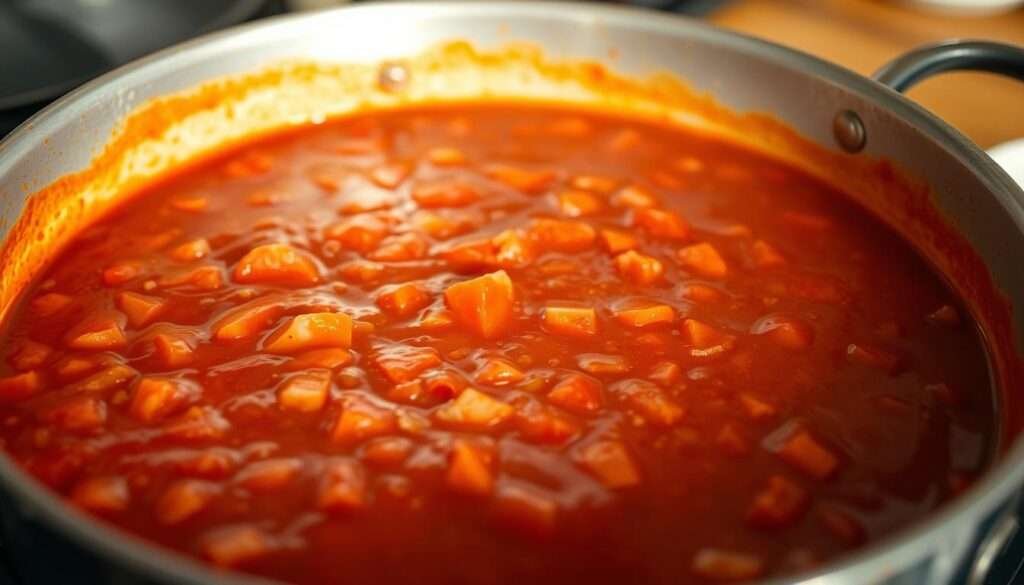
| Enchilada sauce + broth | Builds deep, saucy flavor | Tomato-chipotle mix for heat |
Why You’ll Love This Recipe
When time is tight, I pick recipes that give big flavor with small effort. This one hits savory notes fast and keeps cleanup easy. It fits the busy weeknight rhythm I live by.

Big flavor, minimal prep, and weeknight-friendly
The taste punches above its prep time thanks to enchilada sauce and a quick oven braise that melts cheese into the rice and meat. Most of the minutes are hands-off, so I can start sides while the oven works.
How the protein, fiber, and toppings keep you full
The classic bake runs about 592 calories and roughly 53g protein per serving, so it feels satisfying without heavy fat. Adding black bean and corn salsa boosts fiber and makes meals more filling.
| Benefit | Why it matters | Quick tweak |
|---|---|---|
| Protein | Keeps you full and curbs snacks | Use rotisserie chicken for faster prep |
| Fiber | Steady energy between meals | Add beans or extra corn |
| Meal prep friendly | Reheats well for lunches | Divide into containers after cooling |
| Toppings | Brighten flavor without much work | Avocado, cilantro, or a dollop of cream |
Tools and Preparation
I set everything out before I begin so the bake runs without pause. This simple prep keeps the timing right and lets me focus on one dish at a time.
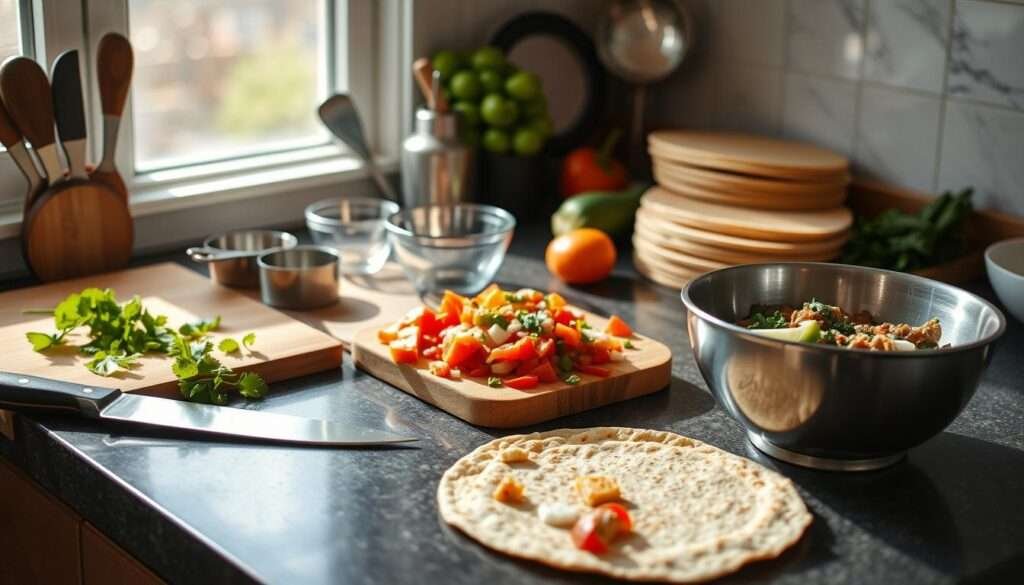
What I put on the counter first
I arrange the oven-safe 4-cup bowls, nonstick spray, a rimmed baking sheet, and measuring cup and spoons. I also bring the knife and board, a silicone spatula, box grater, airtight lids, hot pads, and an oven thermometer if I have one.
Why each tool matters
| Tool | How I use it | Why it matters |
|---|---|---|
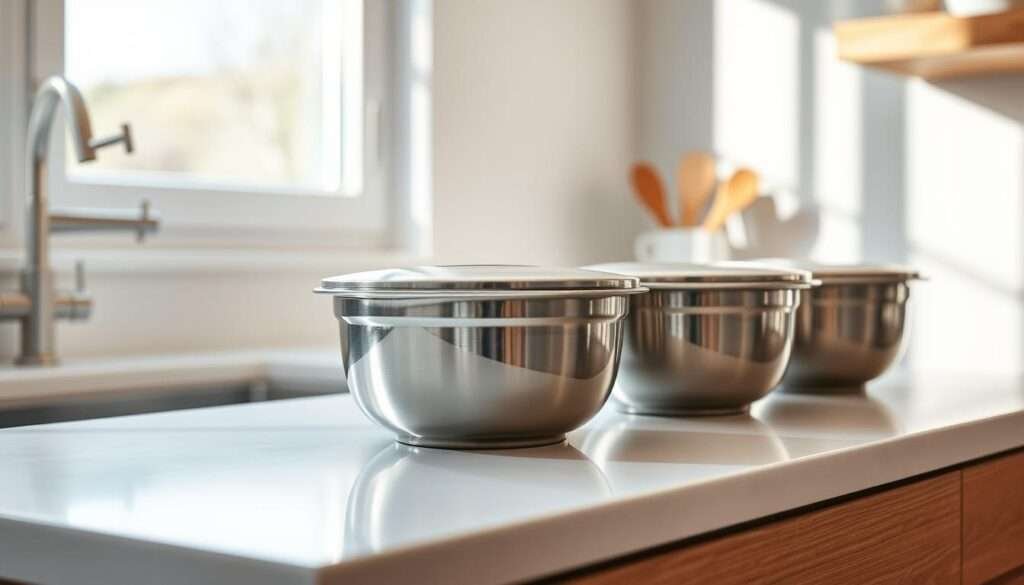
| 4-cup oven-safe bowls | Portion rice and protein into equal cups | Even cooking and easy storage |
| Nonstick spray | Coat bowls before filling | Prevents rice from sticking and makes cleanup simple |
| Rimmed baking sheet | Hold bowls for the oven | Stable transport and it catches any sauce drips |
| Measuring cup & spoons | Measure liquid-to-rice ratio | Accurate amounts mean good rice texture in minutes |
| Knife & board, silicone spatula | Cut chicken into even pieces; stir mid-bake if needed | Uniform pieces cook the same; spatula helps even sauciness |
| Box grater & airtight lids | Freshly grate cheese; store leftovers | Better melt and quick fridge storage for another meal |
Quick counter checklist
- Preheat oven and verify heat with a thermometer if unsure.
- Spray bowls and line the sheet so filling is tidy.
- Measure liquids and set the timer — this keeps the bake consistent.
High-Protein Chicken Enchilada Bowls
I like to keep a short, exact ingredient list so assembly is fast and stress-free. Below I give precise amounts for four servings and simple swaps to boost protein or fiber without extra fuss.
Exact Ingredients — amounts for four cups
| Ingredient | Amount | Notes |
|---|---|---|
| Uncooked long-grain rice | 1 1/2 cups | Rinsed |
| Chicken, cut into pieces | 24 oz (6 oz per cup) | Or use rotisserie |
| Enchilada sauce | 1 1/2 cups | Trader Joe’s or low-sodium |
| Chicken broth | 2 cups | Low-sodium for less salt |
| Cheese, shredded | 3/4 cup | Part-skim if preferred |
Smart swaps for protein and fiber
- Higher protein: increase chicken to 6 oz per cup and add a sprinkle of extra cheese on top.
- Creamy boost: stir 2–3 tbsp cottage cheese into each cup after baking for a moist, protein-rich mixture.
- Extra fiber: fold 2–3 tbsp black beans or corn into each cup before reheating.
- For crunch and color, add diced onion or bell pepper and a little cilantro to top the meal.

Step-By-Step Instructions
I move methodically: preheat the oven to 350°F, spray four 4-cup oven-safe bowls, and set them on a rimmed baking sheet. This small preparation saves time and keeps the bake even.
Prep and build the bowls
In each bowl add: 1/4 cup rice, 4–6 oz chicken pieces, 1/4 cup enchilada sauce, and 1/2 cup broth. Give each mixture a quick stir so rice and sauce sit evenly.
Bake time, temperature, and the melty cheese finish
Slide the tray into the 350°F oven and bake for about 40 minutes. Most of the liquid should be absorbed by then.
Open the oven, stir each cup to redistribute the heat and sauce, then bake about 5 more minutes if rice needs a bit more time. Top each bowl with a few tablespoons of cheese and return for 3–5 minutes until the cheese melts and bubbles. Rest the bowls 5–10 minutes before serving so the mixture sets.
Optional black bean-corn salsa and fresh toppings
For the salsa, combine beans, corn, diced tomatoes, green onion, chopped cilantro, lime juice, and salt. Taste and adjust.
Spoon salsa over the bowls or offer it on the side. Finish with extra cilantro, sliced avocado, or a dollop of Greek yogurt on top for brightness.
Pro Tips for Flavor, Texture, and Timing
I rely on a few quick checks so each portion comes out with the right texture and sauciness. These small moves save time and keep the results predictable every week.

Rice doneness, sauciness, and oven nuances
If the rice looks just shy of done at 40 minutes, stir each cup and give it 5 more minutes; the rice will continue to soften off-heat.
For saucier results, add an extra tablespoon or two of sauce per cup before the final minutes. Use freshly grated cheese for a cleaner melt and prettier finish.
Cut chicken into even pieces so everything cooks at the same rate. Remember ovens vary: if yours runs cool, add a couple of minutes; if it runs hot, start checking early.
Make-ahead moves for smoother weeknights
Assemble in the morning, cover, and refrigerate for meal prep ease. In the evening, bake straight from the fridge and add cheese at the end.
- Let bowls rest 5–10 minutes after baking so the sauce settles and rice finishes gently.
- The salsa can be made up to 2 days ahead and tastes better after a day in the fridge.
- Keep a spare jar of your favorite enchilada sauce on hand; it speeds prep and preserves the flavor.
| Tip | Why it helps | Quick action |
|---|---|---|
| Stir at 40 minutes | Ensures even doneness | Add 5 more minutes if needed |
| Grate cheese fresh | Better melt and texture | Top last 3–5 minutes |
| Double Sunday batch | Easy lunches for the week | Refrigerate up to 5 days |
Storage & Reheating Instructions
I treat storage like part of the recipe—little moves that keep dinners tasting just-made.
How I store the bowls and toppings for up to 5 days
Cool each portion on the counter, then snap lids on the 4-cup containers and refrigerate for up to 5 days. I keep salsa and fresh toppings—cilantro, onion, beans, and corn—in separate containers so the rice base doesn’t get soggy.
Reheat methods that keep everything tender and tasty
For the microwave: loosen the lid and heat on medium in 60–90 second bursts, stirring once. If the rice feels dry, add a splash of broth to bring back moisture and finish heating until warmed through.
For the oven: transfer to an oven-safe dish, cover with foil, and warm at 325°F until hot. Uncover for the last few minutes if you want the cheese to perk up.
- Add fresh toppings after reheating for the best texture and brightness.
- If packing a meal for work, keep avocado and dairy toppings separate and add them just before eating.
- Freeze only the base (skip fresh toppings); thaw overnight and reheat gently with a splash of broth.
- I keep an extra 1/4 cup of sauce on hand to revive leftovers when needed.
| Step | Why it helps | Quick action |
|---|---|---|
| Cool then lid | Stops steam buildup and keeps texture | Snap lids and refrigerate within 1 hour |
| Store toppings separately | Keeps brightness and crunch | Use small airtight containers |
| Label with date | Track freshness for weekly meal prep | Rotate meals and eat oldest first |
Nutritional Snapshot and High-Protein Boosts
A quick nutrition check helps me tweak portions without losing flavor. Below I give clear numbers and small swaps so you can hit your macros with minimal fuss.
Simple ingredient tweaks to hit your macro goals
Per serving: the standard bake lands around 592 calories with roughly 53g protein, depending on sauce and cheese choices.
- More protein: use 6 oz chicken per cup and be generous with cheese for added protein and satiety.
- High protein, lighter feel: stir 2–3 tbsp cottage cheese into each portion after reheating; it adds creaminess with less fat.
- Lower fat: choose part-skim cheese and trim visible fat from meat to cut calories while keeping flavor from the sauce.
- More fiber: fold extra beans or corn into each serving, or add a side salad for volume and fiber.
- Watch sodium: pick low-sodium broth or sauce if you log sodium in your tracker.
| Goal | Quick swap | Result |
|---|---|---|
| Higher protein | 6 oz chicken + extra cheese | ~53g protein (standard), can increase modestly |
| Lighter calories | Rotisserie + cottage cheese method | Microwave version ≈344 calories, ~39g protein |
| More fiber | Add beans/corn or side salad | Better fullness and slower digestion |
Practical note: if you log these ingredients, measure portions with a cup so entries stay accurate. I personalize portions based on my daily targets and encourage you to do the same.
Variations You’ll Want to Try Next
If you love easy weeknight wins, a few small swaps take this dinner in bold new directions. I kept the ideas practical so you can try one tonight without fuss.
Creamy cottage cheese version: Blend 1 cup cottage cheese with a few tablespoons of enchilada sauce. Fold in shredded rotisserie chicken, corn, black beans, and diced bell pepper. Microwave 1–2 minutes and top with cilantro, avocado, and a spoon of sour cream or Greek yogurt.
Stovetop-free shortcut: Use rotisserie meat to cut prep. Toss the shredded protein with sauce, beans, and veggies, then heat quickly in the microwave for a nearly instant dinner.
- Baked cottage cheese enchiladas: Roll tortillas with a cottage cheese and protein mix, pour extra enchilada sauce on top, sprinkle cheese, and bake until bubbly at 375°F for 15–20 minutes.
- Veggie boost: Add spinach, sautéed onions, mushrooms, or zucchini for color, fiber, and volume.
- Spice lovers: Add jalapeños, chili flakes, or hot sauce to taste.
- Beefy twist: Swap in ground beef or ground turkey and balance with extra veggies for a heartier plate.
| Variation | Key swap | Why try it |
|---|---|---|
| Creamy cottage cheese bowl | Cottage cheese + enchilada sauce | More protein, creamy texture without heavy cream |
| Veggie-forward | Spinach, zucchini, mushrooms | Extra fiber and color; lighter feel |
| Spicy or beefy | Jalapeños or ground beef | More heat or a heartier profile for big appetites |
| Classic baked enchiladas | Tortillas + cottage cheese filling | Comforting, stackable meal for a crowd |
Quick tip: For a tangy finish, stir a spoonful of Greek yogurt into the filling or use it as a topping. For extra fiber, fold in beans and corn or pick high-fiber tortillas when you bake the enchiladas.
For another white-sauce enchilada idea I like, check this sizzling recipe: sizzling white enchiladas.
A Tasty Send-Off and More Recipes to Explore
Let’s finish with a friendly send-off: I hope these bowls bring big enchilada flavor to your table with less fuss and more joy.
Save this recipe for a night you want a reliable, high protein dinner that practically cooks itself. Top each cup with avocado, sliced onion, and a squeeze of lime for bright contrast and a little heat.
If you love this cozy style, explore more recipes at cuisines-corse.com: all recipes, poultry ideas, veggie-forward bowls, and quick weeknight dinners.
Make an extra cup for lunch, tag a friend if you try it, and thanks for cooking with me—here’s to more warm bowls and bold flavor in your week.