Ever find yourself staring at leftover rotisserie chicken, wondering how to turn it into something extraordinary? I’ve been there too. That’s why I’m thrilled to share this recipe that transforms simple ingredients into a dish bursting with flavor. It’s the perfect solution for busy weeknights when you crave something special without the hassle.
This one-pot wonder combines creamy, cheesy goodness with a hint of spice, reminiscent of your favorite bar appetizer. The best part? It’s ready in just 45 minutes, with only 10 minutes of prep. Say goodbye to boring dinners and hello to a meal that’s as easy to make as it is delicious.
With minimal cleanup and maximum flavor, this recipe is a game-changer. Trust me, once you try it, it’ll become a regular on your dinner table.
Why You’ll Love This Jalapeño Popper Chicken Skillet
Looking for a meal that’s both hearty and hassle-free? This dish has you covered. It’s packed with flavor, easy to make, and perfect for busy weeknights. Whether you’re cooking for your family or hosting a party, this recipe is a winner.
One of the best things about this dish is its nutritional profile. With 1090 calories per serving, it’s a high-protein, keto-friendly option that keeps you full and satisfied. Plus, it’s low-carb, making it a great choice for those watching their carb intake.
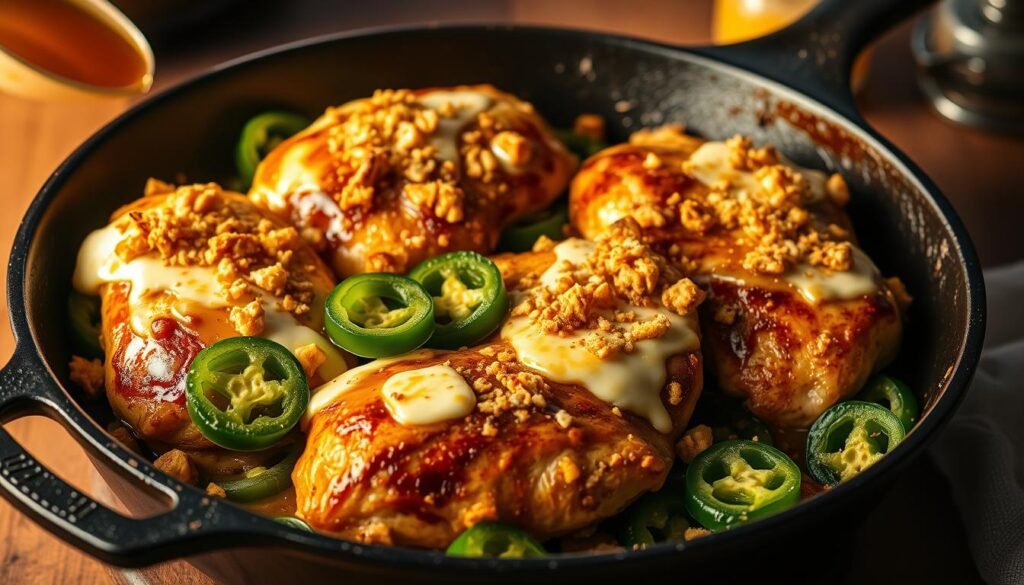
Want to control the spice level? Simply remove the seeds from the jalapeños for a milder flavor. This makes it customizable for everyone at the table. It’s a versatile dish that works as a main course or a party appetizer.
Another reason to love this recipe? It’s budget-friendly. Using store-bought ingredients keeps it affordable without sacrificing taste. I’ve made this dish countless times, and it’s always a hit with my family. They can’t get enough of the creamy, cheesy goodness.
| Nutrient | Amount per Serving |
|---|---|
| Calories | 1090 |
| Protein | 45g |
| Carbs | 12g |
| Fat | 85g |
This one-pot meal is a game-changer. It’s quick, delicious, and perfect for any occasion. Give it a try, and it might just become your new go-to dinner recipe.
Tools and Utensils You’ll Need
Having the right tools can make or break your cooking experience. For this recipe, you’ll need a few essentials to ensure everything comes together seamlessly. Let’s dive into what you’ll need and why each item matters.
Essential Kitchen Tools
First and foremost, an oven-safe skillet is a must. I learned this the hard way when I accidentally melted a handle on a non-oven-safe pan. Trust me, it’s not a mistake you want to make. A cast-iron skillet is my top recommendation because it heats evenly and retains heat well, making it perfect for this dish.
If you don’t have a cast-iron skillet, a stainless steel one works too. Just keep an eye on the heat to avoid burning. You’ll also need a meat thermometer to ensure your chicken is cooked to perfection. It’s a small tool that makes a big difference in food safety.

Optional but Helpful
While not essential, a few extra tools can make the process smoother. Silicone-tipped tongs are great for handling non-stick surfaces without scratching them. They’re also handy for flipping bacon or stirring ingredients.
If you don’t have a cast-iron skillet, a baking dish can be a good alternative. Just note that cooking times may vary slightly. Lastly, a sharp knife and cutting board will make prepping your ingredients a breeze.
With these tools in hand, you’re ready to tackle this recipe like a pro. Whether you’re a seasoned cook or a beginner, having the right equipment ensures success every time.
Ingredients for Jalapeño Popper Chicken Skillet
Ready to whip up something delicious? Start with these key ingredients. Each one plays a crucial role in creating the creamy, cheesy, and slightly spicy flavor that makes this dish unforgettable.
| Ingredient | Quantity |
|---|---|
| Rotisserie chicken | 2 cups, shredded |
| Bacon | 6 slices |
| Cream cheese | 8 oz block |
| Cheddar cheese | 1 cup, shredded |
| Heavy cream | 1/2 cup |
| Garlic | 2 cloves, minced |
| Kosher salt | 1 tsp |
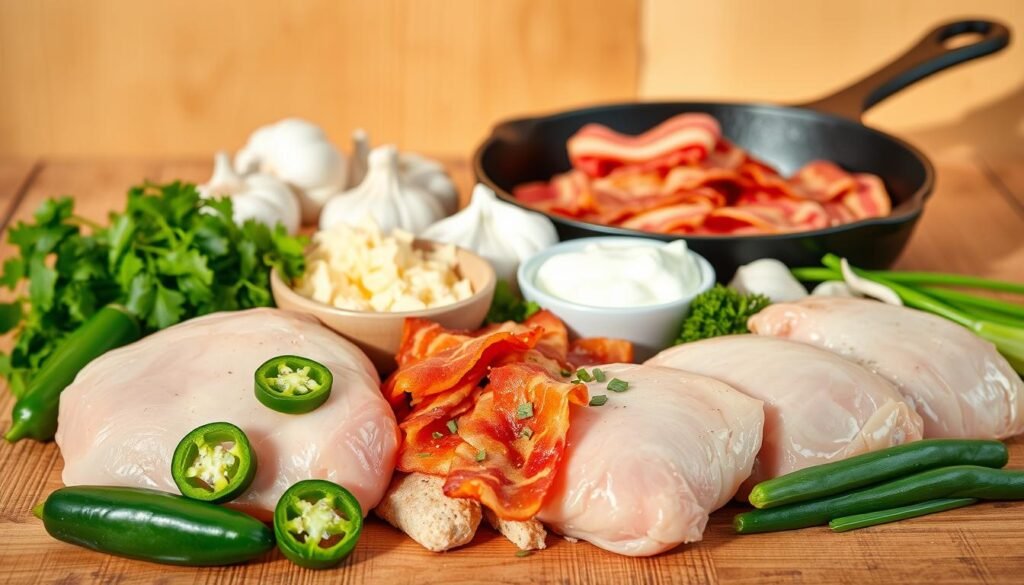
If you don’t have rotisserie chicken, raw chicken breast works too. Simply season it with salt and pepper, then cook it in a skillet until fully done. For the bacon, thicker slices add a satisfying crunch, while thinner ones blend more seamlessly into the dish.
When it comes to dairy, avoid low-fat substitutions. Full-fat cream cheese and heavy cream are essential for the rich, creamy texture. For the cheddar cheese, I recommend Cracker Barrel for its sharp, tangy flavor. If you’re not a fan of cilantro, parsley or green onions make great alternatives.
With these ingredients, you’re all set to create a dish that’s as flavorful as it is easy to make. Let’s get cooking!
Step-by-Step Cooking Instructions
Let’s dive into the step-by-step process to create this flavorful dish. With clear instructions and a few tips, you’ll have a delicious meal ready in no time.
Step 1: Prep the Chicken and Preheat the Oven
Start by preheating your oven to 400°F. This takes about 10 minutes. While the oven heats, shred your rotisserie chicken into bite-sized pieces. If you’re using raw chicken, cook it in a skillet until fully done, then slice it against the grain for tender bites.
Step 2: Cook the Bacon and Jalapeños
Next, cook the bacon over medium heat until it’s crispy. This usually takes 6-8 minutes. Once done, set it aside on a paper towel to drain. In the same skillet, sauté the jalapeños for 2-3 minutes until softened. Be sure to remove the seeds if you prefer a milder flavor.
Step 3: Combine Ingredients
In the skillet, add the shredded chicken, cream cheese, heavy cream, and minced garlic. Stir everything together on low heat until the cream cheese melts evenly. For the best cheese distribution, sprinkle shredded cheddar over the top before moving to the next step.
Step 4: Bake and Serve
Transfer the skillet to the preheated oven and bake for 15-20 minutes. The dish is ready when the cheese is bubbly and golden. Let it cool for a few minutes before serving. This ensures the sauce thickens slightly for the perfect consistency.
Tips for the Perfect Jalapeño Popper Chicken Skillet
Mastering this recipe is easier than you think with these tips. Whether you’re a beginner or a seasoned cook, these expert suggestions will help you create a dish that’s flavorful and foolproof.
First, let’s talk about spice. If you want to reduce the heat, remove the white membrane from the jalapeños. This simple step makes a big difference. For a milder flavor, you can also use fewer peppers or skip them entirely.
When it comes to cheese, block cheese melts better than pre-shredded varieties. It creates a smoother, creamier texture. For the best results, shred your own cheese just before adding it to the dish.

- Use a double bacon technique. Cook extra bacon and use the drippings to sauté the ingredients. This adds a rich, smoky flavor.
- Control the spice level by grading it from mild to wild. Start with fewer peppers and add more as you go.
- Prevent cheese separation during reheating by adding a splash of cream or milk before warming it up.
- If your dish turns out too spicy, salvage it by adding more dairy, like cream cheese or sour cream.
- After cooking, maintain your cast-iron skillet by cleaning it gently and seasoning it with oil.
With these tips, you’ll create a dish that’s perfectly balanced and full of flavor. Whether you’re cooking for family or friends, these tricks will make your meal unforgettable.
Serving Suggestions
This dish isn’t just about the main course—it’s about creating a complete meal experience. Whether you’re planning a cozy dinner or hosting a gathering, these serving ideas will elevate your meal.
For a low-carb option, pair it with roasted vegetables or a fresh salad. If you’re craving something heartier, serve it with fluffy rice or warm tortilla chips for dipping. The creamy texture pairs perfectly with these side dishes.
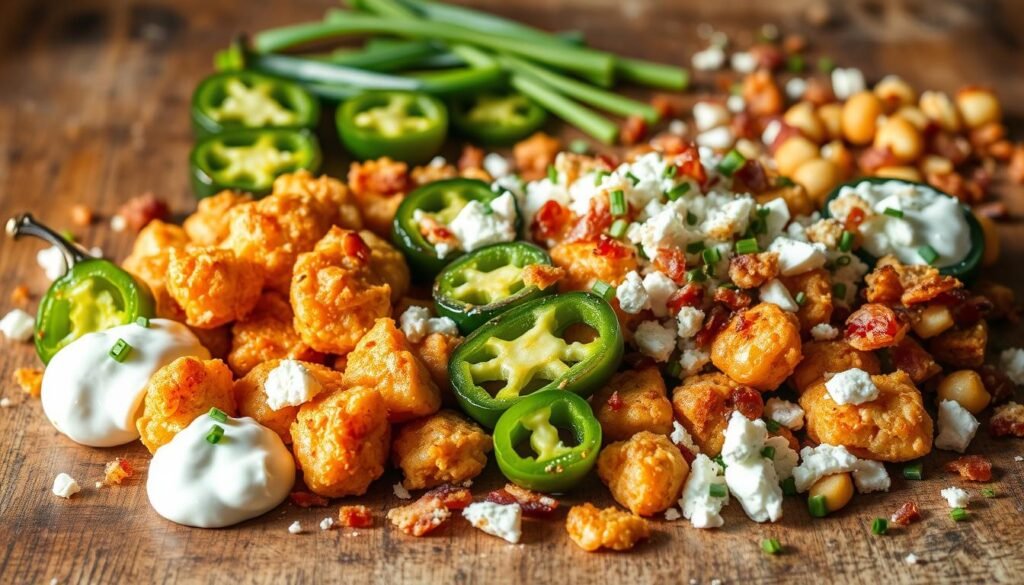
- Build-a-bowl: Layer it with avocado, cherry tomatoes, and crisp lettuce for added texture.
- Beverage pairings: Try it with a light beer or a refreshing margarita for a festive touch.
- Lunch wrap: Transform leftovers into a flavorful wrap with a tortilla and your favorite toppings.
- Holiday party hack: Serve it in mini cast-iron skillets for a fun, shareable appetizer.
- Kid-friendly version: Let kids customize their plates with toppings like extra cheese or diced tomatoes.
For more inspiration on pairing this dish with the perfect side dishes, check out this recipe. It’s all about making your meal memorable and delicious!
How to Store and Reheat Leftovers
Got leftovers? Here’s how to keep them fresh and flavorful for days. Proper storage and reheating can make all the difference in preserving the dish’s creamy texture and rich taste.
First, transfer the leftovers to an airtight container. This prevents moisture loss and keeps the flavors intact. Store it in the fridge for up to 3 days. If you plan to keep it longer, freezing is a great option. Portion it into smaller containers for easy thawing later.
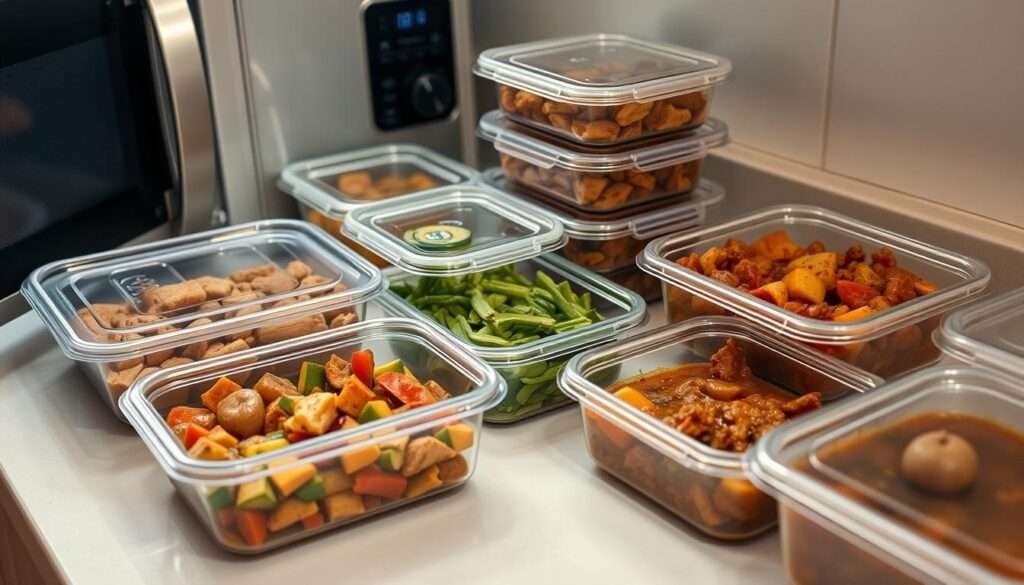
When reheating, take it slow. Use the microwave in 30-second intervals, stirring in between to ensure even heating. For stovetop reheating, add a splash of cream or broth to revive the sauce and prevent it from drying out.
- Use airtight containers to maintain freshness.
- Freeze in portion-sized containers for up to 3 months.
- Reheat gently to preserve the creamy texture.
- Add a splash of cream or broth to refresh the sauce.
- Always cool leftovers to room temperature before refrigerating.
For more tips on storing and reheating dishes like this, check out this guide on how to store leftovers or learn how to reheat gently for the best results. With these tips, your leftovers will taste just as good as the first serving!
Enjoy Your Flavorful One-Pot Meal
I hope this recipe brings as much joy to your kitchen as it does to mine. It’s a dish that’s easy to love and even easier to customize. Feel free to experiment with different ingredients to make it your own.
If you try it, I’d love to hear your thoughts! Leave a comment below or share your creation on social media. Tag me so I can see your delicious variations. It’s always inspiring to see how others put their spin on a recipe.
Here’s a pro tip: Double the batch and freeze half for a quick meal later. It reheats beautifully and saves time on busy days. Stay tuned for more recipes that’ll make your kitchen the heart of your home.
You’ve got this! I’m confident you’ll create something amazing. Happy cooking!
