
Table of Contents
ToggleI remember the stress of hosting my first big holiday meal. I spent the entire morning nervously checking the oven, fearing the poultry would turn out dry and flavorless. Unfortunately, that is exactly what happened, leaving me with an unpleasant dinner and a lot of frustration.
That failure led me to find a better way to prepare this important main course. I developed this foolproof approach after trying numerous methods that were quite disappointing. Using a slow cooker is the secret to keeping the meat tender without any messy brining steps.
This specific method has gained over eight million views because it is incredibly simple for home cooks. You will get a moist turkey breast without having to deal with complicated preparation or a salty brine. It is a total game-changer for anyone wanting a restaurant-quality result with minimal effort.
This slow cooker technique also produces a wonderful, rich gravy from the natural juices that form during the process. I will guide you through every step to ensure your meal turns out perfectly golden. This recipe works beautifully for a festive celebration or a simple weeknight dinner.
Key Takeaways:
- Zero brining is required to achieve this incredibly moist turkey breast every single time.
- The hands-off recipe saves time and naturally creates a delicious gravy from the cooking juices.
Why You'll Love This Crock-Pot Turkey Breast Recipe
I really enjoy how this specific turkey breast method takes the stress out of traditional holiday cooking. It transforms a potentially dry piece of meat into a moist masterpiece with almost zero effort on my part.
The beauty of using a slow cooker lies in its simplicity and consistency. I can focus on my guests or other side dishes while the main course handles itself perfectly.
No Brining Required
Brining usually takes up precious refrigerator space that I simply do not have during busy holiday preparations. This recipe eliminates that step entirely because the enclosed environment keeps the moisture locked inside.

I find that skipping the salt bath saves me hours of advance planning. You can simply season the meat and start the process without any overnight waiting.
Foolproof and Forgiving
Traditional oven cooking is often risky because the window for perfection is incredibly narrow. If you leave the bird in for twenty minutes too long, it becomes tough and dry.
I love that this method offers a much larger window of success. Even if I am late to the table, the turkey breast remains tender and juicy for much longer than a roasted version.
Perfect for Any Occasion
It only takes about ten minutes of my active time to get everything started. This makes it ideal for a fancy Thanksgiving dinner or a simple weeknight meal when I want something special.
This dish feels just as comforting as a warm crockpot chicken and rice recipe on a cold evening. I have served this to guests many times, and the rich flavor always earns rave reviews.
| Feature | Slow Cooker Method | Traditional Oven Roasting |
|---|---|---|
| Prep Effort | 10 Minutes (No Brining) | High (Requires Brining) |
| Margin of Error | 2-Hour Window | Less than 20 Minutes |
| Meat Texture | Consistently Juicy | Prone to Drying Out |
| Main Meat | Turkey breast | Whole Turkey or Breast |
Essential Tools and Equipment for Success
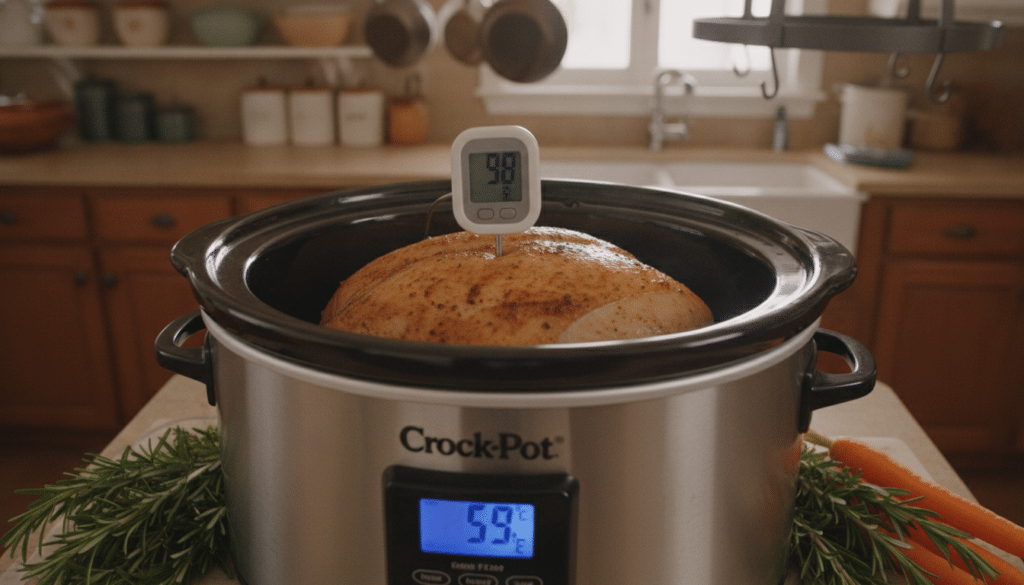
I always find that preparation is much smoother when I have my equipment ready to go. This recipe needs very little effort, but using the right items makes a big difference in the final result. I recommend using a 6-quart or larger slow cooker to ensure the turkey fits comfortably with the lid closed.
If you enjoy preparing simple poultry dishes like this one, you might also like these 20 lazy high protein chicken meals for your weekly rotation. Having a solid set of tools allows you to focus on the flavor rather than worrying about the process.
Complete Tools List
- 6-quart (or larger) slow cooker
- Instant-read meat thermometer
- Small mixing bowl
- Liquid measuring cups
- Measuring spoons
- Whisk and saucepan
- Paper towels
- Baking sheet (optional for browning)
Importance and Usage of Each Tool
| Equipment | Primary Purpose | My Personal Usage |
|---|---|---|
| Slow Cooker | Provides steady, low heat | I use a 6-quart cooker for even heat distribution. |
| Thermometer | Checks internal temperature | An instant-read thermometer ensures the meat is safe. |
| Mixing Bowl | Blends dry seasonings | I use a small bowl to prep the rub efficiently. |
| Whisk | Creates smooth gravy | I whisk the juices to prevent lumps from forming. |
I always keep paper towels nearby to pat the meat dry. This simple step helps the dry rub stick to the skin much better. Once I combine all the ingredients in the small bowl, the seasoning process goes quickly.
Using a liquid measuring cup is also helpful for the broth. It forms the base for the delicious gravy we will make later. With these tools on your counter, you are ready for a stress-free cooking experience.
Juicy Crock-Pot Turkey Breast for an Easy No-Stress Dinner: Ingredients
Creating a juicy meal starts with choosing high-quality items from your local grocery store. I find that using fresh aromatics makes a huge difference in the final taste of the bird. These basic ingredients ensure every bite is moist and flavorful.
Exact Ingredients with Measurements
| Category | Component | Measurement |
|---|---|---|
| Main Meat | Boneless turkey breast | 2-4 Pounds |
| Aromatics | Fresh garlic and onion | 1 head / 1 medium |
| Fats | Softened butter | 0.5 cups |
| Seasoning | Salt and pepper | To taste |
Ingredient Notes and Substitutions
I often swap the olive oil for softened butter to get a richer flavor profile. If you cannot find fresh herbs, a teaspoon of dried thyme works well for the aromatic base. This substitution keeps the prep simple while maintaining a classic holiday scent.
You can also experiment with a garlic cheddar chicken breast style seasoning if you want a cheesy twist. I love trying different herb combinations to see how they change the profile of the meat. Just make sure to keep the moisture levels high in the pot.
Turkey Breast Selection
Choosing the right breast is vital for a great culinary result. I recommend a 3 pound turkey breast with the skin still intact. The skin helps hold in the natural juices while the breast cooks slowly.
I prefer a boneless breast because it makes slicing much easier after the meat rests. This selection ensures a faster cooking time and a more uniform shape for the slow cooker. Always look for meat that hasn’t been pre-brined to control the sodium levels.
Seasoning Options
My favorite rub includes a mix of salt, pepper, and smoked paprika. I massage the butter mixture under the skin to keep the turkey breast tender. I also place a whole head of garlic in the pot to add a mellow aroma.
I use chicken broth at the bottom of the cooker to prevent the meat from drying out. I find that adding a sliced onion to the liquid creates a wonderful base for gravy later. Always add extra black pepper if you prefer a bold, spicy kick to the crust.
The turkey breast will absorb all these savory flavors over several hours of cooking. I always keep some extra seasoning on hand for any final adjustments before serving. This balance of herbs and spices creates a restaurant-quality meal at home.
Step-by-Step Cooking Instructions
I have perfected a method that turns a standard bird into a succulent masterpiece using minimal effort. Following these specific steps ensures your dinner remains tender and flavorful for everyone. You will find that this process takes away all the stress of a big dinner while providing professional results.
Step 1: Prepare the Turkey Breast
I start by removing the turkey breast from its packaging. It is important to handle the bird carefully to keep the workspace clean. I pat it completely dry using a clean paper towel.
This step is vital because it helps the seasoning paste stick to the surface. Removing excess moisture also helps the outer layer get a better texture later. I ensure both the top and the underside are free of any dampness.
Step 2: Create the Seasoned Rub
My seasoned rub comes together in just a few moments. I mix garlic powder and onion powder with paprika, salt, and black pepper. This blend provides a classic profile that everyone at the table will love.
Then, I stir in enough olive oil to create a thick, spreadable paste. The oil carries the flavors of the spices deep into the bird. It also acts as a barrier to keep the moisture inside during the long cooking process.
Step 3: Prepare the Slow Cooker Base
I prepare the slow cooker base to add flavor and lift the bird. I place a halved garlic head and a quartered onion at the bottom of the pot. These aromatics release their scent and oils as the pot heats up.
Adding fresh thyme sprigs creates an aromatic bed for the bird to sit on. This elevation is key to a great result. It prevents the bottom from getting soggy or overcooked by keeping it out of the direct heat of the ceramic base.
Step 4: Season and Place the Turkey
Now it is time to season the meat thoroughly. I slather the paste over the entire breast, focusing on the top and the sides. I use my hands to make sure every inch of the surface is covered with the spice mixture.
If you love tender roasts, check out my robust slow cooker pork roast for more dinner inspiration. I then carefully position the bird on top of the vegetables. I make sure it is stable and centered before I put the lid on.
Step 5: Slow Cook to Perfection
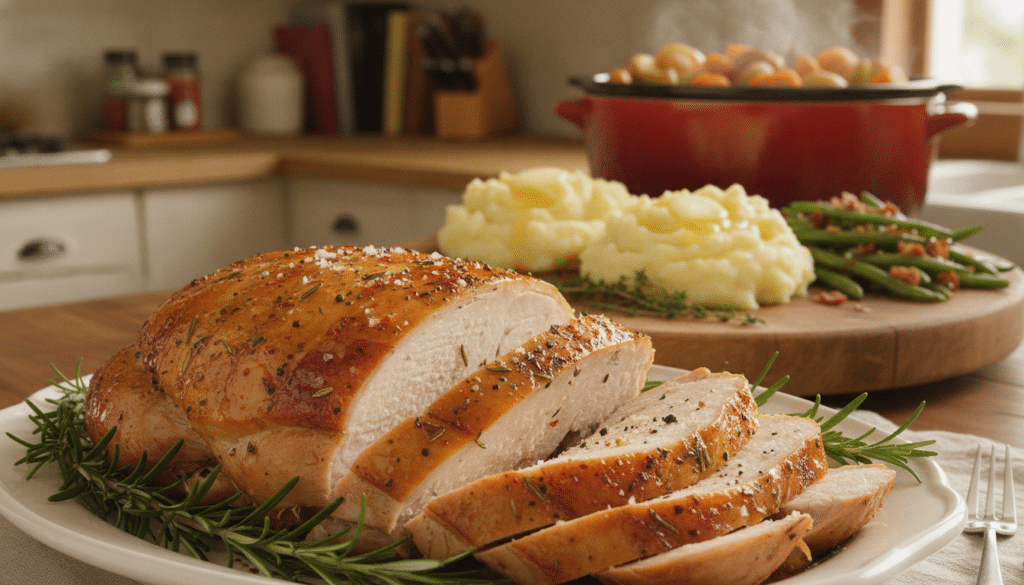
I carefully place the turkey breast skin-side up on the vegetables. I set the slow cooker to LOW and let it cook for 4 to 6 hours. Setting the timer to cook turkey on low heat is the best choice for a moist result.
I check the internal temperature at 5 hours to see if it has reached 165°F. Using a digital probe is the only way to be sure it is safe to eat. Once it reaches the target, I know the bird is ready for the final touch.
Step 6: Crisp the Skin Under the Broiler
To get a golden look, I move the breast to the oven. I place it under the broiler for about 2 minutes to crisp the skin. You can also cook turkey skin to a crisp by watching it very closely through the oven door.
I do not walk away during this phase because the skin can burn in seconds. As soon as it turns a beautiful golden brown, I remove it. This adds a wonderful texture that contrasts with the tender meat inside.
Step 7: Make the Gravy from Drippings
I make a rich gravy using the flavorful liquid left in the pot. First, I strain the liquid through a fine-mesh sieve to remove the vegetable bits. I melt butter over medium heat, whisk in flour, and then add the strained juices.
I keep whisking the gravy until the sauce reaches a perfect, smooth consistency. If it is too thick, I add a splash of broth. I finish by tasting it and adding a little more salt or pepper if needed.
Step 8: Rest and Slice
I let the turkey breast rest on a cutting board for at least 20 minutes. This wait time allows the juices to redistribute so the breast stays moist. If I cut it too early, the moisture will run out onto the board.
Once the 20 minutes are up, I use a sharp knife to carve the bird. I make even slices against the grain for the best texture. Finally, I serve the slices on a platter with the warm sauce poured over the top.
| Process Stage | Primary Action | Key Detail |
|---|---|---|
| Preparation | Seasoning Paste | Pat dry with paper towels |
| Cooking | Slow Heat | 4-6 hours on LOW setting |
| Finishing | Broil Skin | 2 minutes in the oven |
| Resting | Juice Retention | Sit for 20 minutes before carving |
Pro Tips for the Juiciest Turkey Breast
I believe the secret to a memorable meal lies in small details that prevent the meat from drying out. These professional insights will help you master the turkey every single time you start cooking.
By following a few simple rules, you can transform a standard dinner into a holiday masterpiece. I want to share the strategies I use to keep the white meat tender, flavorful, and incredibly moist.
Temperature Guidelines
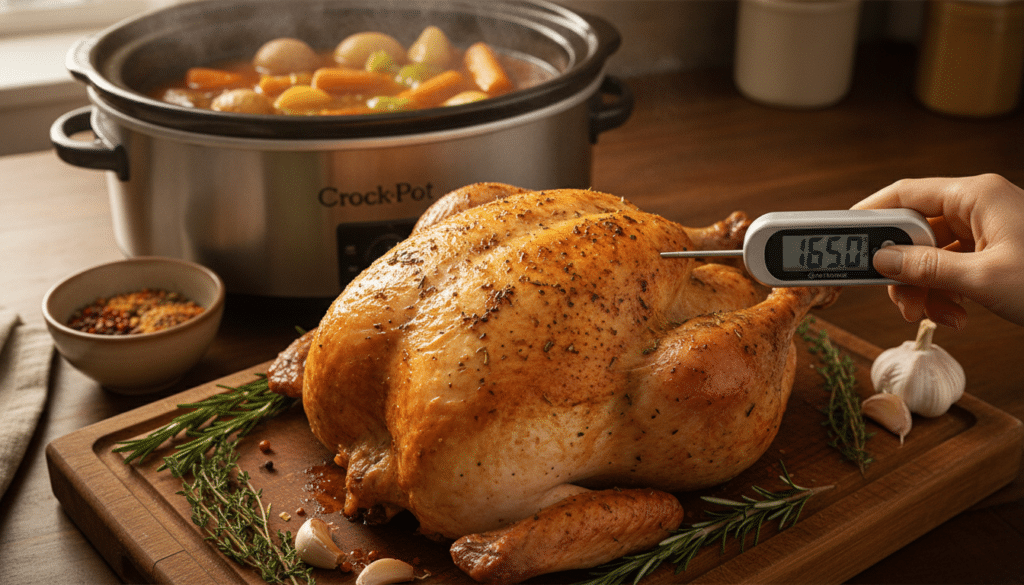
I always emphasize the importance of using an accurate meat thermometer. You should check that the internal temperature reaches exactly 165°F in the thickest part of the turkey breast.
I’ve learned that removing the turkey at 160-162°F is ideal. The heat continues rising during the resting period, ensuring your juicy baked chicken breasts or holiday roasts stay succulent without overcooking.
Timing by Turkey Size
My timing guidelines vary based on the weight of the meat. I recommend checking the meat at the earlier end of the time range to prevent it from becoming tough or dry.
| Turkey Weight | Low Setting Duration |
|---|---|
| 2 lb Breast | 4-5 hours |
| 4-6 lb Breast | 5-6 hours |
| 8 lb Breast | 6-7 total |
| 10 lb Breast | 8-9 total |
Common Mistakes to Avoid
One common mistake I see is using the HIGH setting to save effort. This actually dries out the turkey and defeats the purpose of using a slow cooker for a tender result.
I always ensure my turkey breast is completely thawed before I begin. Starting with a frozen turkey breast creates food safety issues and leads to uneven heat distribution throughout the meat.
The slow cooker is very forgiving, so a little extra cooking won’t necessarily ruin the meal. However, always use your thermometer to confirm the poultry is safe and ready to serve.
Storage and Reheating Instructions
After enjoying a delicious meal, I always make sure to handle the extra portions with care. Managing these leftovers properly allows me to enjoy a stress-free dinner later in the week. I find that a little preparation keeps the meat moist and flavorful for a second round.
Proper Refrigerator Storage
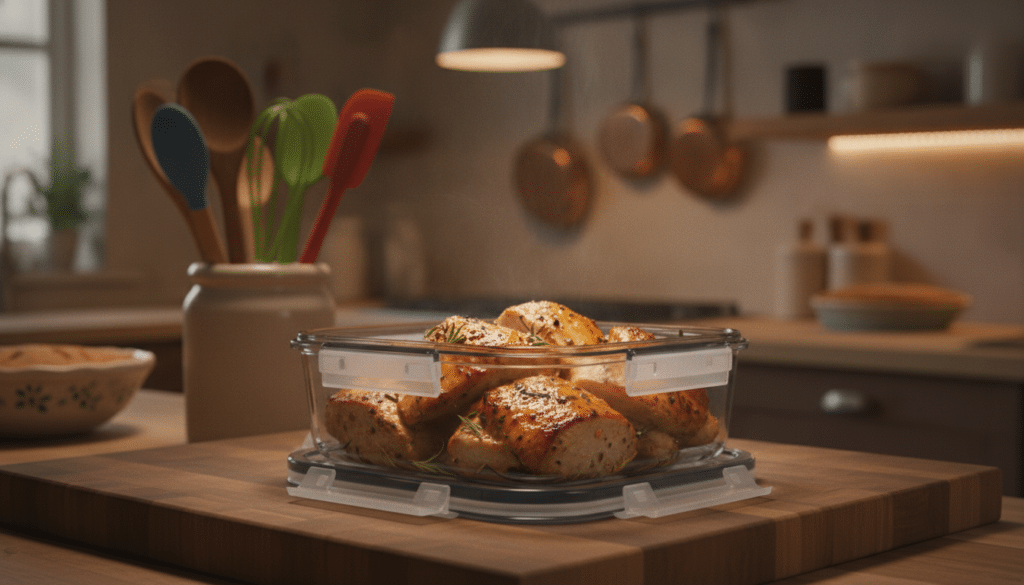
I store any remaining turkey breast in an airtight container in the refrigerator. This reliable method protects the meat from drying out while sitting in the cold air. I always keep my gravy in a separate jar to maintain the best possible texture.
I find that separating the liquids prevents the turkey from becoming too soggy. This simple step ensures every slice stays firm and appetizing for future sandwiches or salads. Cooling the meat completely before sealing the lid is also a vital step I never skip.
Freezing Leftover Turkey
I find that freezing works best when I shred the meat first. I place it in a sturdy container or freezer-safe bags for up to three months to prevent freezer burn. This is a great way to save time on busy nights when I need a quick protein.
Best Reheating Methods
To heat the turkey without drying it out, I add a splash of broth to the dish. I prefer using the oven at 325°F while covered in foil to lock in all the natural juices. This ensures the meat stays as tender as the day it was first cooked.
Using Leftovers Creatively
My favorite way to use leftovers is in a creamy turkey pot pie with a flaky crust. I also love making turkey and dumplings or white turkey enchilada soup for a new flavor. These recipes transform simple meat into an entirely new and exciting family feast.
You can also try turkey crescent roll-ups for a quick lunch the kids will love. The versatility of slow cooker turkey makes it an economical choice for any home cook. I always look forward to the new meals I can create from just one cooking session.
| Storage Method | Tool Used | Freshness Period | Reheat Time |
|---|---|---|---|
| Refrigeration | Airtight Container | 3-4 days | 2-3 minutes |
| Freezing | Sturdy container | 2-3 Months | 20 minutes |
| Gravy Storage | Glass Jar | 2 days | 5 Minutes |
Perfect Side Dishes to Serve with Turkey Breast
Finding the ideal companion for your slow-cooked bird depends entirely on the vibe of your gathering. I love how this turkey adapts to any day, from a fancy feast to a casual Tuesday night.
Traditional Holiday Sides
I always serve this meal with classic holiday side dishes like creamy whipped mashed potatoes. They soak up the incredible gravy perfectly and make every bite feel like home.
My favorite traditional additions include green beans with bacon and homemade stuffing. I also find that sweet potato casserole provides a sweet and savory contrast to the meat.
Roasted root vegetables complement the rich flavor of the turkey well. My holiday menu planning also includes warm dinner rolls so guests can make mini sandwiches later.
Weeknight Dinner Pairings
For weeknight dinners when I want something simpler, I pair the turkey with a straightforward side. These options keep things light and easy to prepare after a busy day.
I often choose a fluffy rice pilaf or a crisp garden salad with a light vinaigrette. This main dish works well with elegant recipes or a simple weeknight side.
| Occasion | Recommended side | Main Protein |
|---|---|---|
| Holiday Dinner | Cranberry Sauce | turkey |
| Weeknight Meal | Rice Pilaf | turkey |
| Healthy Choice | Roasted Broccoli | turkey |
Boneless vs Bone-In Turkey Breast Guide
When I stand in the poultry aisle at Whole Foods, I often weigh the pros and cons of different turkey cuts. Deciding between a boneless turkey and its bone-in counterpart significantly changes my dinner preparation experience. I have found that the choice between these cuts impacts both the texture and the total effort required. Understanding the nuances of each turkey breast variety ensures your meal turns out perfectly every time.
Boneless Turkey Breast Benefits
I prefer using a boneless turkey breast for this specific cooker turkey recipe. It eliminates the intimidation factor of carving and makes serving dinner incredibly simple for me. These typically weigh between 2 to 4 pounds and are easy to find at stores like Trader Joe’s.
My experience shows that a boneless turkey cooks more evenly and stays very moist in the slow cooker. I often choose a boneless turkey when I know I will not have extra hands available to help at the table. Using a boneless turkey also saves me a lot of effort during the post-dinner cleanup.
Bone-In Turkey Breast Considerations
I also enjoy preparing a bone-in turkey breast when I want a more traditional holiday look. These larger cuts can weigh up to 12 pounds and provide a beautiful presentation for your guests. You must check the internal temperature near the bone to ensure an accurate reading.
A bone-in breast often remains slightly juicier due to the marrow and bone structure protecting the meat. I recommend this option if you have more experience with carving tools and extra time. It is a fantastic choice for larger families who want more meat and potential leftovers.
Cooking Time Adjustments
The total cooking time changes depending on which cut I choose for my dinner. A bone-in cut usually needs more cooking duration to reach the proper temperature. I typically add about 45 to 60 minutes to the total pot time for these heavier pieces.
I always keep the skin on to protect the breast meat while it slow cooks. This skin-on approach ensures the breast stays succulent until it is ready for the broiler. Adjusting your total minutes ensures the meat reaches a safe and delicious internal temperature without drying out. A boneless turkey breast will always be the fastest route to a completed meal.
| Comparison Factor | Boneless Turkey Option | Bone-In Turkey Breast |
|---|---|---|
| Average Weight | 2 to 4 Pounds | Up to 12 Pounds |
| Preparation Needs | No Carving Required | Requires Carving Skills |
| Slow Cooker Duration | Shorter Time | Extra 60 Minutes |
| Best Features | Easy Slicing Boneless Turkey | Classic Turkey Breast Flavor |
| Main Benefit | Fast Cooker Turkey Prep | Juicier Bone-In Breast |
Final Thoughts and More Turkey Recipes from Cuisines-Corse.com
Thousands of home cooks have already discovered the secret to a perfect holiday meal with this slow cooker turkey breast recipe. I have spent years testing how to cook turkey to ensure it stays juicy and tender every time. The combination of low hours of gentle heat and aromatics like garlic and onion creates amazing meat.
This slow cooker turkey is very forgiving, even if it stays in the pot for extra low hours. I love to make gravy from the juices and the flavorful liquid left behind. This base is basically a rich stock with thyme and butter that tastes better than chicken broth.
It is simple to make gravy that will be the top highlight of your dinner. Use a meat thermometer to check the internal temperature of the breast. To get a golden skin, I suggest placing the roast in the oven for a few minutes. This cooker turkey method gives you the flavors of a traditional roast without the stress.
It is my favorite way to prepare a simple turkey for any small holiday gathering. I encourage you to explore more recipes on Cuisines-Corse.com, like our garlic and butter oven bird recipe. You can also find our full Thanksgiving collection and Easy Thanksgiving Menu.
These dishes pair beautifully with a cooker turkey breast. If you have leftovers, try our Pot Pie or White Enchilada Soup. A comforting bowl of Dumplings is also a great choice.
Use a little salt, pepper, and thyme to make the meat and onion taste fresh again. This cooker turkey approach with a delicious liquid and skin makes a great slow cooker turkey. I hope this recipe helps you enjoy more slow cooker turkey during low hours of a busy week. Our other recipes help you use every bit of turkey and chicken. To make gravy, just use the leftover juices. One final slow cooker turkey tip: always use a cooker turkey breast for the most consistent results.